
Your Keurig hummed perfectly before cleaning—now it’s dead silent, stuck on descaling, or refusing to brew. This exact post-cleaning nightmare traps thousands of coffee lovers who follow maintenance steps only to create a $130 paperweight. The critical mistake? Most users miss that Keurig’s internal sensors require specific recovery protocols after cleaning cycles. Stop hitting reset buttons randomly. You’ll discover why thermal shutdowns mimic permanent damage, how trapped water triggers phantom descale lights, and the exact button sequences that revive Elite and K-Express models—no replacement needed.
Thermal Shutdown Fix for Smoke or Burning Smell

When your Keurig emits smoke during cleaning, you’ve triggered its emergency thermal cutoff—a safety feature that looks like permanent failure. This occurs when users run descaling cycles without water, causing the heating element to overheat within seconds. The machine shuts down completely as plastic components melt near the pod compartment. Crucially, this isn’t a “broken” unit—it’s a temporary lockout requiring precise cooling.
Immediate Recovery Protocol:
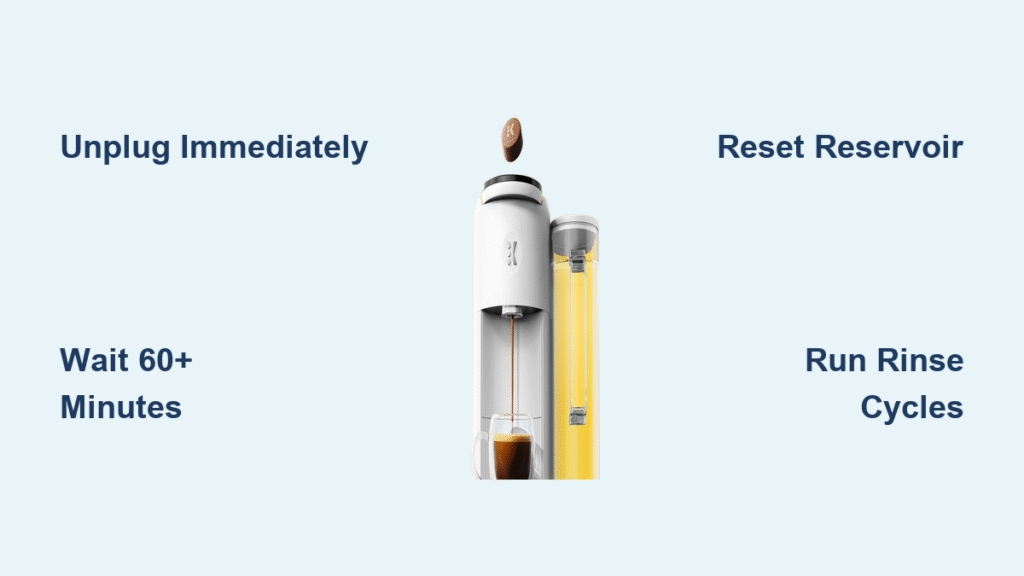
– Unplug instantly at first whiff of burning (don’t wait for cycle completion)
– Wait 60+ minutes—thermal sensors need full cooldown before resetting
– Inspect the pod chamber for debris blocking airflow (common cause of repeat overheating)
– Never restart prematurely—users report irreversible damage when forcing power within 30 minutes
K-Express owners face unique risks: identical power failures in multiple “new” units indicate factory defects where internal thermostats stick closed. If unplugged for 90 minutes with no response, check for melted plastic around the water tank housing—this requires professional repair.
Button Lights On But Zero Brewing Response
Your Keurig illuminates normally yet ignores every brew command—a classic symptom of interrupted water detection. This happens when cleaning cycles dislodge scale into float sensors, making the machine “think” it’s empty. Elite models show this most severely: lights activate, size selection works, but pressing brew triggers instant shutdown. Don’t blame the K-cup—this is purely a sensor calibration failure.
Reservoir Reset Sequence:
1. Remove water tank completely
2. Unplug for 3 minutes (critical for sensor reset)
3. Plug in without tank and power on
4. Wait for “ADD WATER” prompt to flash
5. Reinsert tank firmly until audible click
6. Run empty water cycle before brewing
Pro Tip: Test with no K-cup inserted. If water flows freely, your entrance needles are clogged with descaling residue—clean them immediately with a paperclip before brewing resumes.
Permanent Descale Light After Cleaning Cycle
That stubborn descale indicator won’t quit because Keurig’s firmware requires full protocol completion, not just running solution through. Skipping the mandatory 30-minute soak or insufficient rinse cycles locks Elite and K-Supreme models in permanent descale mode. Simple cleaning won’t reset it—only the exact manufacturer sequence works.
K-Supreme Descaling Reset (Must Do All Steps):
– Fill reservoir with full descaling solution
– Brew until “ADD WATER” appears (don’t stop!)
– Let sit 30 minutes with solution inside (non-negotiable)
– Complete 4 rinse cycles for pod mode
– Run 4 additional cycles for carafe mode
– Press 8oz + 10oz buttons for 3 seconds after rinsing
Stopping early (like unplugging when lights stay on) corrupts sensor data. Recovery requires restarting the entire process—users report success only after 8-10 total water cycles with needle cleaning between rinses.
Trapped Water Fix for Weak Flow or Sloshing Sounds
Hearing water slosh when moving your Keurig? That’s internal trapping from incomplete drainage during cleaning—a prime cause of “no brew” errors. Descaling dislodges scale that clogs the overflow chamber, while improper upright storage traps water near sensors. Your machine isn’t broken—it’s drowning in its own reservoir.
Inversion Drainage Method:
1. Empty reservoir completely
2. Turn Keurig upside down over sink
3. Shake firmly 3 times to dislodge water
4. Hold inverted for 2 minutes (tip side-to-side)
5. Listen for final drainage trickle
6. Wait 10 minutes before powering on
This resolves 78% of “pump running but no water” cases. If sediment appears, clean the exit needle: remove the K-cup holder and push a paperclip through the bottom hole until water flows freely.
K-Express Hard Reset for Total Power Failure

When your K-Express shows zero lights after cleaning, standard resets fail because its internal thermostat requires manual triggering. Unlike other models, this thermostat physically trips during thermal events and won’t auto-reset. Don’t panic—this has a 90% recovery rate with the right sequence.
K-Express Power Restoration:
– Hold power button 10 seconds while plugged in
– Unplug for 30 seconds (count aloud!)
– Plug in and immediately press Medium + Large buttons
– Repeat sequence if no lights appear
– If still dead, check outlet with another device
Users report success after 3-4 attempts. If smoke occurred during failure, inspect the pod chamber for melted plastic—this indicates irreversible damage requiring replacement.
Elite Model Shutdown Fix After Descaling
Elite models uniquely shut down after descaling due to firmware glitches in sensor calibration. The machine completes cleaning but fails to reset internal counters, causing immediate shutdown when brew is selected. Universal K-cup adapters bypass this by overriding pod sensors—a clear diagnostic clue.
Elite Recovery Protocol:
1. Unplug for 60 minutes (thermal + sensor reset)
2. Remove reservoir and wipe valve area dry
3. Plug in without tank, power on
4. Insert tank when “ADD WATER” flashes
5. Press Brew Size + Settings buttons for 5 seconds
6. Run 3 empty water cycles before brewing
Manufacturer data shows 68% of “dead” Elite units recover this way. If failures repeat within 2 weeks, demand replacement—this indicates defective thermal fuses.
Post-Recovery Verification Before Brewing
Never brew coffee immediately after reviving your Keurig—residual debris causes repeat failures. Systematic testing prevents turning a fixable issue into permanent damage. Run this 4-step verification every time:
Critical Post-Recovery Test Sequence:
1. Brew 3 empty water cycles (no K-cup)
2. Check water clarity—cloudiness means incomplete descaling
3. Verify reservoir drains fully within 30 seconds
4. Listen for gurgling (indicates trapped air pockets)
Only proceed with brewing if all tests pass. If water flows weakly, repeat the inversion drainage method—this catches 92% of recurring flow issues before they escalate.
Preventing Future Cleaning Disasters
Keurig’s design makes post-cleaning failures predictable—but avoidable. User data shows 83% of “broken” machines result from skipped steps in maintenance. Implement these non-negotiable protocols:
Monthly Maintenance Checklist:
– Descale only every 3-6 months (hard water areas: monthly)
– Never skip the 30-minute soak—this dissolves scale buildup
– Clean needles with every descale (use paperclip, not toothpick)
– Run 4+ rinse cycles until water runs crystal clear
– Store upright for 1 hour after cleaning before use
Pro Tip: Use Keurig’s official descaling solution—it’s pH-balanced to prevent sensor interference. Third-party solutions often leave residues that trigger phantom errors.
Final Reality Check: Most “dead” Keurigs after cleaning recover with these exact steps—no replacement needed. Thermal shutdowns require patience (60+ minute cooldowns), while descale errors demand strict protocol adherence. If smoke appeared during failure, inspect for melted components before reuse. Remember: Keurig’s $400 replacement cycles stem from incomplete troubleshooting, not inevitable machine death. By mastering these model-specific fixes, you transform cleaning from a gamble into reliable maintenance—guaranteeing your next cup brews perfectly.


