That acrid chemical stench hits you the moment you power up your Keurig. Instead of the comforting aroma of coffee, you’re greeted by plastic fumes, rotten egg smells, or burnt electrical odors that make your stomach churn. Whether your machine is brand new or years old, a Keurig smells bad problem ruins your morning ritual and raises serious health concerns. You’re not alone—thousands of frustrated owners face this issue monthly, especially with hard water or neglected maintenance. The good news? Most odor problems stem from fixable causes like manufacturing residue, mineral buildup, or contaminated water. In this guide, you’ll discover exactly how to diagnose your specific smell type and apply targeted cleaning protocols that restore fresh-tasting coffee in under 3 hours.
Ignoring these odors risks tasting toxic chemicals or consuming mold-laced coffee. But with the right vinegar ratios, water-flushing techniques, and manual cleaning steps, you can eliminate even stubborn smells permanently. Let’s tackle your Keurig smells bad crisis head-on.
Pinpoint Your Keurig’s Smell Source
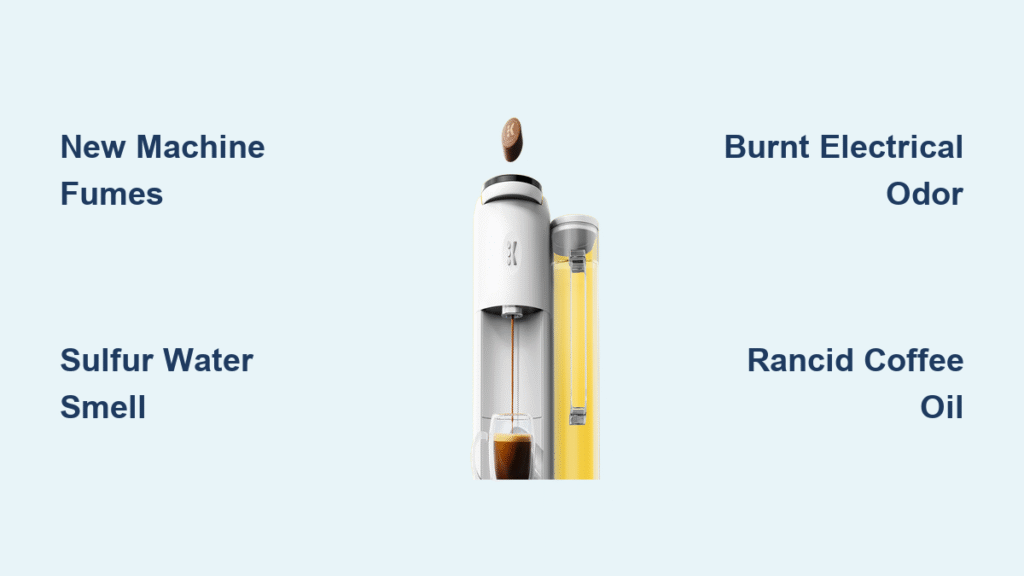
Chemical or Plastic Smells During First Brews
New Keurigs often blast out toxic fumes from factory residues like mold-release agents and plasticizers trapped in tubing. These volatile organic compounds (VOCs) intensify when heated, creating that eye-watering “new plastic” stench. Don’t brew coffee until this clears—inhaling these chemicals is dangerous. The smell peaks during initial power-on cycles as heat activates outgassing from internal components.
Sulfur or Fish-Tank Odors Mid-Brew
If your water smells like rotten eggs or a stagnant pond, hydrogen sulfide in well water is reacting with your heating element. This chemical reaction produces hydrogen sulfide gas when hot water hits mineral deposits. You’ll notice it strongest during brewing—not when the machine idles—because the heat triggers the sulfur release. Switching to filtered water usually solves this instantly.
Burnt Electrical Smells After Descaling
Stop using your Keurig immediately if you smell acrid burning after descaling. This signals thermostat failure or overheating wiring—a serious fire hazard. The smell appears suddenly with no coffee flavor changes beforehand. Never ignore this; unplug the unit and contact Keurig support.
Rancid Coffee Oil Buildup
Months of skipped cleanings create sticky bio-film inside brewing chambers. Trapped coffee oils turn rancid, releasing sour, bitter odors when heated. You’ll see dark gunk around the K-Cup holder needle and taste metallic notes even with fresh pods. This requires aggressive manual cleaning beyond standard descaling.
Run These Diagnostic Tests Now
Isolate Your Water Source in 60 Seconds
Fill the reservoir with bottled water and brew one cycle. If the odor vanishes, your tap water contains sulfur or iron minerals. Switch to filtered water permanently—this solves 70% of “fishy” smell cases. If the smell persists, move to the next test.
Time Your Smell Appearance Accurately
- Power-on only: VOC outgassing (common in new machines)
- Mid-brew: Mineral buildup or coffee residue
- After descaling: Electrical emergency—stop using immediately
- All day: Bio-film contamination requiring disassembly
Check for Visible Contamination
Remove the water tank and inspect for white scale flakes or green slime. Examine the K-Cup holder—stuck coffee grounds around the needle cause musty smells. Shine a flashlight into the exit needle hole; visible gunk means monthly cleaning is overdue.
New Keurig De-Residue Protocol

Eliminate Factory Chemicals Before First Coffee
Never brew coffee in a new Keurig until you complete this sequence. Hand-wash the reservoir, lid, and drip tray with hot soapy water. Then mix 2 cups vinegar to 8 cups water (1:4 ratio), fill the reservoir, and brew cycles until empty. Let the machine sit 30 minutes for deep cleaning. Finally, run 3 full reservoirs of plain water—taste the last cup to confirm no plastic notes remain. Skipping this risks drinking chemical residues.
Deep Clean Existing Machines
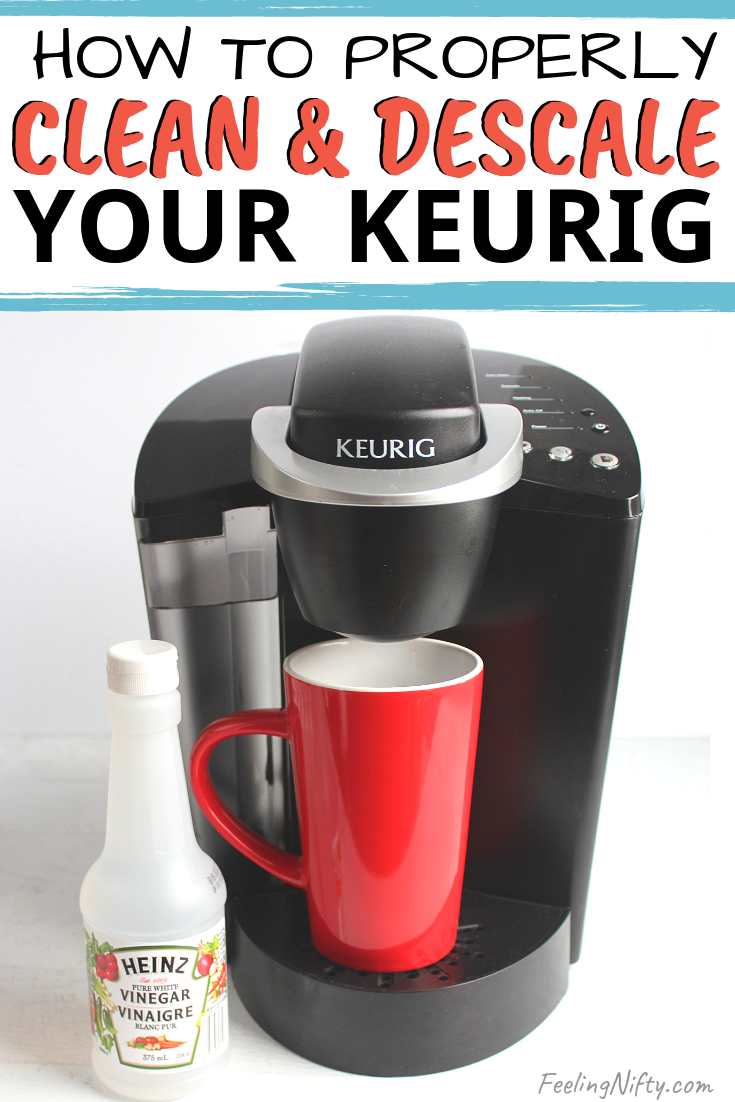
Standard Vinegar Descale for Routine Maintenance
For every 3-6 months of use:
1. Disable auto-off mode
2. Fill reservoir with equal parts vinegar and water
3. Brew 10 oz cycles until “Add Water” light appears
4. Let sit 30 minutes
5. Complete brewing
6. Flush with 3 full reservoirs of cold water (minimum 36 oz)
Intensive Multi-Cycle Treatment for Stubborn Smells
When vinegar scent lingers after standard cleaning:
– Repeat the 50/50 vinegar cycle 2-3 times back-to-back
– Follow with 4 reservoirs of plain water instead of 3
– Total process takes 2.5 hours but removes embedded odors
Baking Soda Rinse for Acidic Aftertastes
Neutralize bitter residues with:
1. Dissolve 1 Tbsp baking soda in 12 oz warm water
2. Brew one cycle
3. Run 3 water reservoirs to rinse completely
Use this after vinegar cycles if coffee still tastes metallic
Boiling Water Flush for Sulfur Smells
For well-water users:
1. Boil water, cool 30 seconds (200°F/93°C)
2. Fill reservoir and brew 6 oz cycles until empty
3. Repeat 3 times
4. Finish with one cold-water cycle
The high heat vaporizes sulfur compounds instantly
Manual Cleaning Critical Zones

Target These Parts Weekly
| Component | Cleaning Method | Warning |
|---|---|---|
| Water reservoir | Hot soapy water + bottle brush | Rinse until zero suds remain |
| Exit needle | Straightened paperclip inserted ½ inch | Twist gently—force breaks needles |
| K-Cup holder | Soak 10 mins in vinegar, scrub holes | Check for hidden coffee grounds |
| Drip tray | Dishwasher safe (top rack) | Dry completely to prevent mildew |
Needle Unclogging Technique That Works
Stuck coffee grounds cause 90% of rancid smells. Remove the K-Cup holder and use a paperclip to clear both holes:
– Top entrance hole (where pod punctures)
– Bottom exit needle (where coffee drips)
Insert the clip straight, twist slowly, and expect dark sludge to eject. Repeat until water flows cleanly.
Verify Odor Removal Before Brewing
Pass This Sensory Test
After final rinsing:
1. Brew two 8 oz water-only cycles
2. Cool water to room temperature
3. Sip slowly—water must taste completely neutral
4. Any plastic/vinegar notes? Repeat baking soda rinse
Never skip this test—you’re drinking what you brew.
When to Call Keurig Support
Emergency Electrical Signs
Unplug immediately if you detect:
– Burning smell with no heat output
– Smoke or scorch marks near power cord
– Machine clicking but not brewing
Contact Keurig at 866-901-2739—this is covered under the 1-year warranty.
Warranty Claim Requirements
Bring your receipt and note the error code. Support is available Mon-Fri 7am-10pm EST. Watch their official descale video first at https://krg.bz/2wHyPzo—many “failures” are just missed cleaning steps.
Prevent Future Odors Permanently
Daily Habits That Stop Smells
- Refill reservoir daily with fresh water (stagnant water breeds bacteria)
- Wipe exterior with damp cloth after each use (coffee splatters turn rancid)
- Store with tank removed if unused for 48+ hours
Monthly Must-Do Tasks
- Unclog exit needle with paperclip
- Replace water filter cartridge (old filters harbor odors)
- Run vinegar descale if you use hard water
Quarterly Deep Maintenance
Descaling every 3 months prevents 95% of odor issues. Hard water users need it monthly. Always use filtered water—it cuts mineral buildup by 80%.
Critical Numbers to Remember
- Vinegar ratios: 1:4 (new machines), 1:1 (existing machines)
- Rinse cycles: 3+ full reservoirs after vinegar
- Filter replacement: Every 2 months or 60 refills
- Baking soda dose: 1 Tbsp per 12 oz water
- Commercial cleaner cost: $9-$13 per bottle (lasts one descale)
Your Keurig should now brew odor-free coffee. If smells return within a week, disassemble the K-Cup holder for deep scrubbing—hidden bio-film is likely the culprit. Stick to this maintenance schedule, and you’ll never ask “why does my Keurig smell bad?” again. That first sip of pure, clean coffee will be worth every minute you invested.


