
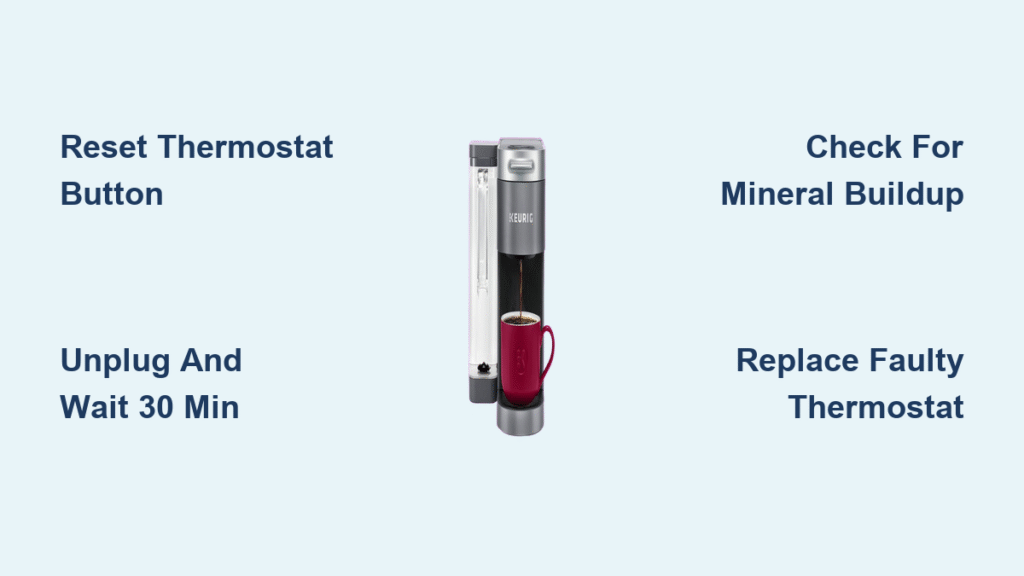
Your Keurig suddenly stops brewing halfway through your morning coffee, leaving you with lukewarm water and a frustrating delay to your day. This common issue—where your machine powers on but won’t heat properly—typically signals a tripped thermostat, Keurig’s critical safety component that prevents overheating. Before you consider replacing your entire coffee maker, learning how to properly reset your Keurig thermostat can restore full functionality in under 30 minutes. This guide reveals exactly how to identify thermostat problems, safely perform resets across popular models, and implement maintenance strategies that prevent future interruptions to your coffee routine.
Why Your Keurig Suddenly Stops Heating Water
When your Keurig powers on but won’t heat water beyond lukewarm temperatures, the thermostat has likely tripped as a safety measure. Unlike general electrical failures, thermostat issues present specific symptoms that distinguish them from other common Keurig problems. The thermal protector automatically cuts power when internal temperatures exceed safe limits, typically triggered by mineral buildup, restricted water flow, or consecutive brewing cycles without adequate cooling time.
Key signs your Keurig needs thermostat reset:
– Machine displays normal lights but produces cold or lukewarm water
– Brewing cycle stops abruptly during the heating phase
– Descale light blinks persistently after standard cleaning
– Unit shuts down completely 30-60 seconds after powering on
– Coffee tastes noticeably cooler than your usual brew temperature
Critical warning: Never attempt thermostat resets if you detect burning smells, visible smoke, or melted components. These conditions indicate serious internal damage requiring professional service immediately to prevent fire hazards.
Essential Safety Steps Before Touching Internal Components
Electrical safety must come first when accessing your Keurig’s internal components. Even when unplugged, capacitors inside your coffee maker can retain dangerous electrical charges that pose serious shock risks.
Required safety protocol:
– Unplug your Keurig and wait at least 30 minutes before proceeding
– Completely empty the water reservoir and remove any K-cups
– Take out the drip tray and K-cup holder assembly
– Work on a clean, dry, non-conductive surface like a wooden table
– Ensure your hands are completely dry throughout the process
Tools you’ll need for Keurig thermostat reset:
– #0 or #1 Phillips head screwdriver (precision size)
– Small flathead screwdriver for prying clips
– Needle-nose pliers for wire management
– Bright flashlight or phone light for visibility
– Clean microfiber towel to protect components
Locate Your Specific Keurig Thermostat Position
Thermostat placement varies significantly between Keurig models, so identifying your exact configuration prevents unnecessary disassembly that could damage other components. Most thermal protectors appear as small disc-shaped or rectangular components with two attached wires, always positioned near the heating element.
Keurig K-Classic and K-Select thermostat location:
– Remove the six screws securing the bottom panel
– The thermostat sits directly on the right side of the heating tank
– Look for a small white or black component about the size of a quarter
Keurig K-Supreme series thermostat access:
– Remove rear panel screws to expose internal components
– The thermal fuse attaches directly to the heating block
– You may need to disconnect the water pump assembly first
Compact Keurig Mini models thermostat position:
– Access requires complete top housing removal
– The thermostat hides beneath the water reservoir mounting point
– Often necessitates disconnecting multiple wire harnesses
Press the Thermostat Reset Button Correctly
Most Keurig models use manual-reset thermostats featuring small red or white buttons that physically pop out when the safety mechanism triggers. Properly locating and pressing this button is crucial for restoring normal function without causing further damage.
Step-by-Step Keurig Thermostat Reset Procedure
- Remove outer housing by following your model’s specific screw pattern—take photos as you go to ensure correct reassembly
- Identify the heating assembly—look for the aluminum block with attached water lines and heating element
- Locate the thermostat—typically a small cylindrical component with two colored wires connected
- Check button position—if the reset button protrudes noticeably, the thermostat has tripped
- Press firmly on the button until you hear a distinct click and it sits flush with the component
- Reassemble carefully ensuring no wires are pinched or connectors left disconnected
Pro tip: Apply slight pressure with your fingernail rather than a tool to avoid damaging the delicate reset mechanism. If the button won’t stay depressed after pressing, your thermostat has failed and requires replacement.
Verify Your Keurig Thermostat Reset Success
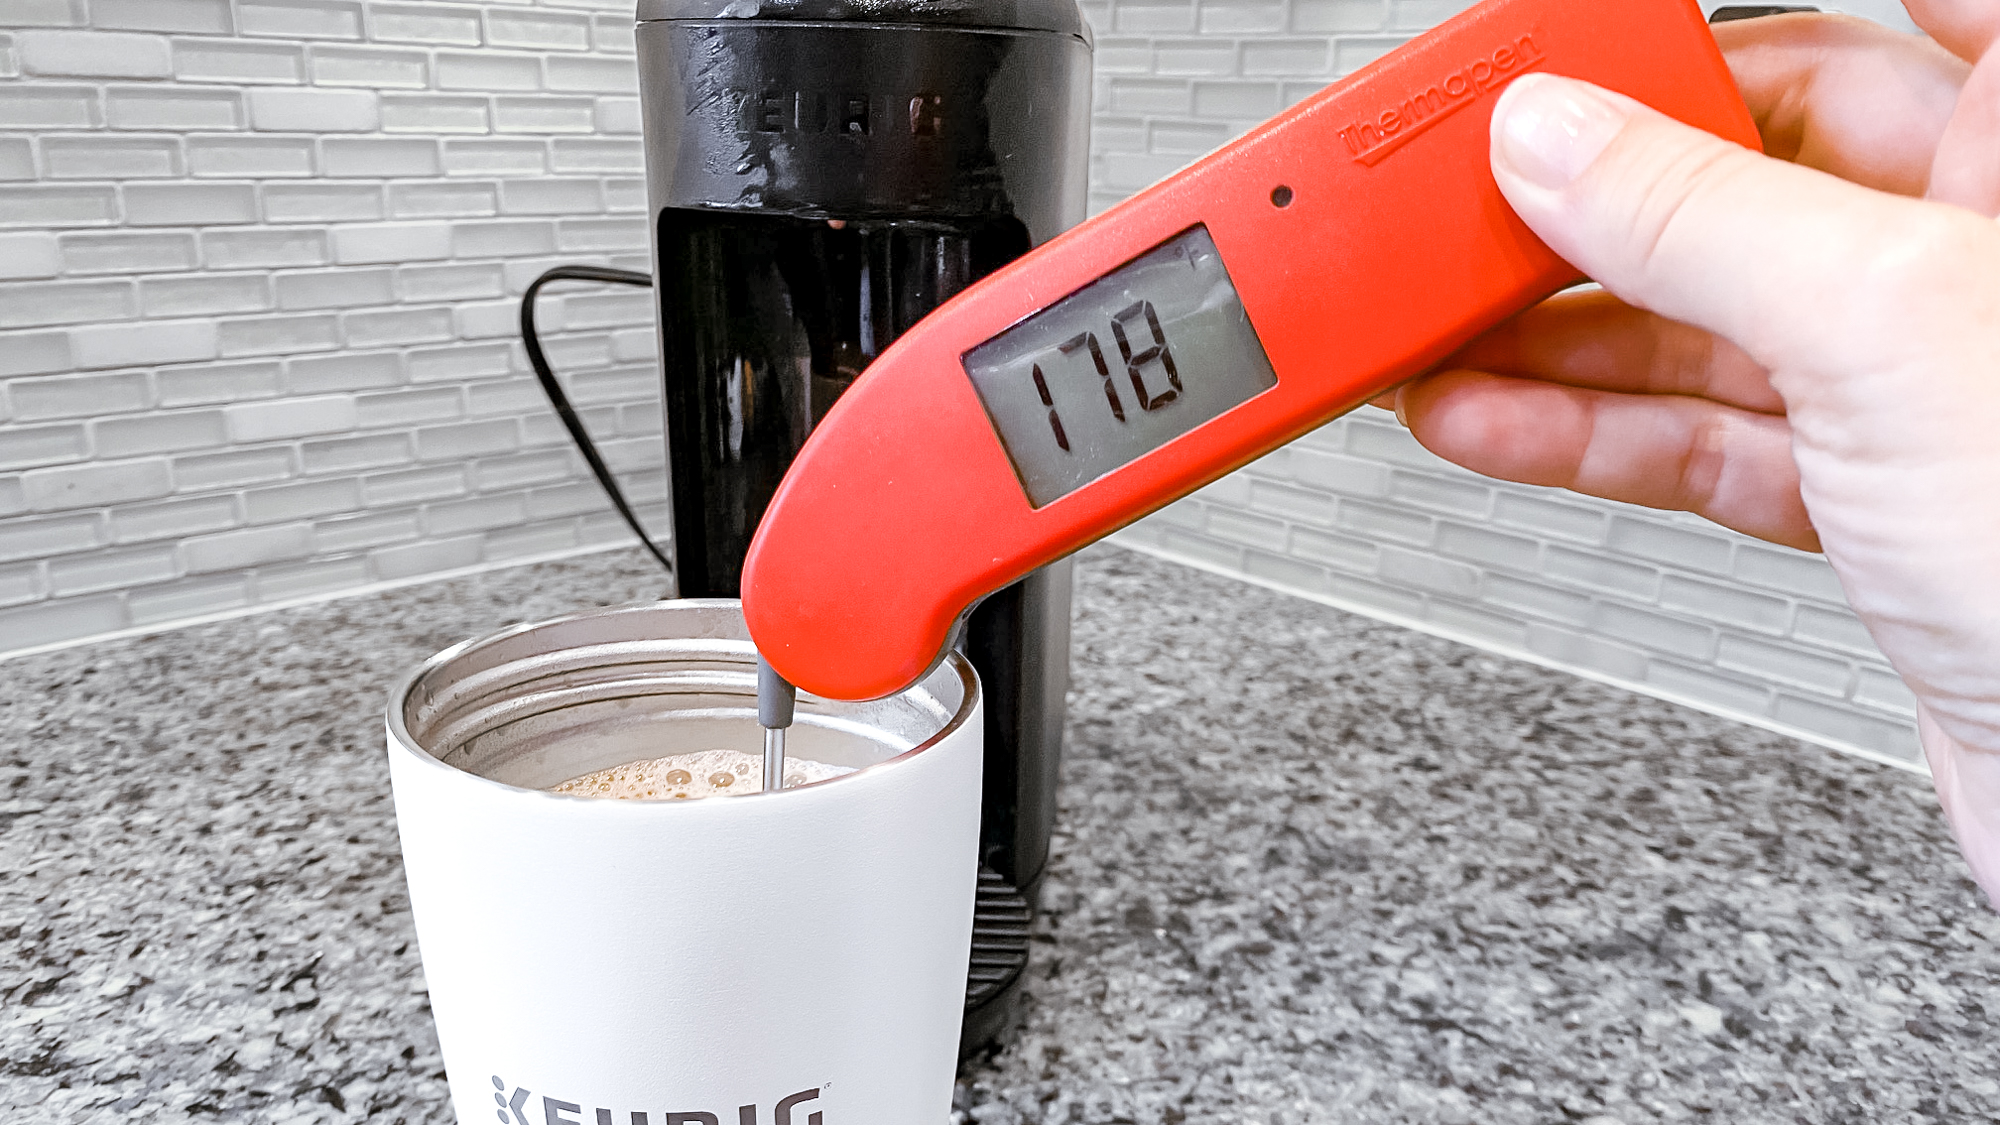
Immediate testing confirms whether your reset worked while preventing potential damage from repeated overheating cycles. Proper verification ensures both heating functionality and safety system integrity without risking further component damage.
Testing Protocol After Thermostat Reset
- Fill the water reservoir to minimum level with fresh cold water
- Power on and wait for the “ready” indicator light to illuminate
- Run a full cleansing brew cycle without inserting a K-cup
- Place a thermometer in the output cup to verify temperature reaches 192°F
- Observe the complete brewing cycle for interruptions or abnormalities
- Monitor for unusual sounds, smells, or error lights during operation
Successful reset indicators:
– Water heats to proper brewing temperature within 3 minutes
– Consistent brewing flow without mid-cycle interruptions
– No flashing lights or error codes on the display panel
– Normal pump operation sounds return during brewing
Diagnose Persistent Thermostat Tripping Issues
When your Keurig thermostat resets fail repeatedly or the button won’t stay depressed, underlying problems require component replacement rather than simple resets. Understanding these failure patterns prevents wasted effort on temporary fixes that won’t resolve the root cause.
When Your Keurig Needs More Than a Reset
- Mineral buildup creates insulating layers on heating elements, causing false overheating readings
- Failing heating element draws excessive current that repeatedly triggers the safety thermostat
- Clogged entrance/exit needles create backpressure that affects thermal regulation
- Defective water pump restricts flow, causing localized overheating in the heating chamber
- Damaged thermal insulation around components exposes the thermostat to incorrect temperatures
Thermostat replacement indicators:
– Reset button trips during the first brewing cycle after reset
– Visible corrosion, melting, or physical damage to the thermostat housing
– Multimeter continuity test shows an open circuit even after reset
– Button won’t remain depressed after multiple reset attempts
Prevent Future Keurig Thermostat Trips With Proper Maintenance
Regular maintenance prevents the conditions that trigger thermal protectors, extending your coffee maker’s lifespan and ensuring consistent brewing performance. Simple habits take minimal time but significantly reduce thermostat-related failures.
Monthly Keurig Maintenance Routine
- Descale with Keurig-approved solution every 3 months (or monthly with hard water)
- Clean entrance and exit needles weekly using the provided cleaning tool
- Remove and inspect water reservoir for mineral deposits or debris
- Check power cord for fraying or damage before each use
- Run cleansing brews immediately after descaling to clear residual solution
Best practices to avoid thermostat trips:
– Always use filtered water to minimize mineral buildup
– Empty the water reservoir if the machine sits unused for more than 48 hours
– Allow 2-3 minutes cooling time between consecutive brewing cycles
– Position your Keurig away from direct sunlight or other heat sources
– Keep ventilation areas completely clear of counter obstructions
Alternative Keurig Reset Methods for Electronic Models
Newer Keurig models sometimes feature electronic resets that restore factory settings without physical thermostat access. These methods work when thermostat trips coincide with software glitches rather than actual overheating issues.
For Keurig 2.0 series models:
– Press and hold the power button for 10 full seconds
– Unplug for 5 minutes, then restart normally
– Press and hold both small cup and medium cup buttons simultaneously for 5 seconds
For K-Duo and K-Cafe models:
– Remove water reservoir and wait 5 minutes
– Press and hold the 8oz and 10oz button combinations
– Power cycle the machine while reservoir remains removed
Important note: Electronic resets won’t resolve actual overheating conditions but may clear false thermostat triggers caused by software errors in newer models.
Replace a Failed Keurig Thermostat Component
When resets fail persistently, replacing the thermal protector becomes necessary. Most thermostats cost under $15 and install with basic tools, saving you from expensive service calls or premature replacement of your entire machine.
Thermostat Replacement Critical Steps
- Order the correct part using your exact Keurig model number (found on the bottom panel)
- Document wire connections by taking photos before disconnecting any wires
- Remove old thermostat from the heating block using appropriate screwdrivers
- Clean mounting surface thoroughly with isopropyl alcohol and lint-free cloth
- Apply thermal paste to the new thermostat before installation
- Reconnect wires exactly as they appeared on the original component
- Test operation before completing full reassembly to verify proper function
Critical safety warning: Never bypass the thermostat or install components with incorrect temperature ratings. Doing so creates serious fire hazards by removing essential safety protections.
When to Seek Professional Keurig Service
Complex repairs involving integrated heating elements or control boards require professional expertise. Knowing when to seek help prevents dangerous DIY attempts that could void warranties or create safety risks.
Call a professional when:
– Thermostat replacement doesn’t resolve heating issues
– Heating element shows no continuity on multimeter testing
– Control board displays persistent error codes after multiple resets
– Water leaks from internal components during operation
– Your Keurig remains under manufacturer warranty
Professional service ensures genuine replacement parts, preserves warranty coverage, provides safety testing verification, and delivers professional calibration that extends your machine’s lifespan significantly beyond DIY repair attempts.
Mastering Keurig thermostat resets saves you from unnecessary replacement costs while ensuring your coffee maker operates safely. Regular descaling every three months, weekly needle cleaning, and avoiding back-to-back brewing cycles form your best defense against thermostat trips. Remember that persistent reset failures indicate underlying issues requiring component replacement—never ignore repeated tripping as this signals serious problems that could compromise your machine’s safety mechanisms. With proper maintenance, your Keurig’s thermostat should function reliably for years, delivering perfect temperature brewing for your daily coffee ritual.


