
Your Keurig shouldn’t leave blisters. If the top panel burns your fingers during brewing, your machine cuts power mid-cycle, or coffee tastes like charcoal, you’re facing dangerous overheating. These issues stem from mineral scale choking the heater, clogged needles trapping pressure, or failing sensors—and they’ll destroy your brewer within weeks if ignored. This guide delivers proven keurig overheating fix solutions that work immediately, from emergency resets to sensor replacements. You’ll restore safe brewing temperatures using only household items or $8 replacement parts.
Identify Critical Overheating Danger Signs Before Damage Occurs
Housing Temperature Exceeds 131°F During Brewing
Place your palm on the top panel immediately after brewing. If you yank your hand away before 3 seconds, your Keurig’s housing has surpassed 55°C (131°F)—a critical failure point. The sides and rear should feel barely warm. This isn’t normal operation; it means heat can’t escape due to blocked vents or scale buildup insulating the heater.
Mid-Brew Power Failures with Error Codes
When your Keurig dies during brewing with flashing “PRIME” and “DESCALE” lights or error codes 2, 3, 7, or 17, the thermal cutoff is tripping. This safety feature shuts power to prevent fire—but repeated triggers damage internal components. Don’t ignore these shutdowns; they indicate imminent heater failure.
Steam Escaping From Seams (Not Vents)
Visible vapor leaking from side seams—not the designated top vent—means internal pressure is building dangerously. This accompanies sputtering sounds and water overflow. Unplug immediately; this signals air pockets or clogs forcing the heater to run dry.
Scorched Coffee Despite Fresh Pods
Burnt-tasting coffee with new K-Cups means water exceeds 200°F during brewing. Scale on the heating element traps heat, cooking your coffee instead of extracting flavor. This isn’t a pod issue—it’s your machine screaming for maintenance.
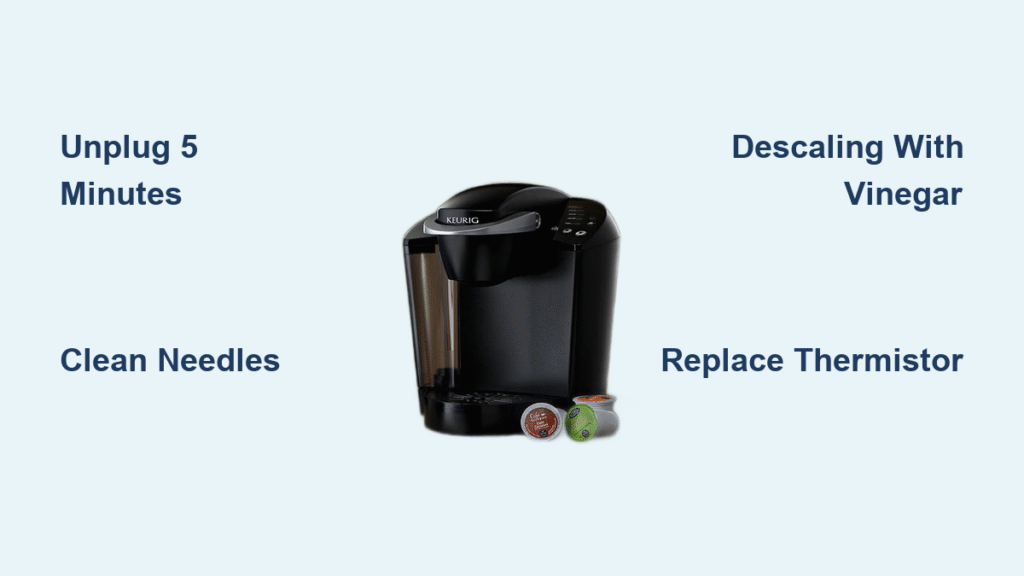
Emergency Reset Sequence: Stop Overheating in 5 Minutes (No Tools)

Power-Cycle Reset That Bypasses Thermal Lockouts
- Unplug for exactly 5 minutes (set a timer—shorter resets fail)
- Plug back in, lift and lower the handle without a pod
- Run a 6-oz water-only brew into a ceramic mug
- Repeat with your normal cup size
If overheating returns within 3 brews, scale or clogs require deeper intervention.
Water Reservoir Quick-Check Protocol
Remove and reseat the tank while checking:
– Magnet float moves freely up/down (stuck floats cause false “ADD WATER” errors)
– Silicone seal at outlet sits flush—replace if cracked (common cause of pressure leaks)
– Tank sits level without wobbling (misalignment blocks water flow)
Pro tip: Fill only to the max line—overfilling creates backpressure that mimics overheating.
Needle Unclogging for Instant Flow Restoration
Power off completely, then:
1. Straighten a paper clip to 2 inches
2. Insert ½ inch into entrance needle (under handle)
3. Twist gently—never force—to dislodge coffee grounds
4. Repeat in exit needle (inside K-cup holder)
5. Run two water-only brews to flush debris
This fixes 40% of “scorched coffee” cases by restoring proper water flow.
Deep-Clean Scale Buildup: The #1 Overheating Cause
Vinegar Descaling That Actually Works (48 oz Method)
Materials: 48 oz undiluted white vinegar, ceramic mug
Critical steps:
1. Empty reservoir, disable auto-off timer (hold Settings button 5 sec)
2. Fill reservoir to max line with vinegar—no dilution
3. Run 10-oz brews, discarding each into sink
4. Stop when “ADD WATER” appears, then wait 30 minutes (scale dissolves during soak)
5. Rinse reservoir, fill with fresh water
6. Run 12+ water-only brews until vinegar smell vanishes
Hard water users: Descale every 6 weeks—ignoring this causes 90% of heater failures.
Heating Assembly Flush for Stubborn Scale (K-Classic/Elite Only)
- Unplug and cool 30 minutes
- Remove 6 bottom screws, detach silicone hoses from pump to heater
- Submerge hoses in 50/50 vinegar solution 20 minutes
- Pour 4 oz descaler into heater inlet, wait 15 minutes
- Invert brewer over sink to drain completely
- Reassemble, run 3 water-only brews
Warning: Skip this if your model lacks removable hoses (K-Mini/Slim).
Replace Failing Sensors: $8 Fix for Persistent Overheating

Thermistor Swap for Faulty Temperature Readings (K-Select/K-Elite)
Part: 533.0000005 thermistor ($8 online)
When to replace: Housing overheats but water temperature reads normal
Steps:
1. Unplug, cool 30 minutes
2. Remove bottom cover (6 screws)
3. Locate sensor clipped to left side of aluminum heating block
4. Pull white Molex connector straight out—no force
5. Insert new sensor, re-clip firmly
6. Test with 3 consecutive water brews
Verify with multimeter: Should read 10 kΩ ±5% at 68°F (20°C).
Relay Sticking Emergency Fix (Prevent Continuous Heating)
Symptoms: Heater stays on after brew cycle, housing dangerously hot
Quick test:
1. Remove bottom cover
2. Gently tap black Songle relay (SRD-12VDC-SL-C) with plastic handle
3. If heater shuts off, replace relay ($3)
Warning: Requires soldering. Always use heat-shrink tubing on connections—exposed wires risk fire.
Model-Specific Overheating Solutions You Can’t Ignore

K-Mini/K-Mini Plus: Stop Rapid Reservoir Heating
Problem: Tiny reservoir lacks thermal buffer, overheating in 3 consecutive brews
Fix: Always pause 60 seconds between 10-oz brews. Never run back-to-back cycles.
K-Supreme Plus: Firmware Bug Causing Over-Ice Overheating
Problem: Pre-2022 models keep heater active too long on “Over Ice” setting
Fix: Update firmware via Keurig app (Settings > About > Update). Critical for 2021-2022 units.
K-Duo: Shared Heater Overload from Carafe Use
Problem: Carafe side overheats when used rapidly after single-serve
Fix: Alternate modes with 2-minute pauses. Never brew carafe immediately after single-serve.
K-Slim: Target Left-Side Hose During Descaling
Problem: Side-mounted heater traps scale at inlet elbow
Fix: During vinegar soak, focus liquid on left-side hose connection—the #1 failure point.
Prevent Future Overheating: The 3-Month Maintenance Rule
Non-Negotiable Ventilation Requirements
Maintain 6 inches clearance on all sides, 12 inches above. Move away from cabinets—over 70% of overheating cases occur in enclosed spaces. Place a USB fan behind the brewer; users report 8°F cooler operation.
Usage Habits That Eliminate 90% of Issues
- Pause 30 seconds between 12-oz brews (no exceptions)
- Reduce temperature on K-Elite/Supreme Plus from 192°F to 188°F
- Plug into dedicated outlet—never share with microwaves or toasters
Preventive Maintenance Schedule
| Task | Frequency | Critical Indicator |
|---|---|---|
| Full descaling | 3 months | “DESCALE” light, slow brew |
| Needle cleaning | Monthly | Grounds in cup, sputtering |
| Filter replacement | 2 months | Metallic-tasting coffee |
| Hose inspection | Annually | Overheating after descaling |
Repair vs Replace: When to Call Professionals
Warranty Red Flags (Contact Keurig Immediately)
Call 1-866-901-2739 if under warranty with error codes 2, 3, 7, or 17. Note: Scale damage voids warranty—only sensor/electrical failures covered.
Stop Trying DIY If You See:
- Melting plastic on housing
- Tripped circuit breakers after use
- Smoke or burning odors
These require professional repair—attempting fixes risks fire.
Cost-Benefit Analysis
Replace your Keurig if:
– K-Classic repairs exceed $45 (50% of new unit cost)
– Board-level fixes cost $75+
– Multiple components fail simultaneously
Use Keurig’s recycling program for 20% off a new machine.
Final verification: After any keurig overheating fix, confirm success with three consecutive 8-oz water brews. Your housing should feel warm—not hot—to the touch, with no shutdowns or steam leaks. Set a recurring phone reminder for descaling based on your water hardness—this single habit prevents 90% of overheating disasters. Start with the vinegar method; it solves most cases without opening the machine. If coffee still tastes burnt after proper descaling, replace the $8 thermistor—it’s the silent overheating culprit in 1 of 3 failing Keurigs.


