
Your morning coffee shouldn’t resemble weak tea or take longer to brew than it takes to drive to the café. When your Keurig starts delivering disappointing cups—watery, slow, or filled with stray grounds—the problem almost always traces back to clogged nozzles. These tiny metal needles work hard every time you brew, but they pay the price with coffee grounds, mineral deposits, and mold buildup that sabotage your perfect cup. Knowing how to perform proper Keurig nozzle cleaning is the difference between a frustrating morning ritual and coffee shop-quality brews from your kitchen counter.
Most Keurig owners don’t realize their machine’s needles need regular attention until brewing problems appear. But by then, the damage is done—your coffee tastes stale, brewing takes forever, and you’re wasting precious time and expensive pods. This guide delivers the exact steps to clean your Keurig nozzles quickly and effectively, backed by the mechanics of how these critical components actually work. You’ll learn not just how to fix current clogs, but how to prevent them from returning.
Why Your Keurig’s Needles Fail First
The Dual-Needle System You Never Knew About
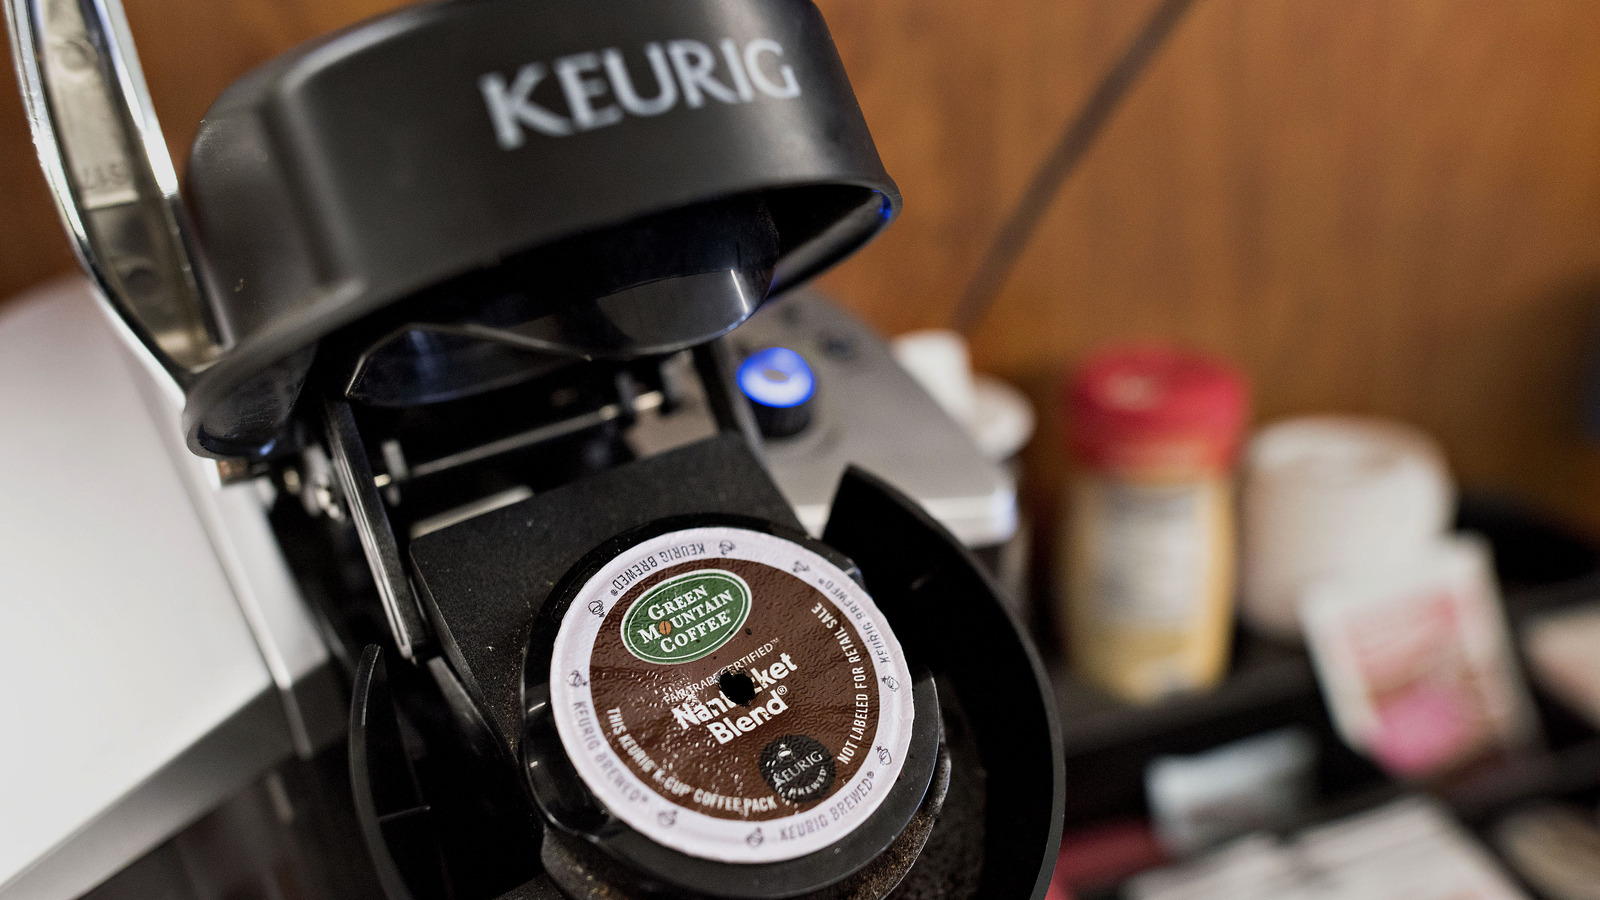
Your Keurig relies on two precision-engineered needles working in perfect harmony: the entrance needle punctures your K-cup’s foil lid from above, while the exit needle creates a controlled pathway at the bottom. When either becomes obstructed by coffee grounds or mineral deposits, water flow gets disrupted, extraction time increases dramatically, and your coffee turns weak or bitter. These aren’t simple holes—they’re calibrated channels that must maintain exact dimensions to deliver proper pressure and flow rate.
How Coffee Grounds Sabotage Your Morning Brew
During brewing, microscopic coffee particles inevitably migrate toward both needles. Combined with hard water minerals and coffee oils that harden over time, these particles create stubborn blockages that worsen with each cup. The warm, moist environment inside your machine accelerates this process, turning minor buildup into major clogs within weeks. Left unchecked, this buildup doesn’t just affect taste—it creates breeding grounds for mold and bacteria that contaminate every subsequent brew.
Spot Clogged Needles Before They Ruin Your Coffee

Telltale Signs Your Nozzles Need Immediate Cleaning
Don’t wait for complete failure—watch for these specific warning signs that indicate Keurig nozzle cleaning is overdue:
– Brewing time exceeds 2 minutes for a standard cup
– Visible coffee grounds around the K-cup holder after brewing
– Water pooling around the pod instead of flowing through
– Weak, watery coffee despite using strong roast pods
– Inconsistent brewing where some cups finish while others stall
The 30-Second Diagnostic Test You Should Do Weekly
Lift your brew handle and inspect both needle areas with a flashlight. Look for dark buildup around the entrance needle under the brew head and check the exit needle in the K-cup holder for visible blockage. Run a water-only cycle without a pod—healthy needles produce a steady, consistent stream that fills your cup in 60-90 seconds. Any hesitation, sputtering, or extended brewing time confirms nozzle issues.
Professional-Grade Keurig Nozzle Cleaning Method
Essential Supplies for Effective Cleaning (No Special Tools Needed)
You likely have everything required in your kitchen drawer:
– Straightened paper clip with tiny hook at one end (primary cleaning tool)
– Soft-bristled toothbrush for gentle scrubbing
– Mild dish soap to cut through coffee oils
– Clean microfiber cloths for drying and wiping
– White vinegar (optional for stubborn mineral deposits)
Step-by-Step Needle Unclogging Process
Phase 1: Safe Machine Preparation
Unplug your Keurig and let it cool for 15-20 minutes—never clean a hot machine. Remove the water reservoir, drip tray, and K-cup holder assembly by pressing the side release buttons. This complete disassembly gives you full access to both needles without risking damage to internal components.
Phase 2: Entrance Needle Deep Cleaning
Locate the top needle under the closed brew head. Gently insert your paper clip into the narrow opening, rotating in small clockwise circles to break up buildup. You’ll feel resistance at clog points—work patiently without forcing the clip. After clearing, wipe the area with a damp cloth to remove dislodged debris that could fall back into the mechanism.
Phase 3: Exit Needle Restoration
Flip the K-cup holder upside down to expose the bottom needle. Insert your paper clip through the center opening, working it in and out while rotating. Run warm water through the holder to flush loosened particles—properly cleaned, water should flow freely without pooling. For stubborn clogs, use your toothbrush dipped in soapy water to scrub around the needle base.
Phase 4: Final Testing Protocol
Reassemble all components and run 3-5 water-only cycles to flush remaining debris. The water should flow smoothly and consistently during each cycle. If you still notice slow brewing, repeat the needle cleaning process—sometimes multiple passes are needed for severe buildup.
Prevent Future Clogs With These Proven Strategies
Daily Habits That Reduce Cleaning Frequency
Wipe the needle area with a damp cloth after your last brew of the day—this 20-second habit prevents coffee grounds from hardening overnight. Always remove used pods promptly rather than leaving them in the machine, as residual moisture accelerates mold growth. Using filtered water cuts mineral deposits by 70%, dramatically reducing the need for deep cleaning sessions.
Create Your Personalized Cleaning Schedule
Base your Keurig nozzle cleaning frequency on actual usage:
– 3+ cups daily: Clean needles twice weekly
– 1-2 cups daily: Clean weekly
– Occasional use: Clean bi-weekly plus pre-use check
Mark your calendar or set phone reminders—most owners wait until problems appear, but preventive cleaning takes just 10 minutes and saves you from frustrating brewing failures.
Troubleshooting Persistent Nozzle Problems

When Standard Cleaning Doesn’t Fix the Issue
If your Keurig still brews slowly after proper nozzle cleaning, check these often-overlooked problem areas:
– Water reservoir valve clogged with mineral deposits
– Internal tubing obstructed by hardened coffee oils
– Faulty pump unable to maintain proper pressure
– Damaged needles from excessive force during cleaning
Run a vinegar solution (1:1 vinegar to water) through several cycles to dissolve stubborn mineral buildup, followed by 5-6 fresh water cycles to eliminate vinegar taste. If problems persist, contact Keurig support—some models have internal components requiring professional service.
Safety Red Flags During Cleaning
Never use metal objects larger than a paper clip on Keurig needles—these precision components bend easily, and replacement requires professional service. Always unplug your machine before cleaning; residual electricity combined with water creates serious shock hazards. If you notice any cracks in plastic components or persistent leaks after cleaning, stop using the machine immediately to prevent electrical damage.
Long-Term Maintenance Plan for Peak Performance
Monthly Deep Cleaning Protocol
Once monthly, combine your Keurig nozzle cleaning with these essential maintenance tasks:
1. Soak removable parts in vinegar solution for 30 minutes
2. Clean water reservoir valve with a cotton swab
3. Wipe exterior surfaces with mild detergent
4. Replace water filter if your model has one
Record Keeping for Optimal Machine Health
Track your cleaning schedule in a simple notebook or phone app noting:
– Date of each nozzle cleaning
– Vinegar descaling sessions
– Water filter changes
– Any unusual brewing behaviors
This log helps identify patterns before minor issues become major problems, extending your Keurig’s lifespan by years.
Regular Keurig nozzle cleaning isn’t just about fixing current problems—it’s about preserving the quality of every cup you’ll brew for years to come. By dedicating just 10 minutes weekly to this simple maintenance task, you’ll enjoy stronger coffee, faster brewing, and peace of mind knowing your machine operates safely and efficiently. The next time you lift that brew handle, you’ll appreciate the smooth, consistent flow that signals perfectly clean needles ready to deliver your ideal cup. Start today, and transform your morning routine from frustrating to flawless with coffee that tastes exactly as it should—rich, aromatic, and worth waking up for.


