
Your Keurig’s green light flashing isn’t random—it’s desperately trying to tell you what’s wrong. That morning when you’re craving coffee and your machine starts blinking like a tiny traffic signal, it’s sending specific diagnostic messages. Whether it’s slow pulses, rapid blinks, or continuous flashing, each pattern reveals exactly what your coffee maker needs to function properly.
Don’t ignore these signals or you’ll face brewing failures, inconsistent temperatures, and even permanent damage. This guide decodes every green light flashing pattern and provides immediate solutions you can implement with household items. You’ll learn which issues require simple fixes you can complete in minutes and when professional help becomes necessary.
Identify Your Specific Flashing Pattern

Continuous Green Light Flashing Meaning and Fix
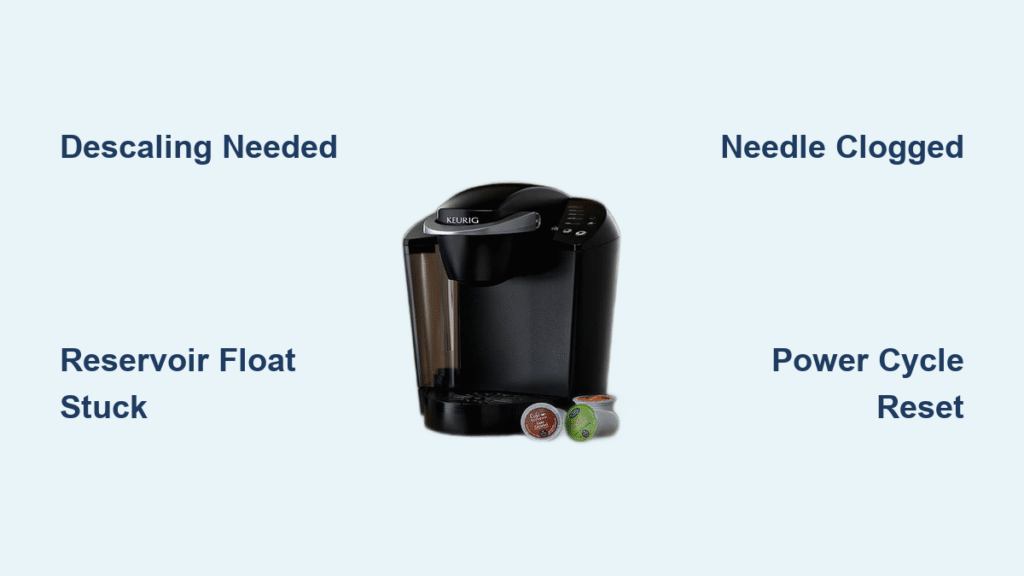
When your Keurig green light flashing becomes a steady, unbroken cycle, your machine is demanding descaling. This persistent signal indicates mineral buildup has compromised water flow and temperature control—critical factors for proper coffee extraction. Your Keurig’s sensors detect restricted water movement through internal pathways, triggering this urgent maintenance alert.
Immediate action steps:
– Prepare a mixture of Keurig descaling solution or equal parts white vinegar and water
– Pour the solution into the reservoir until it reaches the MAX fill line
– Activate descaling mode by holding the brew button for 5 seconds (most models)
– Allow the complete cycle to finish—typically 45-60 minutes with periodic pauses
– Complete 3-4 full reservoir rinses with fresh water afterward
Pro tip: If the Keurig green light flashing continues after descaling, test your water hardness. Areas with 121+ ppm hardness may require monthly descaling instead of the standard 3-6 month schedule.
Rapid Green Blinking Troubleshooting Guide
Fast, urgent flashing typically points to water reservoir problems—even when the tank appears full. This pattern usually occurs because the magnetic float inside your reservoir has become stuck in the down position, tricking your machine into thinking it’s empty.
Quick fix process:
1. Remove the water reservoir completely from your Keurig
2. Empty any remaining water and wash with warm, soapy water
3. Locate the small plastic float inside the reservoir base and gently move it up and down
4. Ensure it slides smoothly without resistance (mineral deposits often cause sticking)
5. Rinse thoroughly and refill with fresh water
6. Reinsert the reservoir with firm pressure until you hear a definitive click
This simple procedure resolves approximately 60% of Keurig green light flashing issues related to water detection.
Intermittent Flashing During Brewing Solutions
Brief flashes specifically while brewing indicate needle clogs. Coffee grounds accumulate in both the entrance needle (top puncture mechanism) and exit needle (inside the pod holder), creating partial blockages that disrupt normal water flow. Your Keurig detects these inconsistencies and responds with warning flashes.
Needle cleaning protocol:
– Power off and unplug your machine before starting
– Open the brewer handle fully to access the entrance needle
– Insert the orange maintenance tool (or straightened paperclip) into the needle
– Gently twist 3-4 times to dislodge coffee grounds
– Remove visible debris with a damp cloth
– For the exit needle, remove the pod holder assembly and turn it upside down
– Insert your cleaning tool through the bottom opening and push through any clogs
– Rinse both components under warm water until completely clear
Run a water-only brew cycle afterward to verify proper function before using coffee pods again.
Execute Critical Diagnostic Checks
Power Cycle Reset Procedure
Before attempting complex repairs, perform this essential 30-second reset that solves approximately 25% of mysterious Keurig green light flashing issues:
- Unplug your machine from the wall outlet completely
- Wait exactly 5 minutes (this clears the microprocessor’s temporary memory)
- Plug the machine back in and power on
- Run a full water-only brew cycle without inserting a K-Cup
This simple reset clears temporary sensor glitches and communication errors between internal components.
Water Reservoir Alignment Verification
A slightly misaligned reservoir causes more flashing problems than most users realize. Even minor shifts can disrupt the connection between the reservoir and your machine’s sensors.
Alignment checklist:
– Remove the reservoir and inspect the base for hairline cracks
– Verify the water intake valve moves freely without obstruction
– Check for mineral buildup around the connection point on both reservoir and machine
– Ensure the reservoir sits perfectly level without wobbling when inserted
– Listen for the definitive “click” when fully seated
Proper alignment ensures accurate water level detection, preventing false empty reservoir signals that trigger flashing lights.
Resolve Persistent Descale Mode Problems

When Green Light Keeps Flashing After Descaling
Completed the full descaling cycle but the Keurig green light flashing continues? This frustrating scenario typically indicates one of three specific issues:
Sensor residue problem: Mineral deposits sometimes coat internal sensors even after descaling. Run one additional descaling cycle using fresh solution, paying special attention to the 30-minute soak period.
Incomplete rinse cycles: Your machine tracks rinse completion. Run 5-6 full reservoir cycles with fresh water instead of the minimum 3.
Hard water override: Extremely hard water (121+ ppm) may cause immediate new buildup. Implement monthly descaling until scale formation slows.
Manual Descale Mode Activation Method
Force your Keurig into descale mode when standard methods fail with this sequence:
– Power off the machine completely
– Hold both the 8oz and 10oz buttons simultaneously
– While holding these buttons, press the power button
– Release all buttons when the green light begins flashing
– Proceed with your standard descaling solution process
This bypasses potential software glitches preventing normal descale mode entry.
Implement Preventative Maintenance Schedule
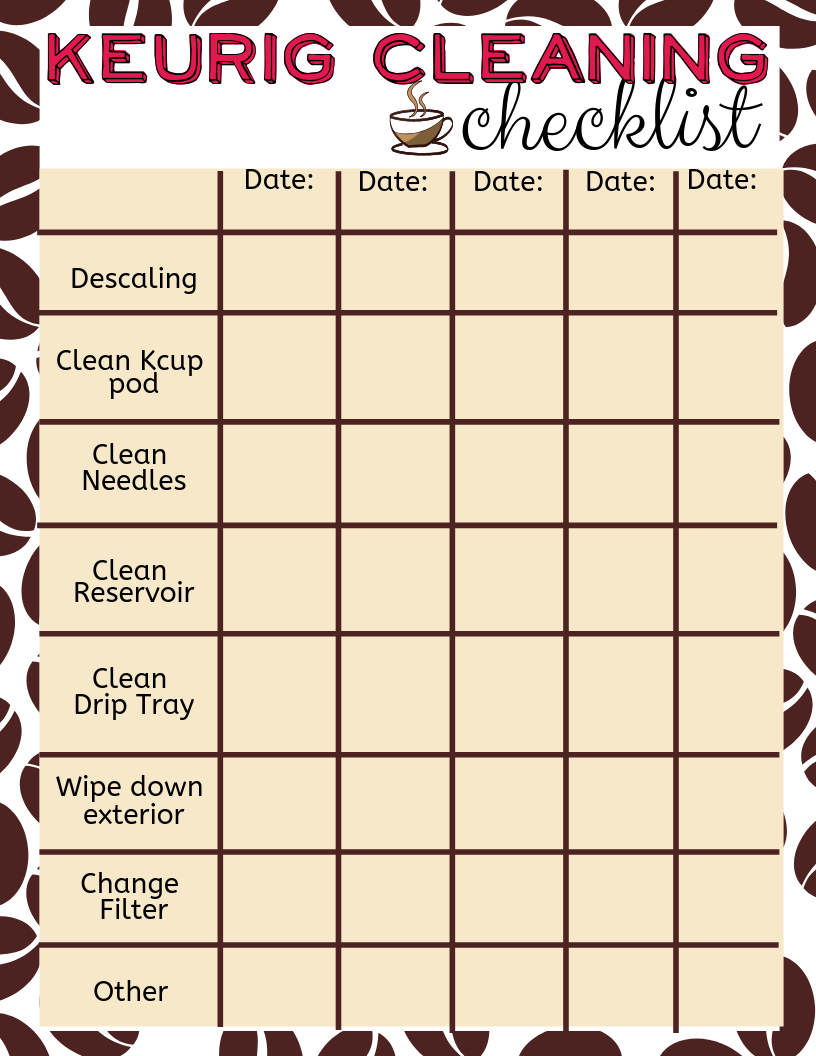
Create a Flashing-Free Routine
Prevent Keurig green light flashing before it starts with this simple maintenance calendar:
Weekly (5 minutes):
– Rinse water reservoir thoroughly and allow to air dry
– Wipe needle area with a damp cloth to remove coffee residue
– Run one water-only brew cycle to flush internal pathways
Monthly (15 minutes):
– Deep clean reservoir and lid with mild detergent
– Inspect and clean both entrance and exit needles
– Check power cord and connections for damage
Quarterly (60 minutes):
– Complete full descaling cycle appropriate for your water hardness
– Replace water filter if your model uses one
– Clean external surfaces with appliance-safe cleaner
Optimize Water Quality for Fewer Flashes
Your tap water directly determines how often you’ll see Keurig green light flashing warnings. Test your water hardness using inexpensive strips from any hardware store.
Hard water solutions (61+ ppm):
– Install an under-sink water filter
– Use bottled spring water for brewing
– Increase descaling frequency to every 2-3 months
Soft water maintenance (0-60 ppm):
– Maintain standard 6-month descaling schedule
– Focus cleaning efforts on needle maintenance
– Monitor filter replacement needs more closely than scale buildup
Simple daily habits dramatically extend your Keurig’s trouble-free operation:
– Empty the reservoir when leaving for 3+ days
– Never let water sit stagnant for extended periods
– Remove used pods immediately after brewing
– Keep the area around your Keurig clean and dry
Recognize When to Seek Professional Help
Persistent Flashing Warning Signs
Stop troubleshooting and contact Keurig support if you experience:
– Continuous flashing after two complete descaling cycles
– Flashing accompanied by unusual noises or burning smells
– Machine won’t power on despite the flashing light
– Water leaks during descaling attempts
– Complete unresponsiveness to button presses
Warranty Claim Preparation
Before calling support, document these critical details:
– Exact flashing pattern (count flashes and pauses precisely)
– When the problem first appeared
– All troubleshooting steps you’ve attempted
– Your verified water hardness level
– Purchase date and complete model number
Understanding your warranty coverage prevents unpleasant surprises:
– Internal component failures: Fully covered for 1 year
– Scale damage from neglected maintenance: Not covered
– Using non-Keurig descaling products: May void warranty
– Damage from improper cleaning attempts: Not covered
That flashing green light isn’t your enemy—it’s your Keurig’s communication system working exactly as designed. By learning these patterns and implementing the appropriate fixes, you’ll transform from frustrated coffee drinker to confident appliance troubleshooter. Most Keurig green light flashing issues resolve within 30 minutes using these proven methods, but the real victory comes from establishing a maintenance routine that prevents future flashing altogether. Start your personalized maintenance schedule today and reclaim your morning coffee ritual without blinking light interruptions.


