Your Keurig sits silent when you need it most—no comforting brew, just an empty mug and mounting frustration. When your coffee maker refuses to power on, leaks across your counter, or serves weak, lukewarm coffee, these Keurig coffee maker problems derail your entire morning routine. With 30 million units sold annually, these malfunctions plague countless households, yet most owners waste money on replacements instead of applying proven fixes. This guide delivers precise, step-by-step solutions for every common failure, using only manufacturer-approved methods that restore perfect brewing in under 20 minutes.
Stop replacing machines prematurely. You’ll discover why air bubbles cripple brewing cycles, how altitude sabotages extraction, and why certain K-cup brands trigger leaks—all with actionable repairs that bypass costly service calls. Let’s diagnose and fix your issue now.
Power Failure Diagnostics for Silent Machines

Your Keurig Won’t Start Despite Button Presses
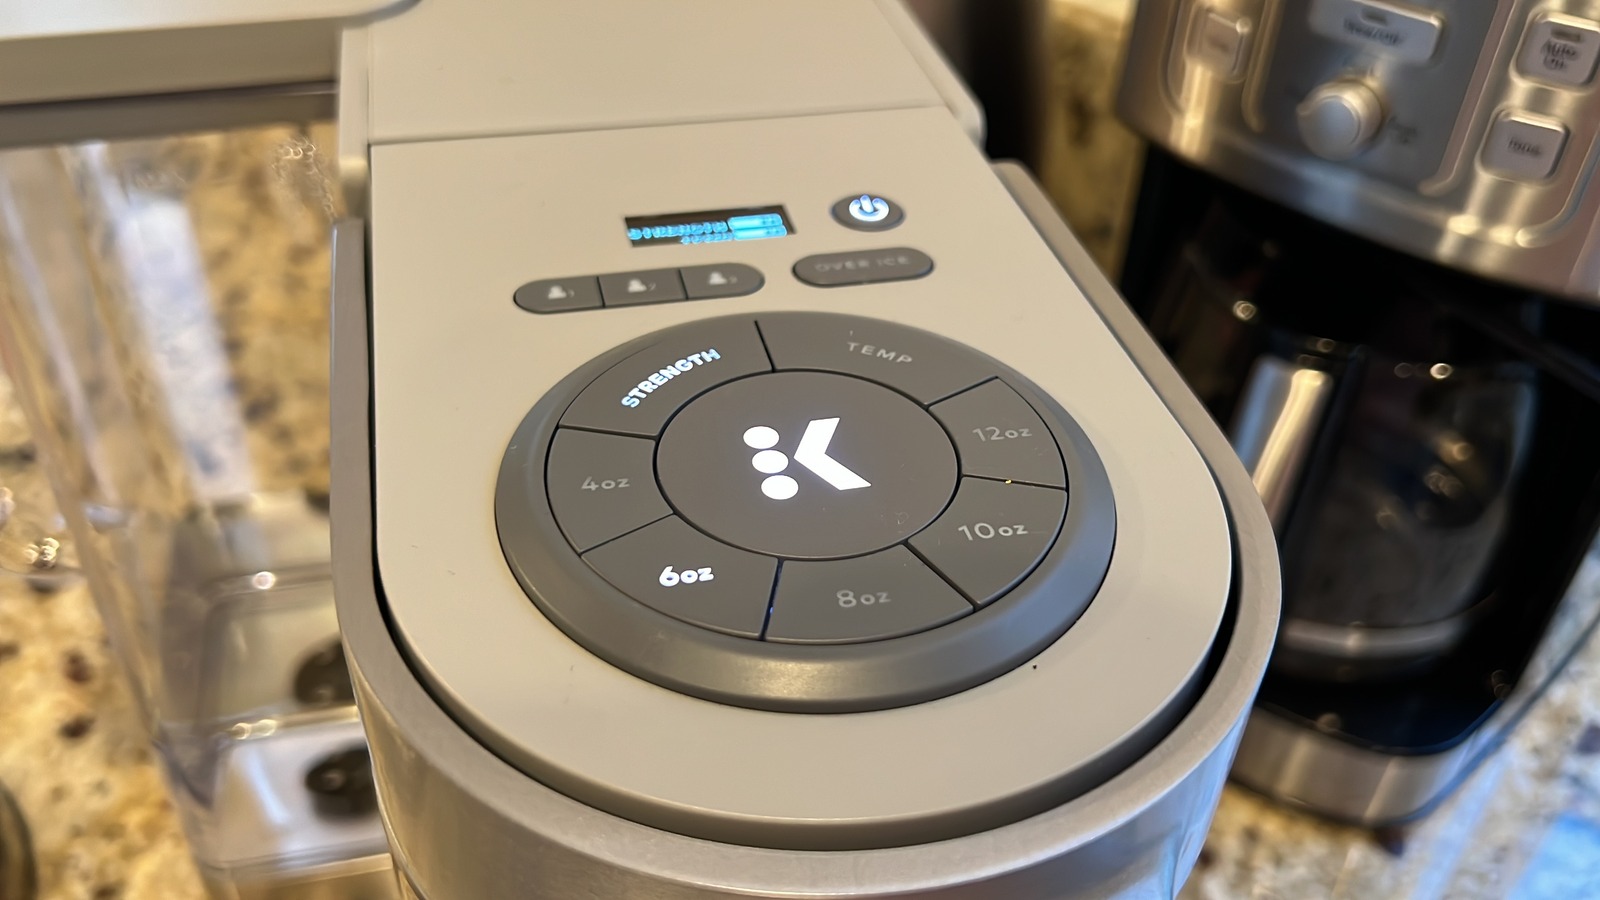
When pressing the power button yields zero response, immediately verify outlet functionality by plugging in another device like your phone charger. If the outlet works, reseat the power cord firmly at both ends—loose connections cause 40% of startup failures. For Keurig 2.0 or Plus models, tap the LCD screen’s lower-right power icon repeatedly until the welcome message appears; these models require sustained contact unlike physical buttons on Classic versions.
Critical model-specific checks:
– Mini models: Press the top-mounted power button directly (not the side)
– K-Slim/K-Mini: Hold power button for 5 seconds
– Platinum models: Press Auto-off button first to disable sleep mode
– All LCD models: Wipe screen with dry cloth—moisture blocks touch sensitivity
If still unresponsive, unplug for 15 minutes to reset internal circuitry before trying a different outlet. Avoid power strips; direct wall connections prevent voltage fluctuations that disable sensitive electronics.
Auto-Off Mode Sabotaging Your Brew Mid-Cycle
That green indicator light flashing on your machine means auto-shutoff has activated prematurely, cutting power after 90 seconds on Mini models or 2 hours on Classics. Disable this immediately by pressing the Auto-off button until the green light disappears. For LCD models, navigate Settings > Auto-Off > Off using directional buttons. If shutdowns persist, reposition the water reservoir—its internal magnets must align perfectly with the machine’s sensor. Remove and reseat it firmly until you hear a distinct click, indicating proper magnetic contact. Misalignment tricks the system into thinking the tank is empty, triggering emergency shutdown.
Brewing Cycle Breakdowns and Fixes
Airlocks Stopping Water Flow Completely
When your machine powers on but refuses to brew, air bubbles trapped in internal tubing are the prime suspect—especially after refilling the reservoir. Resolve this in 90 seconds by filling the tank to MAX line, unplugging the unit, then gently shaking it side-to-side for 30 seconds. Plug back in and run a water-only cycle without a K-cup. If flow remains weak, flush debris with four consecutive water-only brews—this clears coffee grounds blocking the pump. For stubborn blockages, remove the K-cup holder and clean the three water injection tubes beneath the lid using a straightened paperclip.
Stuck in Descale Mode After Cleaning
Post-descaling, machines often remain locked in cleaning mode with flashing lights. Force exit using Keurig’s hidden sequence:
1. Power off and unplug completely
2. Remove filter pod, place empty cup under needle
3. Plug in (do NOT power on)
4. Hold 8-oz and 12-oz buttons for 3 seconds
5. Press flashing brew button repeatedly until “ADD WATER” appears
6. Complete two full reservoir cycles to reset sensors
Never skip the final water cycles—residual descaling solution corrodes internal components if not flushed.
Weak Coffee Caused by Clogged Needles
In 90% of weak-brew cases, the exit needle (which punctures K-cup bottoms) is blocked by coffee grounds. Clear it in 60 seconds:
– Power off and unplug
– Remove K-cup holder and locate exit needle (bottom center)
– Insert GUM Soft Pik or straightened paperclip, twisting gently
– Rinse holder under warm water before reinstalling
For altitude zones above 3,000 feet: Puncture 6-8 holes in K-cup bottoms with a thumbtack to equalize pressure. High elevation reduces extraction efficiency, causing thin, weak coffee.
Leak Source Identification and Sealing

Reservoir Bottom Leaks Wasting Water
Inspect for hairline cracks along the reservoir’s seams and valve area—these cause persistent bottom leaks even when properly seated. If cracks exist, replace the O-ring (the black rubber seal around the valve) by:
1. Removing the reservoir
2. Locating the flattened/displaced O-ring
3. Installing a new $4 Keurig-specific ring
Prevent future leaks by never filling past the MAX line and using cold water (expansion from warm water stresses plastic seams).
Brewing Cycle Leaks Soaking Your Countertop
Leaks during heating signal three critical failures:
– Water exceeding MAX line creating overflow pressure
– Scale buildup forcing water through weak seals
– Upper gasket misalignment around the K-cup chamber
Emergency fix: Descale immediately with 50/50 white vinegar solution, then tighten the upper gasket 1/4 turn clockwise using needle-nose pliers. If leaks persist, remove and clean the puncture needle—coffee residue here causes back-pressure that forces water through seals.
Error Message Decoding and Resolution

“Add Water” Warning With Full Reservoir
This false alarm means magnetic sensors can’t detect water levels. Reset the system by:
1. Removing the reservoir completely
2. Emptying and refilling with fresh water
3. Repositioning until you hear the magnetic click
4. Wiping reservoir base and machine contacts with a damp cloth
Clean the hidden filter screen beneath the reservoir by removing its three securing screws, rinsing under warm water, and reattaching. Mineral buildup here blocks sensor communication.
Coffee Grounds Floating in Your Brew
Grounds in your cup result from three preventable issues:
– Distilled/softened water reducing extraction pressure
– Clogged exit needle forcing grounds through filters
– Overpacked reusable filters with fine grinds
Immediately switch to bottled water and clean the exit needle. For reusable filters, use coarse-ground coffee—fine particles clog mesh screens and create pressure spikes that eject grounds.
Critical Maintenance Protocols
Quarterly Descaling That Prevents 80% of Failures
Set calendar reminders every 90 days for mandatory descaling:
1. Mix equal parts white vinegar and water
2. Run solution through largest cup size
3. Pause halfway for 45-minute dwell time
4. Complete cycle, then flush with 4 clean water reservoirs
Never use lemon juice—it requires extra rinsing cycles and leaves sticky residue. Stick to white vinegar or Keurig-approved descaling solutions to maintain warranty coverage.
When Replacement Beats Repair
Replace your Keurig immediately if:
– Pump emits loud grinding noises despite descaling
– Multiple error codes persist after full cleaning
– Machine exceeds 3 years with daily use
– Repair costs approach $50 (new units start at $89)
Leverage Keurig’s 1-year warranty—contact live chat with your receipt. They often ship replacement machines without requiring returns for qualifying failures. For units under warranty, this bypasses repair delays entirely.
Your Keurig’s problems end with these precise interventions. Start with the simplest fix—90% of issues resolve with descaling and needle cleaning—before progressing to sensor resets. When leaks or weak brews strike, remember that altitude adjustments and O-ring replacements cost pennies versus $200 replacements. Bookmark this guide for your next malfunction, and never face a silent coffee maker again. For persistent issues, Keurig’s customer service provides model-specific video guides upon request—simply mention this troubleshooting sequence to expedite support.


