
You’ve just finished cleaning your Keurig coffee maker—descaled it, wiped down all the parts, and reassembled everything—and now it won’t power on, brew properly, or is displaying frustrating error messages. This common post-cleaning dilemma leaves many coffee lovers stranded without their morning fix. The good news is that 95% of these issues stem from simple oversights during the cleaning process and can be resolved quickly without professional help.
Post-cleaning malfunctions typically occur because moisture infiltrated electrical components, air pockets disrupted water flow, or parts shifted slightly out of alignment during reassembly. These problems are especially common when users rush the drying process or don’t follow the manufacturer’s specific cleaning instructions for their model. In this guide, you’ll discover precise troubleshooting steps to diagnose and fix your uncooperative Keurig, often in under 15 minutes, so you can get back to enjoying your daily coffee ritual.
Power Failures After Cleaning Your Keurig
Why Your Keurig Won’t Power On After Cleaning
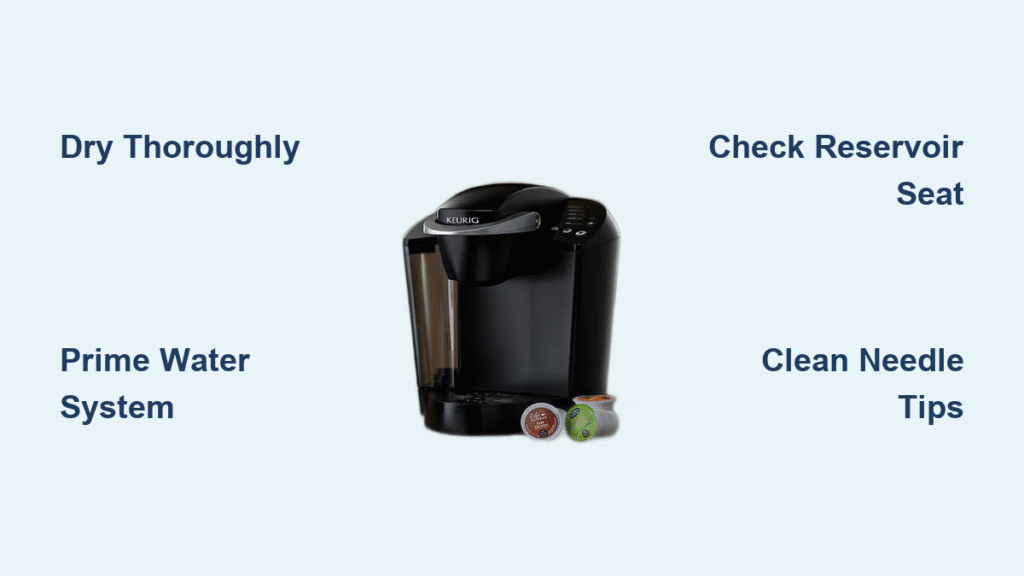
Moisture infiltration is the primary reason your Keurig shows no signs of life after cleaning. When water reaches electrical components during the cleaning process, the machine automatically shuts down to prevent damage. Immediately unplug your Keurig and place it in a warm, dry area for 45-60 minutes to allow trapped moisture to evaporate from sensitive electrical parts.
Critical check: Feel around the base, power cord connection, and control panel for any dampness. If you detect moisture, extend the drying time to 2-4 hours. Position a fan nearby or place the machine in a sunny window to accelerate evaporation—never use a hair dryer as excessive heat can damage components.
Fixing Intermittent Power Issues in Your Keurig
Flickering displays or random power cycling indicate loose connections exacerbated by moisture exposure during cleaning. First, ensure your power cord sits firmly in both the machine’s socket and wall outlet. Test the outlet with another appliance to confirm it’s functioning properly.
Pro tip: Wrap a paper towel around a butter knife to carefully absorb moisture from crevices around the power button without risking electrical shock. If the issue persists after thorough drying, check if water droplets have accumulated near the display area—a common problem when users clean the exterior with excessive moisture.
Water Flow Failures After Keurig Maintenance
Solving Complete Water Dispensing Failure
When your Keurig remains silent during brew attempts with no water output, an air lock in the pump system is almost certainly the culprit. This happens when cleaning dislodges air pockets that become trapped in internal tubing. The solution requires a specific purging technique:
- Fill the water reservoir to maximum capacity with fresh, cold water
- Remove any K-cup from the holder
- Select the largest cup size and run 3-5 consecutive brew cycles
- Listen for the pump sound to transition from a strained whine to smooth operation
This process forces water through the system, pushing air pockets out of the tubing. For stubborn air locks in K-Elite models, elevate the machine 6-12 inches above counter level during purging—gravity helps push water through problem areas.
Eliminating Slow Brewing After Descaling Your Keurig

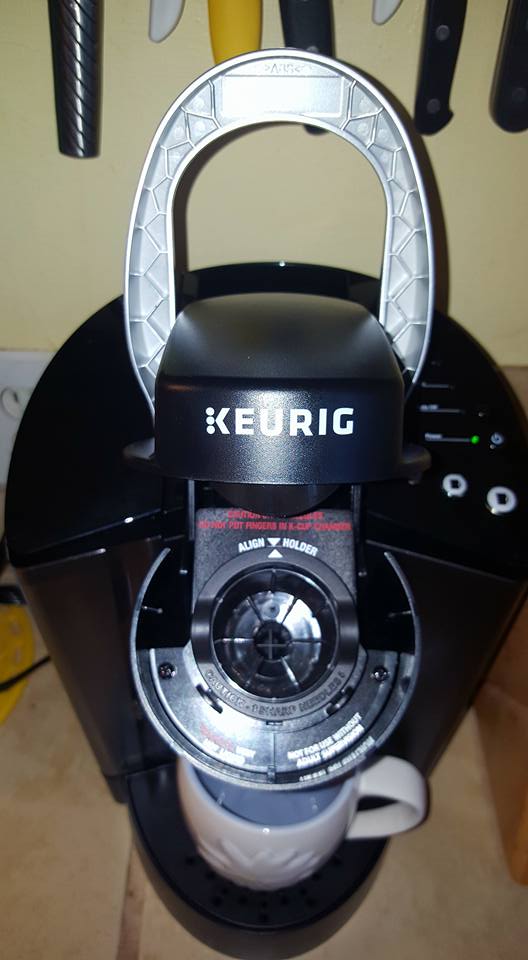
If your Keurig produces coffee drip-by-drip after cleaning, dislodged mineral deposits have likely clogged internal tubes. This is especially common after descaling when loosened scale fragments travel through the system. The fix requires needle cleaning:
- Straighten a paperclip but leave one end curved
- Power off and unplug your machine completely
- Insert the curved end into the upper needle (where water enters K-cups)
- Gently rotate to dislodge scale fragments without damaging the needle
- Repeat with the lower needle inside the K-cup holder
For persistent clogs, use a Keurig maintenance tool (available online) designed specifically for your model. Never use sharp objects that could damage the delicate needles.
Brewing Cycle Disruptions Post-Cleaning
Fixing Mid-Cycle Brewing Stops in Your Keurig
When your Keurig starts brewing then abruptly stops halfway through, misaligned components have triggered the machine’s safety sensors. This commonly happens when the K-cup holder or water reservoir isn’t properly seated after cleaning. Follow this precise realignment sequence:
- Remove the water reservoir completely
- Detach and inspect the K-cup holder for damage
- Clean the reservoir base contacts with a dry cloth
- Reinstall components starting with the reservoir, ensuring it clicks securely
- Test with a water-only cycle before brewing coffee
For Keurig 2.0 models, also check that the carafe is properly positioned and the lid clicks into place, as these models have additional sensors that halt operation if alignment is off.
Removing Coffee Grounds from Your Brew
Finding coffee grounds in your cup after cleaning indicates the upper needle gasket shifted during maintenance. This small rubber seal prevents grounds from flowing backward into your cup. To fix:
- Open the brew head and locate the upper needle
- Check for a small rubber gasket around the needle base
- Use tweezers to gently reposition if misaligned
- Replace the gasket entirely if torn or hardened from age
This issue commonly occurs when users clean the K-cup holder assembly too vigorously. Handle this component gently during future cleanings to prevent displacement.
Decoding Keurig Error Messages After Cleaning
Resolving the Persistent “Prime” Error
The “Prime” message appears when your Keurig detects improper water flow, usually because the reservoir isn’t seated correctly or air remains trapped after cleaning. To fix this common post-cleaning error:
- Remove the reservoir and check that the float valve moves freely
- Fill to the maximum line with fresh water (not cleaning solution)
- Ensure the reservoir sits completely flat on the base with no gaps
- Run 2-3 water-only cycles to purge remaining air from the system
For Keurig Mini models, this error frequently occurs because users don’t fill the reservoir completely after cleaning—these compact models require a full reservoir to establish proper water flow.
Turning Off the Stubborn “Descale” Light
When the descale indicator remains illuminated after cleaning, it’s usually a sensor calibration issue rather than incomplete descaling. Follow this exact reset procedure:
- Empty the reservoir completely
- Refill with fresh water only (no cleaning solution)
- Power cycle the machine by unplugging for 2 full minutes
- Run the largest cup size 3 times consecutively
- The light should extinguish automatically after the third cycle
If the light persists, your Keurig may need a factory reset through the settings menu—consult your specific model’s manual for exact instructions.
Model-Specific Keurig Repair Techniques
Fixing K-Classic Reservoir Recognition Problems
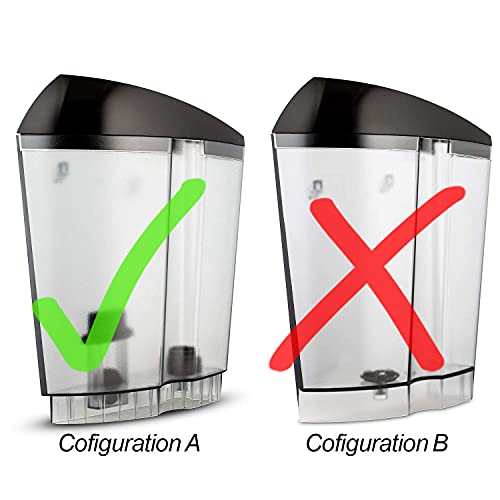
K-Classic models (K50/K55) frequently fail to detect the water reservoir after cleaning due to magnet misalignment. The sensor relies on a small magnet in the reservoir base that can shift during handling. To fix:
- Remove the reservoir and locate the magnet (a small rectangular piece)
- Clean both the magnet and sensor area with a dry cloth
- Ensure the magnet sits flush in its housing with no gaps
- Reinstall the reservoir with firm downward pressure until it clicks
This simple fix resolves 90% of “no water” issues with K-Classic models after cleaning.
Correcting Keurig 2.0 Carafe Sensor Errors
K200-K575 series models often display carafe sensor errors after cleaning the carafe assembly. These errors occur when the base contacts become dirty or misaligned. Use this precise cleaning method:
- Remove the carafe and inspect the base contacts for residue
- Dip a cotton swab in isopropyl alcohol and clean both carafe and machine contacts
- Ensure the carafe lid clicks into proper position before brewing
- Run a water-only cycle to verify proper operation
Never submerge the carafe base in water—clean only the visible contacts with a dampened swab.
Essential Post-Cleaning Prevention Strategies
Creating a Foolproof Cleaning Protocol
Prevent future post-cleaning disasters with this step-by-step protocol:
- Document component positions with 3-4 clear phone photos before disassembly
- Use only approved cleaners—Keurig descaling solution or 50/50 white vinegar/water mix
- Allow 2-4 hours drying time before operation (never rush this step)
- Start with water-only cycles—run 2-3 cleansing brews before making coffee
This protocol prevents 90% of post-cleaning issues by addressing the most common user errors during maintenance.
Building Your Keurig Emergency Toolkit
Keep these items readily available for quick troubleshooting:
– Straightened paperclip for needle cleaning
– Cotton swabs and isopropyl alcohol for sensor maintenance
– Small turkey baster for manual priming
– Soft-bristled brush for scale removal
– Microfiber cloth for drying electrical components
Having these tools on hand means you can address most issues immediately without waiting for replacement parts.
When your Keurig coffee maker isn’t working after cleaning, remember that patience is your most valuable tool. Rushing the drying process or skipping proper reassembly causes most post-cleaning failures. By following these precise troubleshooting steps, you’ll restore your machine’s functionality quickly and prevent future issues. If problems persist after trying these solutions, consult your specific model’s manual or contact Keurig customer support for guidance tailored to your machine—sometimes a simple factory reset is all that’s needed to get your morning coffee flowing again.


