
Your morning coffee tastes flat or slightly chemical, and you can’t figure out why. You’re using quality beans, but something’s missing. The culprit often hides in your tap water. Keurig water filter cartridges transform ordinary water into premium brewing liquid, removing chlorine taste while protecting your machine from damaging scale buildup. This guide reveals exactly how to use Keurig water filter cartridges for consistently better coffee and longer machine life—no guesswork required.
Most Keurig owners don’t realize their machine’s performance depends heavily on water quality. Without proper filtration, minerals and contaminants create bitter flavors and shorten your brewer’s lifespan. Whether you’re setting up your first filter or replacing an old one, these precise steps ensure optimal results every time. You’ll learn installation secrets most manuals skip, plus troubleshooting tricks for common problems.
Verify Your Keurig Model Accepts Filters
Before purchasing cartridges, confirm your machine supports the filtration system. Not all Keurig models work with standard filters, and using incompatible parts voids warranties.
Check Your Specific Model
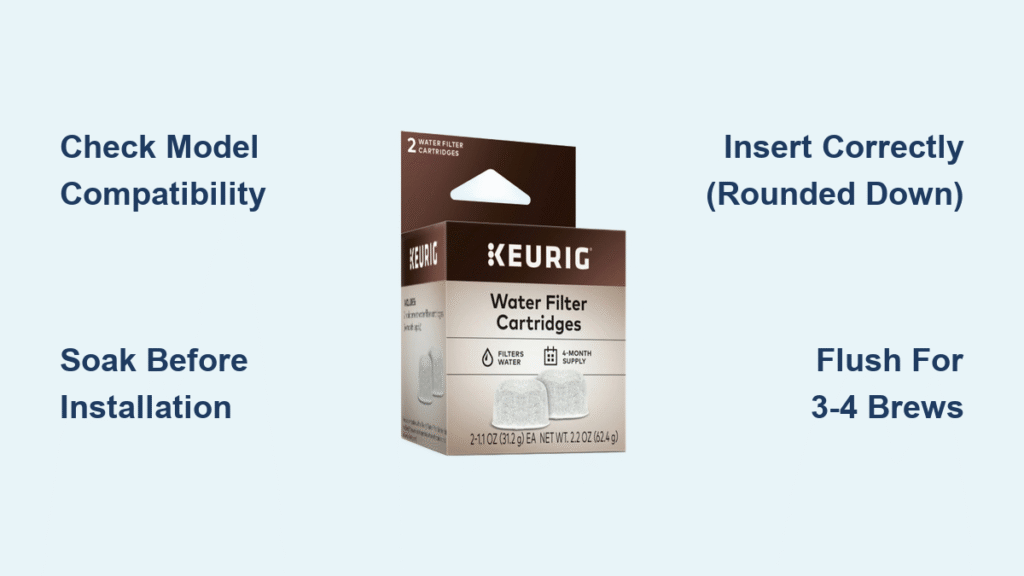
Keurig 2.0 Series (K200-K575), Classic Models (K50, K55, K-Classic), and Select Series (K-Select, K-Elite) all accept standard cartridges. The K-Supreme line, K-Duo models, and K-Mini Plus (with adapter) also work. Look for a filter holder slot at the bottom of your water reservoir—if you see a rectangular opening, your machine is compatible.
Identify Physical Compatibility Signs
Remove your water reservoir and inspect the bottom. A small rectangular slot indicates filter capability. Some newer models have a permanently attached filter holder that looks like a tall, thin basket with a handle. If your reservoir lacks these features, check Keurig’s website for adapter kits before buying filters.
Gather Essential Filter Installation Supplies
Skipping proper preparation leads to cloudy coffee and installation headaches. Having the right tools ready prevents common mistakes.
Must-Have Items Checklist
- New Keurig water filter cartridge (never use generic brands)
- Filter holder (included with brewer or starter kit)
- Fresh cold tap water (hot water damages filter media)
- Timer (critical for proper soaking duration)
Pro Tip: Keep a small bowl near your sink specifically for filter soaking. This prevents cross-contamination with food prep areas and makes the process mess-free.
Properly Prepare New Filter Cartridges

Installing a dry filter introduces carbon dust into your first brews, creating cloudy, unpleasant coffee. Follow these exact steps to avoid this common mistake.
Complete Soak and Rinse Protocol
- Submerge the cartridge in cold water for exactly 5 minutes—set a timer to avoid under-soaking
- Shake gently while underwater to release trapped air bubbles (you’ll see streams of bubbles)
- Rinse thoroughly under running water for 60 seconds, rotating the cartridge to cover all sides
- Squeeze test by compressing the cartridge underwater—if black particles appear, continue rinsing
Warning: Never skip the soaking step. Dry filters release carbon fines that contaminate your first 3-4 brews and reduce filtration effectiveness.
Install the Filter Holder System Correctly
Improper holder installation causes leaks and poor water flow. This process differs slightly between models but follows the same principles.
Secure Holder Placement Steps
- Remove reservoir by lifting straight up from the brewer base
- Align holder with the rectangular slot at reservoir bottom
- Press firmly downward until you hear a distinct click (don’t force it)
- Test stability by gently tugging upward—properly installed holders won’t budge
Troubleshooting Tip: If the holder won’t click into place, check for manufacturing debris in the slot. A quick wipe with a damp cloth often solves this issue.
Insert Filter Cartridge Without Errors

Most filter problems stem from incorrect cartridge placement. Even experienced users make these critical mistakes.
Correct Cartridge Loading Sequence
- Pull up on the holder handle to open the compartment
- Insert cartridge with the rounded end facing down (flat end up)
- Close handle with firm, even pressure until it snaps shut
- Verify seal by checking for gaps between cartridge and holder edges
Critical Mistakes That Ruin Filtration
- Installing the cartridge upside-down (flat end down)
- Forcing the holder closed over a misaligned filter
- Leaving the protective plastic wrap on the cartridge
- Using hot water during the initial flush cycle
Complete First-Time Setup Properly
Skipping the initial flush cycle introduces carbon particles into your coffee. This step takes 5 minutes but prevents ruined morning brews.
Essential Flushing Procedure
- Fill reservoir to MAX line with cold tap water
- Replace reservoir on brewer base
- Run 3-4 cleansing brews without a K-cup
- Discard all flushed water—do not drink these initial cycles
Note: The first 1-2 brews may appear slightly cloudy. This is normal carbon fines being flushed out. Continue brewing until water runs completely clear.
Replace Cartridges on the Right Schedule

Overused filters become ineffective and can release trapped contaminants back into your water. Don’t wait for obvious problems to change your cartridge.
Replacement Timing Guidelines
Time-based: Every 60 days without exception
Usage-based: After 60 full reservoir refills (track with a calendar)
Performance signs: Replace immediately if you notice:
– Slower brewing cycles
– Metallic or chemical aftertaste
– Visible particles in brewed coffee
Quick Replacement Checklist
- Open filter holder and remove old cartridge
- Discard used cartridge (check local recycling options)
- Soak and rinse new cartridge before installation
- Run 2-3 cleansing brews after replacement
Fix Common Filter Installation Problems
Even with proper setup, issues can arise. These solutions address the most frequent filter-related problems.
Filter Won’t Fit Properly
- Check model match – K200 series requires different cartridges than Classic models
- Inspect holder for cracks or warping (replace if damaged)
- Verify orientation – rounded end must face downward toward water flow
Cloudy Coffee After Replacement
- Continue flushing with 2-3 additional cleansing brews
- Replace cartridge if particles persist beyond 5 cycles
- Check holder seal—a loose fit allows unfiltered water bypass
Optimize Filter Performance Daily
Small adjustments dramatically improve filtration effectiveness and extend cartridge life.
Water Quality Best Practices
Always use cold tap water – hot water damages the carbon media
Avoid distilled water – lacks minerals needed for proper coffee extraction
Skip refrigerated water – temperature shocks reduce filtration efficiency
Environmental Adjustments
Hard water areas: Replace every 6-8 weeks instead of 2 months
Soft water areas: May extend to 10-12 weeks between changes
Well water users: Pre-filter heavy sediment to prevent clogging
Store Spare Cartridges Properly
Improper storage ruins filter effectiveness before installation. Follow these storage rules to maintain peak performance.
Unopened Cartridge Storage
- Keep sealed in original packaging until ready to use
- Store at 40-80°F – avoid garages or sheds with temperature extremes
- Check expiration – 2-year shelf life from manufacture date
- Avoid moisture – never store in humid bathrooms or kitchens
Opened Cartridge Rules
- Use within 30 days of opening the package
- Never refrigerate – condensation damages the filter media
- Keep odor-free – filters absorb surrounding smells (store away from spices)
Maximize Your Filter Investment
Understanding the real value helps justify the small ongoing cost. These facts prove filters pay for themselves.
Cost-Benefit Analysis
- Daily cost: $0.15-$0.20 per day (less than your coffee pods)
- Annual savings: $180-240 vs. using bottled water for brewing
- Machine protection: Extends brewer life 25-30% by preventing scale damage
Performance Benefits You’ll Notice
- 97% chlorine reduction creates noticeably smoother coffee
- Heavy metal removal including lead and mercury
- Scale prevention reduces descaling frequency by 50%
- Warranty compliance maintains full coverage on your Keurig
Maintain Long-Term Filter Effectiveness
Monthly care prevents buildup that reduces filtration efficiency. These quick maintenance steps take less than 2 minutes.
Essential Monthly Routine
- Remove holder and rinse with warm water
- Check o-rings for cracks or mineral deposits
- Wipe reservoir interior with damp microfiber cloth
- Inspect cartridge for unusual discoloration or buildup
Pro Tip: Once quarterly, soak the holder in equal parts white vinegar and water for 15 minutes to dissolve mineral deposits, then rinse thoroughly before reinstalling.
Your Keurig’s performance depends heavily on water quality, and proper filter use makes all the difference. By following these precise steps for how to use Keurig water filter cartridges, you’ll enjoy noticeably better coffee while protecting your machine from costly damage. Mark your calendar for bi-monthly replacements—your taste buds and your Keurig will thank you. Keep a spare cartridge on hand so you’re never caught without filtration, and you’ll maintain perfect brewing conditions every single day.


