
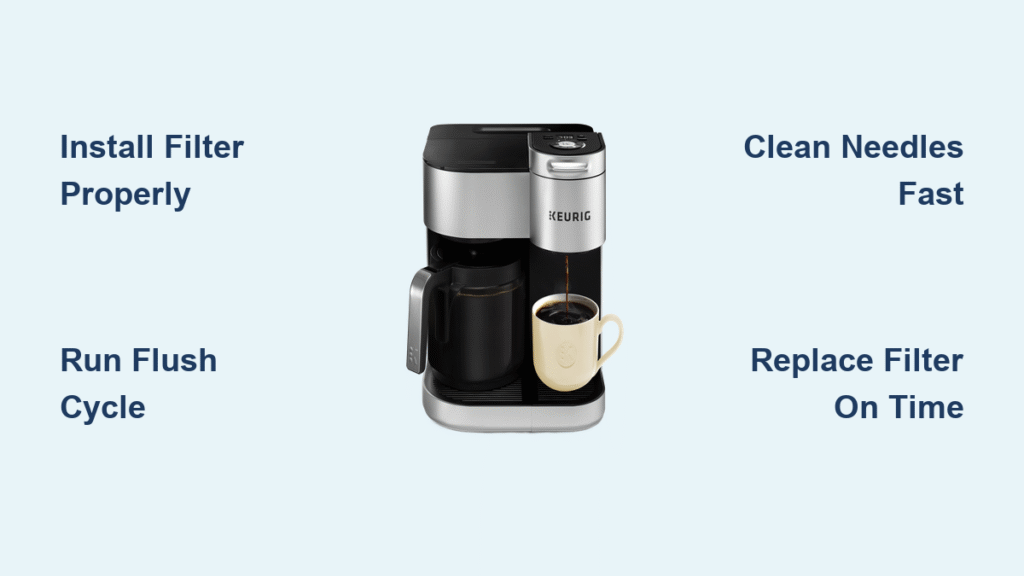
Your new Keurig Special Edition just arrived, and you’re staring at the box wondering if setup will take all afternoon. Good news: you’ll enjoy your first perfect cup in under 15 minutes. This premium single-serve brewer transforms ordinary K-Cup pods into café-quality beverages with features most basic models can’t touch—programmable settings, precise temperature control, and a generous 48-ounce water reservoir that means fewer refills.
Whether you’re upgrading from a standard coffee maker or new to single-serve brewing, this guide walks you through every step from unboxing to brewing like a pro. You’ll discover hidden features, learn maintenance tricks that extend your machine’s life, and troubleshoot common issues before they ruin your morning routine.
Position Your Keurig Special Edition for Optimal Performance
Clear a space on your kitchen counter with 6 inches of breathing room on all sides—this prevents overheating and keeps steam from damaging cabinets. The Special Edition requires this clearance to maintain proper airflow around the unit during operation. Place it away from direct sunlight and heat sources like stovetops or vents, which can interfere with temperature regulation.
Your Keurig Special Edition weighs 12 pounds empty, so position it where you plan to keep it permanently—moving a full water reservoir gets messy fast. Before plugging in, verify you have all components: the main brewer unit, removable drip tray, 48-ounce water reservoir, charcoal water filter, and instruction manual. If anything’s missing, contact Keurig customer support at 1-866-901-2739 before proceeding.
Install Water Reservoir and Filter System Properly

Wash the reservoir with mild soap and warm water before first use, then rinse thoroughly to remove any manufacturing residues. Soak the charcoal filter in cold water for exactly 5 minutes—this activates the filtration system by allowing the charcoal to absorb impurities. Insert the filter into the holder at the reservoir’s base until it clicks firmly into place with a distinct snap.
Fill the reservoir with fresh, cold water up to the MAX fill line. Don’t overfill; the extra space prevents spills when replacing the reservoir during operation. Lower it onto the base unit until completely seated—you’ll hear a soft click when properly positioned. Ensure the reservoir sits flush with the machine; improper seating triggers the “PRIME” error message and prevents brewing.
Complete Essential Initial Flush Cycle
Power on your brewer using the rear power switch. The blue “Ready to Brew” light illuminates once heating completes (about 4 minutes for initial setup). Lift the handle without inserting a K-Cup, then lower it completely. Select the largest cup size (10 oz) and press the brew button.
Discard this hot water and repeat the process twice more—three total cleansing brews remove manufacturing residues and prime the system. This initial flush cycle is critical for optimal taste and performance. Your Special Edition is now ready for actual brewing, with water flowing smoothly through the internal pathways.
Master Basic Brewing Steps for Perfect Coffee Every Time
Brewing your first cup follows a simple rhythm once you know the sequence. Press the power button and wait for the steady blue “Ready” light. Lift the handle, place any K-Cup pod in the holder (don’t remove the foil lid), and lower the handle until it locks firmly with an audible click.
Choose your cup size: 6 oz delivers concentrated, espresso-style strength; 8 oz provides standard coffee strength and serves as the most popular choice; 10 oz creates a milder flavor perfect for travel mugs. Press the brew button and watch the blue light flash—your coffee appears in 35-55 seconds depending on size selected. Never force the handle down; if it doesn’t lock easily, check for pod misalignment.
Adjust Temperature Settings for Different Beverages
Three temperature settings unlock the full potential of different beverages. Press the small cup button repeatedly to cycle through 187°F (delicate teas and hot chocolate), 192°F (standard coffee brewing), or 197°F (bold coffees and maximum extraction).
Lower temperatures prevent delicate green teas from turning bitter, while the highest setting extracts maximum flavor from dark roasts. The Special Edition remembers your last temperature selection, so you won’t need to reset it every morning. For iced coffee, select the 6 oz setting at 197°F to create a concentrated brew that won’t get watered down by ice.
Program Auto-On Feature for Morning Convenience
Wake up to fresh coffee by setting the auto-on timer. Press the Menu button twice—”Auto On Set” appears on the display. Use the up/down arrows to set your desired start time (like 6:30 AM). Press Menu to confirm, and your brewer heats water automatically each morning.
This feature works best when you load a K-Cup and position your mug the night before. The unit maintains temperature for 30 minutes, giving you flexibility in your morning routine. Remember to ensure the water reservoir has enough water for the next day’s brew—empty it if you won’t be using the machine for several days to prevent stagnation.
Set Auto-Off Timer to Save Energy and Extend Machine Life
Save energy and prevent overheating with the programmable auto-off feature. Press Menu three times until “Auto Off Set” displays. Choose 1-4 hours of inactivity before automatic shutdown—2 hours strikes the ideal balance between convenience and energy savings.
The Special Edition consumes 200 watts in standby mode versus 1500 watts during brewing. This feature alone can reduce your electricity costs by $20-30 annually with regular use. Setting the auto-off timer also prevents mineral buildup that occurs when water sits in the heating element for extended periods.
Clean Daily for Consistent Performance and Taste Quality
Empty the drip tray daily—it holds 8 ounces of overflow but fills quickly during descaling or accidental spills. Rinse the pod holder weekly by lifting it straight out and running it under warm water; it’s dishwasher-safe on the top rack but avoid harsh detergents that can damage the plastic.
Refill the water reservoir with fresh water every morning. Stale water affects taste quality, and the charcoal filter works best when water circulates regularly. Wipe the exterior with a damp cloth—avoid harsh cleaners that can damage the finish. After brewing, wait 30 seconds before removing the K-Cup to prevent burns from hot steam.
Clear Orange Descale Light with Proper Vinegar Treatment
The orange descale indicator signals mineral buildup affecting performance. Empty the reservoir completely, then fill with white vinegar to the MAX line (48 oz). Run brew cycles without a K-Cup until the reservoir empties, then let the unit stand for 4 hours.
Flush the system with three full reservoirs of fresh water to remove vinegar taste. This process, needed every 3-6 months depending on water hardness, restores optimal brew times and prevents clogs. If you have hard water, consider using filtered water to extend time between descaling cycles.
Fix Clogged Needles in Under 30 Seconds
Paper clip method resolves most brewing issues. Power off and unplug the unit. Straighten a paper clip and insert it into the needle entrance at the pod holder’s top, then into the exit needle underneath. Work gently to dislodge coffee grounds or mineral deposits.
Rinse the pod holder thoroughly before replacing. This 30-second procedure fixes “insufficient brew” complaints and weak coffee issues without service calls. If you notice reduced water flow or incomplete brewing, needle clogs are likely the culprit—address them immediately before they cause permanent damage.
Maximize Savings with My K-Cup Reusable Filter
Save money and reduce waste with the My K-Cup reusable filter. Fill it with 2.5 tablespoons of medium-grind coffee—too fine creates sediment, too coarse produces weak coffee. Level the grounds without packing them down to ensure proper water flow.
Brew using the 8 oz setting for optimal extraction. Rinse the filter immediately after use; it’s dishwasher-safe but cleans easily under running water. This accessory pays for itself after 20 uses compared to regular K-Cup costs. For best results, use freshly ground coffee beans within 15 minutes of brewing.
Brew Perfect Travel Mug-Friendly Coffee

Remove the drip tray to accommodate mugs up to 7.2 inches tall. Most Contigo, Yeti, and standard travel tumblers fit perfectly. Select the 10 oz setting for full 16-oz travel mugs—the extra volume accounts for milk or cream additions.
Place your mug before brewing to prevent hot coffee splashes. The Special Edition’s steady stream fills travel mugs without the pulsing common in lower-end models. For iced travel mugs, brew a 6 oz concentrated coffee directly over ice to maintain flavor intensity without dilution.
Troubleshoot Common Brewing Failures Before Calling Support
No power issues typically trace to the rear power switch being off rather than outlet problems. Check that the switch clicks firmly into the ON position before assuming electrical failure. Weak coffee complaints often stem from using the 10 oz setting with light roasts—switch to 6 oz or 8 oz settings, or use two pods for extra strength.
Unit won’t brew requires checking four quick items: handle completely lowered, water above the MIN line, pod properly seated, and no orange descale indicator illuminated. These simple checks resolve 90% of brewing failures. If you see “ADD WATER” on the display, fill to at least the MIN line but don’t exceed MAX to avoid overflow.
Replace Charcoal Filters on Schedule for Better Taste
Change filters every 2 months or 60 tank refills, whichever comes first. Remove the old filter by pulling straight up on the holder. Soak the new filter for 5 minutes, then insert until fully seated with a firm click.
Reset the filter reminder by holding the hot water button for 5 seconds—this prevents premature “change filter” notifications. Fresh filters improve taste and reduce descaling frequency by removing chlorine and sediment before they reach internal components. Using filtered water extends both filter life and machine longevity.
Optimize Your Beverage Selection for Premium Results
Coffee variety matters with the Special Edition’s precise controls. Light roasts shine at 187°F on the 6 oz setting, while dark roasts reach peak flavor at 197°F using 8 oz. Flavored coffees work best at standard 192°F to balance sweetness with coffee character.
Non-coffee options expand beyond traditional brewing. Brew tea K-Cups at 187°F, hot chocolate at the same temperature for smooth texture. For iced beverages, select 6 oz and brew directly over ice—the concentrated extraction prevents dilution. Specialty pods like cappuccino and latte work best at 192°F with 8 oz settings.
Your Keurig Special Edition now operates at peak efficiency, delivering consistent café-quality beverages with minimal daily effort. These techniques transform you from casual user to brewing expert—able to diagnose issues instantly and customize every cup to your exact preferences. The programmed auto-on feature ensures perfect coffee awaits you each morning, while proper maintenance extends your investment for years of reliable service. For warranty support or technical questions, contact Keurig customer service at 1-866-901-2739 or visit Keurig.com for registration and updates.


