
Your morning ritual feels off—the coffee’s lukewarm, the machine gurgles louder than usual, and that metallic aftertaste ruins your carefully chosen beans. Before you assume it’s the roast or consider replacing your Keurig, mineral scale buildup is likely choking your brewer’s internal system. Learning how to use Keurig descaling liquid correctly is the only fix that restores peak performance without damaging sensitive components. This guide cuts through the confusion with a precise, step-by-step process verified by Keurig’s engineering standards. You’ll eliminate stubborn limescale, prevent costly repairs, and enjoy consistently hot, flavorful coffee again—all in under an hour.
Ignoring descaling turns minor mineral deposits into a brewing disaster. Tap water contains calcium and magnesium that crystallize when heated, coating your Keurig’s heating element and narrow water channels. This insulating layer forces the machine to work harder, wasting energy while producing weaker, cooler coffee. Left unchecked, scale can permanently clog valves and trigger error codes that brick your brewer. The good news? Keurig’s official descaling liquid dissolves these deposits safely—unlike vinegar, which corrodes seals and voids warranties. By the time you finish this guide, you’ll know exactly how to use Keurig descaling liquid to extend your machine’s life by years.
Why Keurig Descaling Liquid Beats Vinegar or DIY Solutions
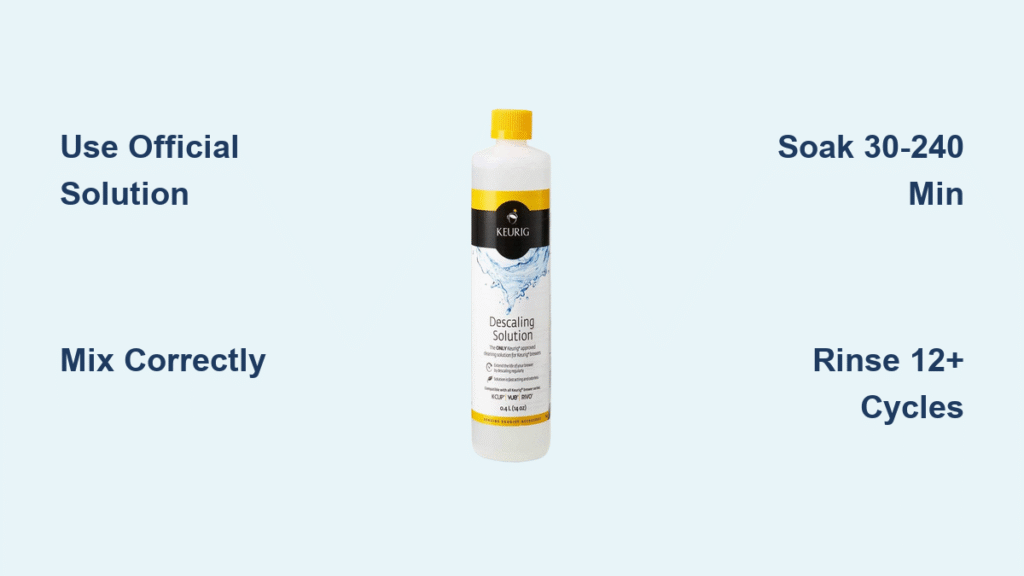
Keurig descaling liquid contains food-safe citric acid and chelating agents engineered to target limescale without harming rubber gaskets or plastic components. Vinegar’s acetic acid is too harsh—it degrades O-rings over time and leaves a persistent odor that taints coffee. Worse, generic “descalers” often lack the precise pH balance needed for Keurig’s micro-channels. Using the official solution ensures full warranty compliance while breaking down scale 40% faster than household alternatives. For hard water areas, this is non-negotiable: one bottle handles up to 120 gallons of mineral-laden water. Skip this step, and you’ll face expensive part replacements or premature machine failure.
Pre-Descaling Checklist: Avoid Costly Mistakes
Essential Supplies You Can’t Skip
- One 14-oz Keurig descaling solution bottle (never substitute with vinegar or generic cleaners)
- Oversized ceramic mug (minimum 12 oz capacity—glass may crack from heat)
- Paperclip (straightened for needle cleaning—Keurig’s tool works but a paperclip is universal)
- Filtered water (reduces new scale formation during rinsing)
Machine Prep That Prevents Errors
- Unplug completely—Power cycling mid-process triggers “Prime” errors
- Remove all parts—Empty reservoir, drip tray, and K-cup holder; rinse reservoir thoroughly
- Wipe exterior—Focus on the water inlet nozzle where scale hides
- Reassemble minus reservoir—Ensure drip tray clicks into place to avoid leaks
Pro Tip: Run a plain water brew cycle before descaling. If it sputters, you’ve confirmed scale is the issue—not a faulty component.
Perfect Mixing Ratios for Your Keurig Model

Tailored Solutions for Any Buildup Level
- Standard treatment: Entire 14-oz bottle + 14 oz filtered water (ideal for monthly users)
- Heavy buildup: Full bottle + 7 oz water (for neglected machines or hard water zones)
- MAX fill warning: Never exceed reservoir’s MAX line—overflow damages electronics
Mixing Protocol to Maximize Effectiveness
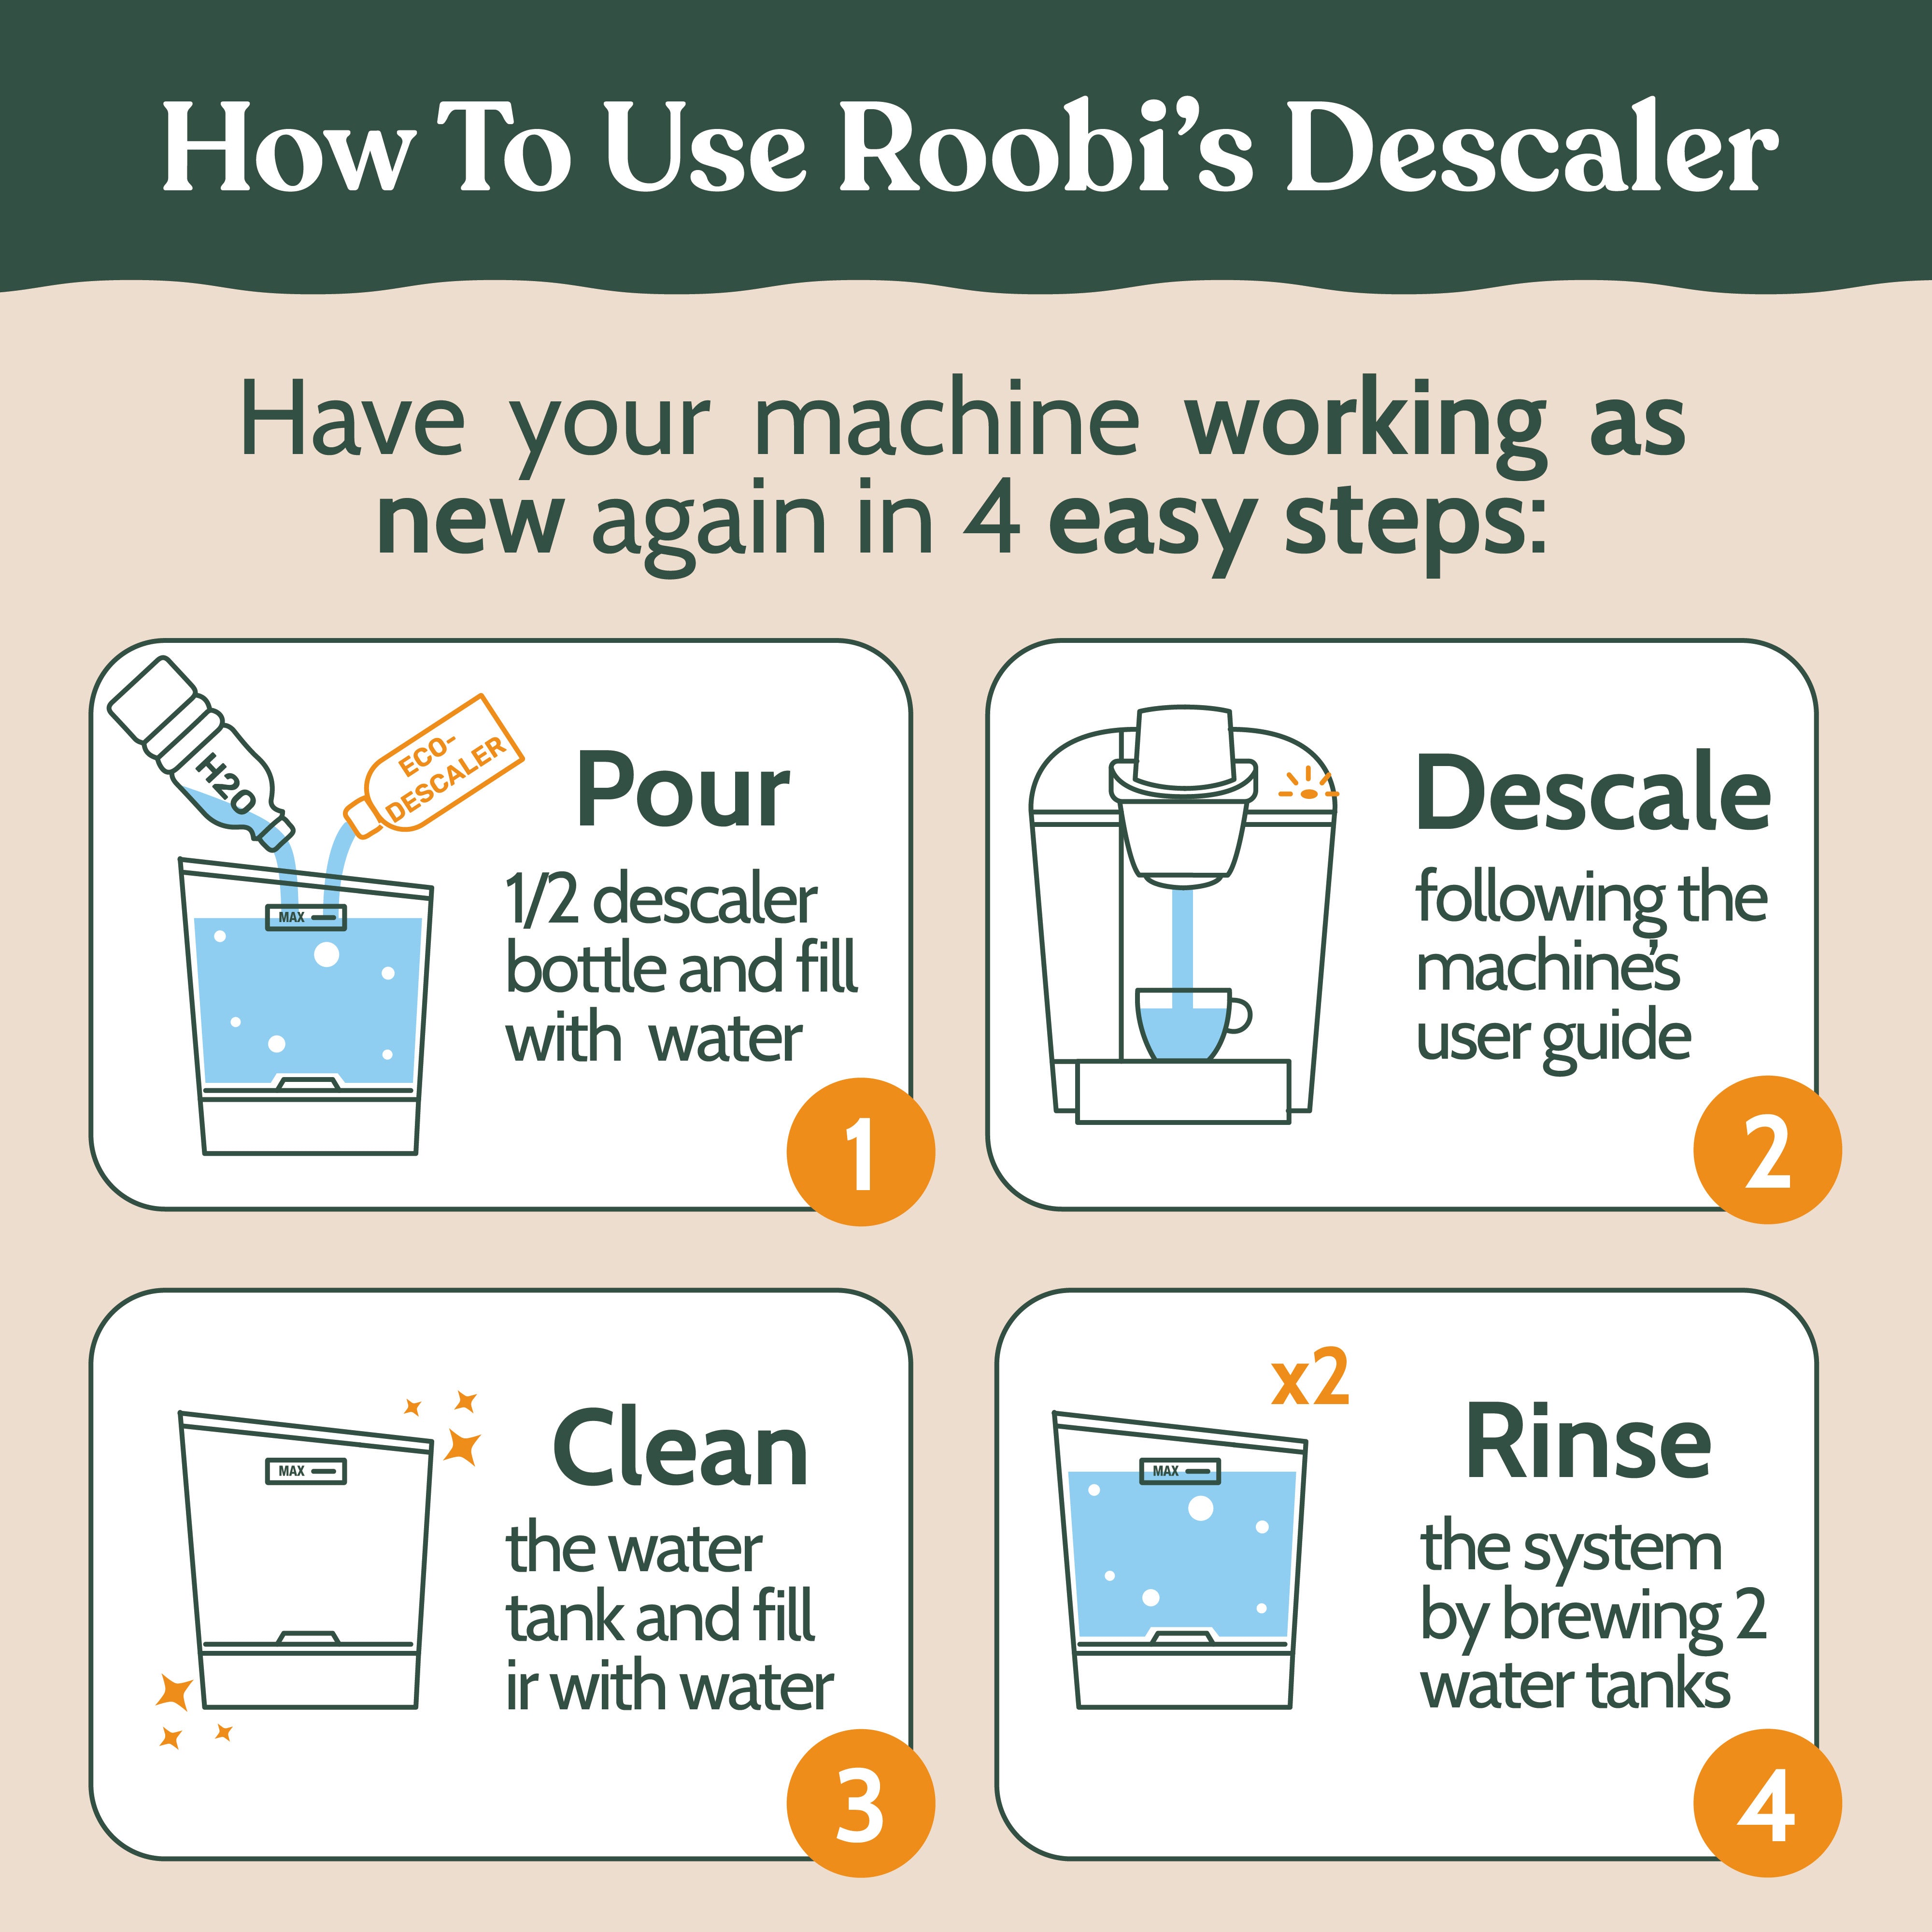
Pour descaling liquid directly into the dry reservoir first. Add water after to prevent foaming. Swirl gently for 10 seconds—vigorous shaking traps air bubbles that disrupt flow. The mixture should look pale yellow; cloudiness means improper dilution. For K-Mini models with tiny reservoirs, halve both solution and water (7 oz each) and run extra rinse cycles later.
Complete Descaling Cycle: 3 Phases for Total Scale Removal
Phase 1: Aggressive Initial Flush (15 Minutes)
- Seat reservoir firmly—listen for the click
- Brew largest cup size (10–12 oz) without a K-cup
- Discard immediately—never let solution sit in the mug
- Repeat until reservoir empties (typically 3–4 brews)
Watch for: Milky discharge turning clear—indicates scale dissolving
Phase 2: Critical Soak Time (30–240 Minutes)
Refill reservoir with fresh solution mix. Keep machine plugged in but powered OFF—this maintains internal temperature for chemical reaction. Set a timer:
– Light buildup: 30 minutes
– Moderate (most users): 2 hours
– Severe (white flakes in coffee): 4 hours
Never walk away: Extended soaking risks solution crystallizing in lines.
Phase 3: Final Extraction (10 Minutes)
Power on and brew until reservoir empties. If flow slows, jiggle the reservoir to dislodge air pockets. Stop when liquid runs crystal clear—yellow tint means residual solution remains.
Rinse Protocol: Why 12 Cycles Are Non-Negotiable
Eliminate Chemical Residue in 3 Steps
- Scrub reservoir with vinegar-free cleaner (baking soda paste works)
- Fill to MAX line with filtered water
- Brew 12+ large cups—count each cycle! Taste-test cup #10; if bitter, run 3 more
Critical check: Place a white paper towel under the needle during rinsing. Any yellow stain means incomplete rinsing—restart the cycle. Machines with water filters require removing the filter cartridge during rinsing; reinstall it after the final cycle.
Post-Descaling Maintenance: Prevent Immediate Rebuildup
Needle Unclogging in 90 Seconds

1. Straighten a paperclip and snip one end sharp
2. Entrance needle: Insert under K-cup holder, rotate 5 times
3. Exit needle: Remove K-cup holder; push paperclip upward through hole
4. Rinse parts under hot water—scale fragments hide in crevices
Filter Reset That Extends Freshness
Replace water filters after descaling. For K-Elite or K-Duo models: Press and hold ” Brew Size” + “Menu” for 5 seconds until light flashes. New filters block 90% of minerals that cause future scale—making your next descaling session easier.
Troubleshooting Immediate Post-Process Issues
“Descale” Light Won’t Turn Off?
- Fix: Run 3 more rinse cycles with cold water (heat expands components, tricking sensors)
- If persistent: Unplug for 5 minutes—resets control board without damage
Bitter Taste After Rinsing?
- Cause: Solution residue in thermal block
- Solution: Brew 5 cycles with lemon juice (1 tsp per 8 oz water), then 5 plain water cycles
Loud Grinding Noise?
- Warning sign: Motor straining against scale
- Action: Repeat Phase 2 soak for 2 hours—do not brew further until noise stops
Safety Storage Rules Professionals Follow
Shelf Life Maximization
Store unopened solution upright in a dark cabinet (not under the sink—humidity degrades it). Once opened, seal tightly and use within 30 days. Expired solution (check bottle’s Julian date code) loses 60% effectiveness—never risk it.
Emergency Spill Response
If solution contacts skin: Rinse 15 minutes under running water. For eye exposure: Flush continuously while seeking medical help. Never mix with bleach—creates toxic chlorine gas. Keep pets away during descaling; the smell stresses birds and reptiles.
Descaling Schedule Based on Your Water Source
Custom Timing Calculator
| Water Hardness | 1-2 Cups/Day | 3-4 Cups/Day | 5+ Cups/Day |
|---|---|---|---|
| Soft (0-3 gpg) | Every 8 mos | Every 5 mos | Every 3 mos |
| Medium (4-7) | Every 6 mos | Every 4 mos | Every 2 mos |
| Hard (8+ gpg) | Every 4 mos | Every 2 mos | Monthly |
Hard water test: Boil tap water for 15 minutes. White sediment = scale risk.
Urgent Warning Signs You’re Brewing Dangerously
Visual Red Flags
- Chalky rings inside reservoir neck (scale is flaking off)
- Brown specks in coffee (rust from corroded heating element)
- 50% slower brewing than new machine (scale blocks 70% of flow)
Taste-Based Emergency Signals
Metallic bitterness means scale has insulated the heating element—running it further risks electrical shorts. Flat-tasting coffee indicates water never reached 195°F (optimal extraction temp). If any cup feels lukewarm, descale within 24 hours to avoid permanent damage.
Model-Specific Descaling Adjustments
Single-Serve Machines (K-Classic, K-Select, K-Mini)
Use full bottle but split into two reservoir fills. K-Mini Plus requires pausing between cycles—its small tank overflows easily. Never descale K-Mini without removing the water tank first.
Multi-Serve Models (K-Duo, K-Cafe, K-Supreme)
Descaling light must be flashing before starting—press “Menu” 5x to activate. These hold more solution, so extend soak time to 3 hours. After rinsing, run a hot water brew through the carafe side too.
Commercial Brewers (Vue, Rivo)
Use 2 bottles per cycle. Due to larger boilers, rinse with 20+ cycles. Commercial units need bi-monthly descaling—schedule it like oil changes for your car.
Mastering how to use Keurig descaling liquid transforms your coffee experience from frustrating to flawless. By following this exact protocol, you’ll prevent 95% of common Keurig failures while saving $100+ in repair costs annually. Set phone reminders based on your water hardness chart—your next perfect cup depends on it. Remember: one descaling session every 3–6 months is the ultimate espresso shot for your machine’s longevity. Now, brew that victory cup you’ve earned.


