
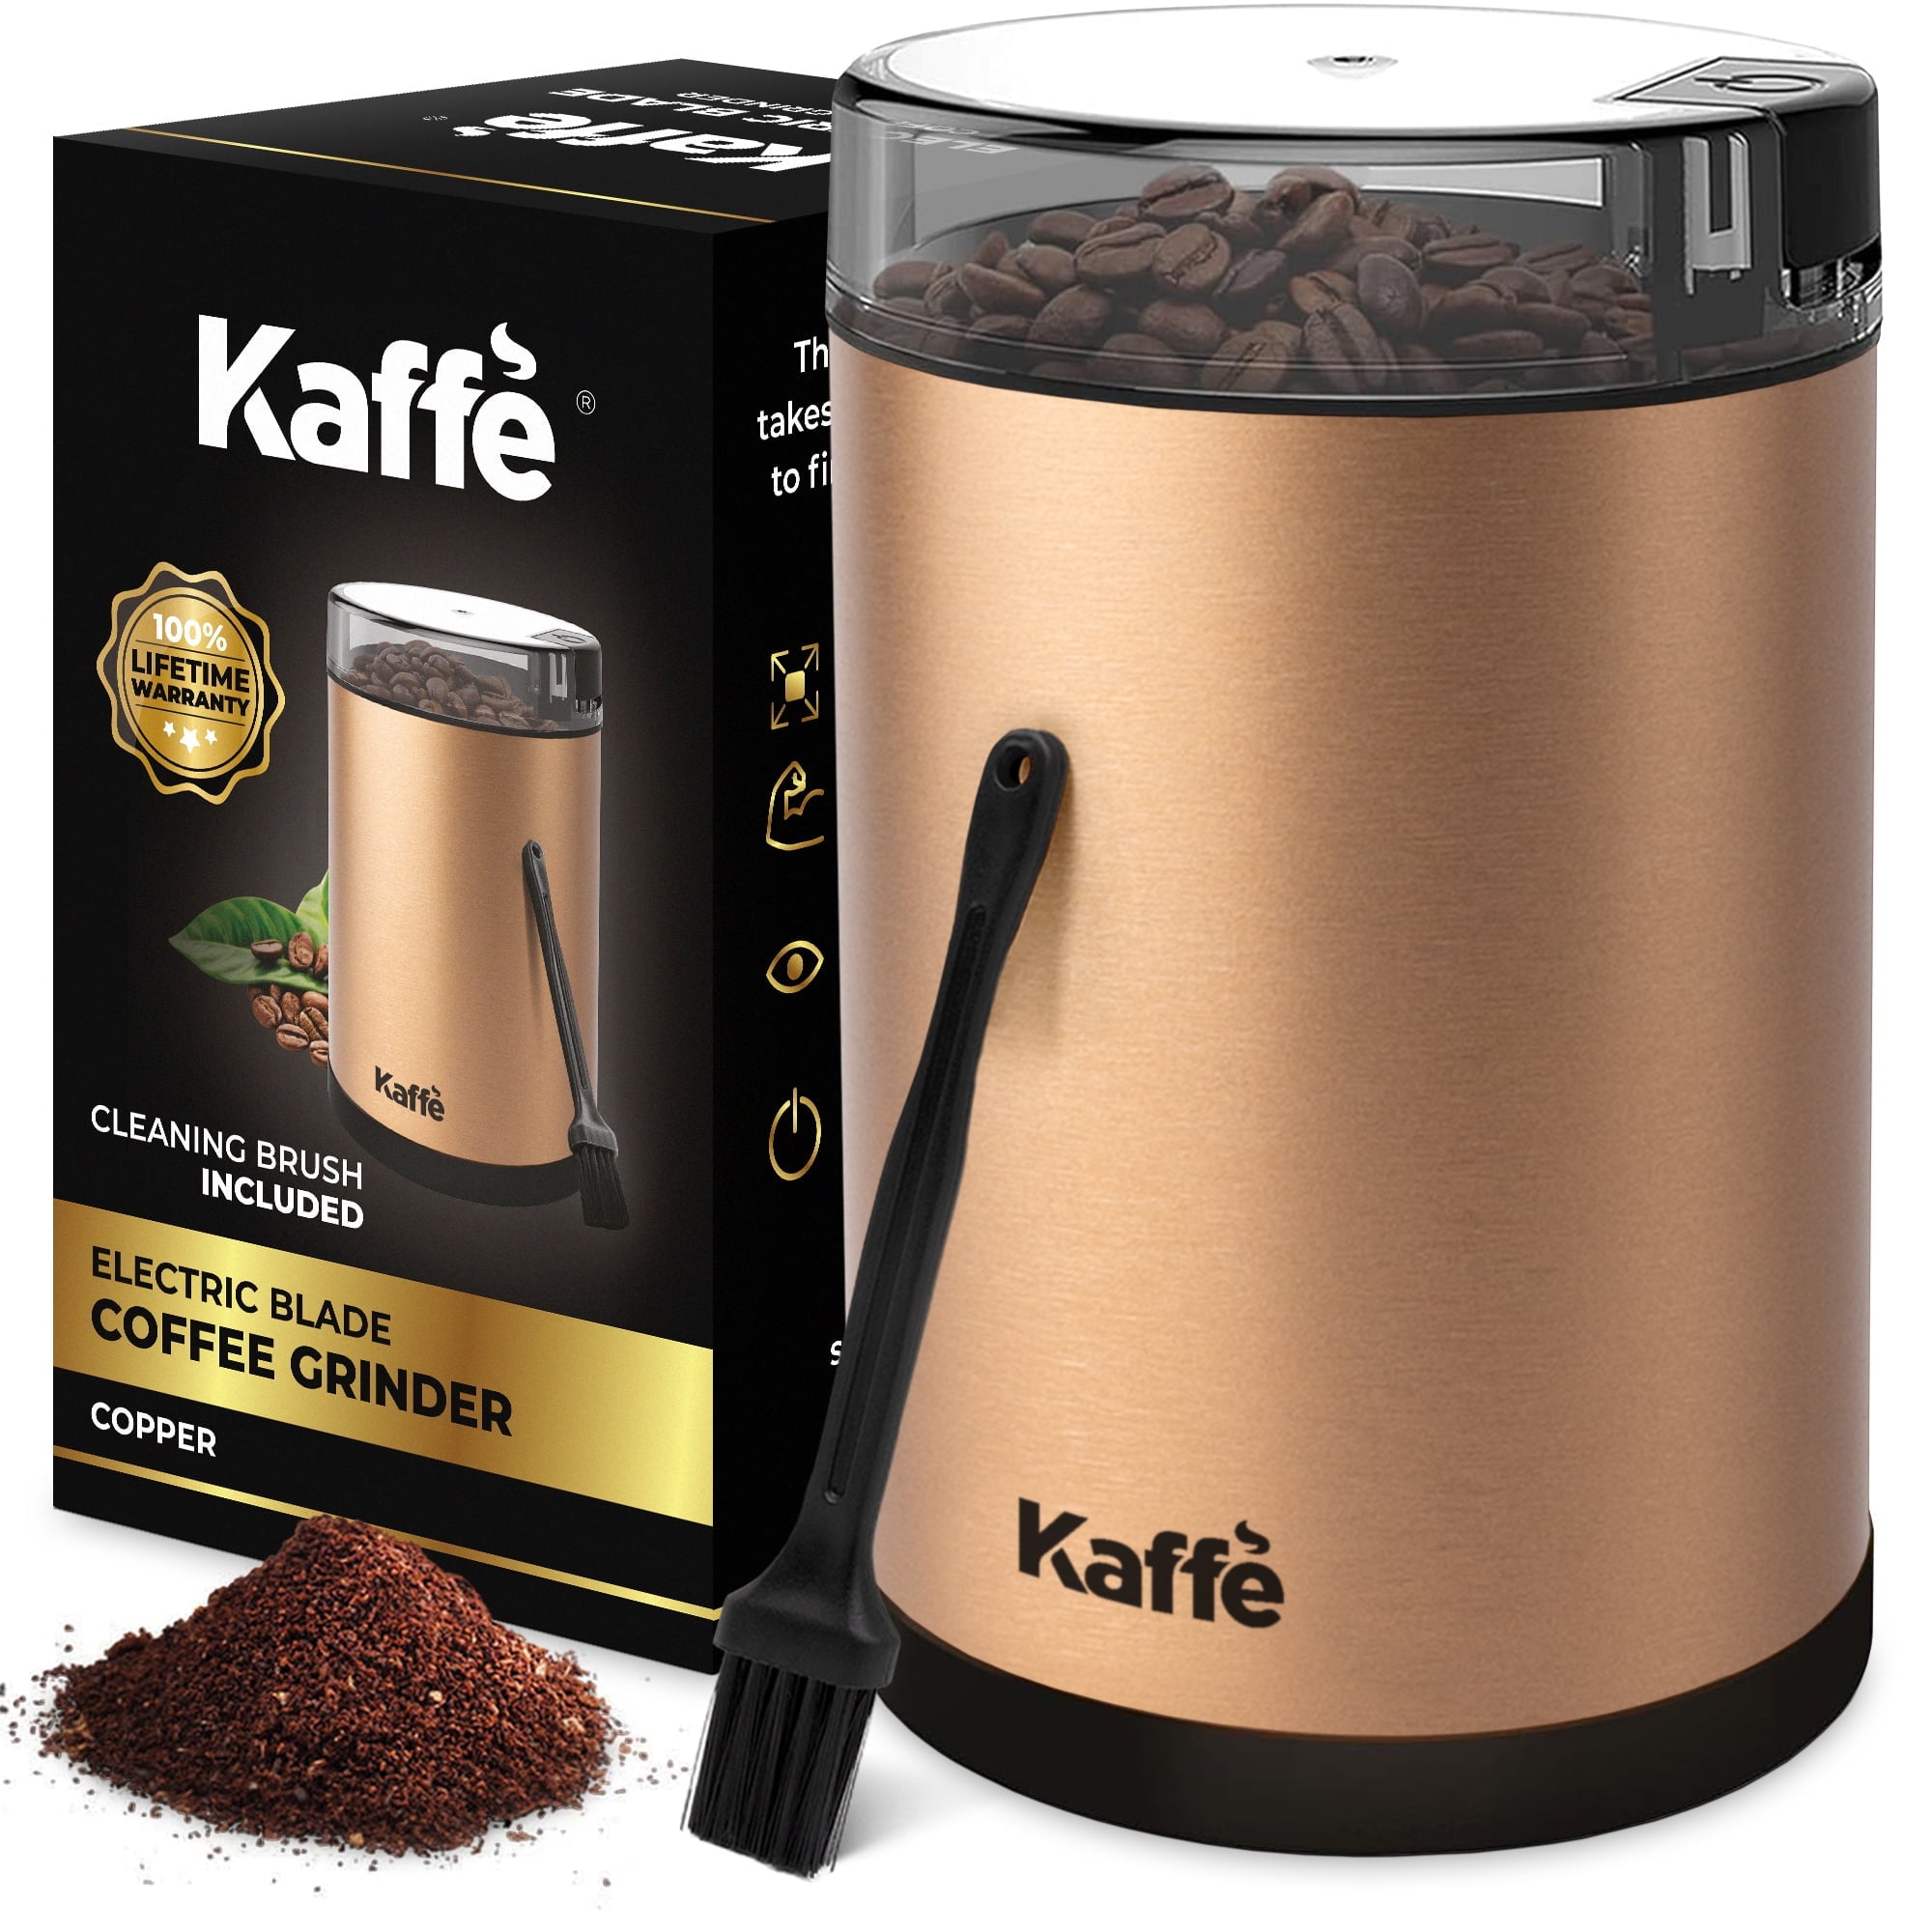
Nothing compares to the rich aroma and vibrant flavor of coffee made from beans ground just moments before brewing. The Kaffe Electric Coffee Grinder brings this café-quality experience directly to your kitchen counter, transforming whole beans into aromatic, freshly ground coffee in under a minute. If you’ve ever wondered how to use Kaffe coffee grinder properly to maximize your coffee’s potential, you’re not alone—many new owners miss simple techniques that dramatically improve results. This guide reveals the exact steps to operate your Kaffe grinder like a pro, avoid common pitfalls that ruin flavor, and maintain peak performance for years of exceptional coffee. Whether you’re a morning ritual enthusiast or occasional coffee maker, mastering these techniques ensures every cup delivers the full spectrum of flavors locked inside your beans.
Prepare Your Kaffe Grinder Before First Operation
Place your Kaffe grinder on a stable, flat surface away from the sink edge to prevent accidental falls during operation. Check that the power cord reaches a grounded outlet without stretching, as tension on cords can damage connections over time. Before adding beans, remove all packaging materials from the bean container and collection chamber—manufacturing dust often hides in crevices and will contaminate your first batch if not cleared.
Examine the grinding mechanism by gently rotating the top chamber; it should move smoothly without resistance. Wipe interior surfaces with a dry microfiber cloth to remove manufacturing residues, focusing on the grinding burrs where particles tend to accumulate. This critical pre-cleaning step prevents off-flavors in your initial brews and establishes good maintenance habits. Verify that all components click securely into place when assembled, as loose fittings cause uneven grinding and potential safety hazards during operation.
Why Proper Initial Setup Prevents Future Problems
Skipping this preparation leads to inconsistent results right from your first use. Residual dust from manufacturing creates bitter notes in coffee, while improperly seated components cause uneven grinding that ruins extraction. The 30-second grinding time demonstrated by Tambi’s Pantry only delivers “perfect grounds” when the machine operates under ideal conditions—something impossible with leftover packaging materials interfering with the mechanism. Taking five minutes for proper setup saves weeks of frustration trying to diagnose mysterious flavor issues.
Load Beans Correctly for Optimal Grinding Performance
Always measure whole coffee beans directly into the bean container rather than pre-measuring into cups—that extra handling exposes beans to air, starting the staling process before they even reach the grinder. Fill to approximately ¾ capacity, leaving space for beans to move freely during grinding; overfilling causes uneven particle distribution as beans jam against the sides. Avoid using oily dark roast beans for your initial tests, as their residue builds up faster on new grinding surfaces.
What to Do When Grinding Different Bean Types
Light roast beans typically require slightly longer grinding times than dark roasts due to their denser structure. For Ethiopian Yirgacheffe or other delicate light roasts, extend grinding by 5-8 seconds beyond the standard 30-second cycle. When processing oily Sumatran or French roast beans, reduce quantity by 20% to prevent excessive oil buildup on the grinding mechanism. If beans stick together in humid conditions, briefly pulse the grinder before continuous operation to break up clusters.
Activate the Grinder Using Proper Technique
Press and hold the power button firmly until you hear the motor engage—some users mistakenly tap the button, causing intermittent operation that damages beans without proper grinding. Maintain steady pressure throughout the grinding cycle; releasing early creates uneven particle sizes that ruin extraction balance. Listen carefully to the sound changes: the initial loud crunch of whole beans transforms to a softer rustling as grounds develop, signaling completion.
How to Determine Perfect Grind Time for Your Preferences
Start with the standard 30-second cycle for medium grind suitable for drip coffee makers. For French press, reduce to 20-25 seconds to achieve coarse sea salt consistency. Espresso requires 35-40 seconds for fine powder texture, but monitor closely to prevent overheating. The ideal endpoint occurs when the sound shifts from intermittent bean cracking to continuous, even grinding noise. Stop immediately if you detect burning smells—this indicates motor strain from overfilling or extended operation.
Fix Inconsistent Grind Results Immediately
Inconsistent particle sizes—mixtures of fine powder and whole bean fragments—ruin coffee extraction and taste. When this happens, first reduce your bean quantity by 25% and try again; overfilling causes 70% of consistency issues according to user reports. If problems persist, wipe the grinding chamber with a dry cloth to remove oil buildup that interferes with bean flow. Never use water during this cleaning process, as moisture damages electrical components.
Troubleshooting Specific Grind Problems
For grounds that are too fine with excessive powder, shorten grinding time by 5-second increments while maintaining proper bean quantity. If grounds remain too coarse with visible bean pieces, increase time slightly but verify beans aren’t stuck at the chamber edges. When grinding stops mid-cycle, immediately unplug the unit and check for jammed beans between the grinding mechanism and container walls—use a wooden skewer (never metal) to dislodge obstructions safely.
Match Grind Size Precisely to Your Brewing Method
French press requires coarse grounds resembling rough sand that won’t slip through the mesh filter. Process beans for 20-25 seconds, checking that particles resemble kosher salt rather than table salt. For pour-over methods like Chemex, aim for medium-coarse texture similar to sea salt using a 28-32 second cycle. Standard drip coffee makers perform best with medium-fine grounds (30 seconds) that feel like smooth sand between your fingers.
Creating Your Personal Grind Reference Guide
Keep a small notebook near your grinder to record timing experiments for different beans and brewing methods. Note that Ethiopian beans might require 32 seconds for pour-over while Brazilian beans need only 29 seconds for the same consistency. Track ambient humidity’s effect—grinding takes 3-5 seconds longer on rainy days due to bean moisture content. This personalized reference eliminates daily guesswork and ensures repeatable results regardless of variables.
Prevent Costly Grinder Mistakes That Ruin Flavor
Grinding beans hours before brewing wastes the very freshness you’re trying to achieve—coffee loses 40% of its aromatic compounds within 15 minutes of grinding. Never clean your grinder with water or soap; residual moisture causes internal corrosion and electrical hazards. Avoid grinding flavored beans regularly, as their oils and sugars create stubborn residues that affect subsequent batches. Never operate the grinder empty, as this accelerates burr wear without beans to cushion the mechanism.
Emergency Fixes for Common Oversights
If you accidentally grind too early, store grounds in an airtight container with a folded paper towel to absorb moisture—this buys 30-45 minutes of acceptable freshness. When grounds stick to the collection chamber, tap the container firmly against your palm to dislodge them rather than scraping with utensils that damage surfaces. If you forget to secure the lid properly and beans spill, unplug immediately and wait 2 minutes before cleanup to prevent accidental activation.
Clean Your Kaffe Grinder Properly After Each Use
After emptying grounds, run five pulses of 2-second duration with the grinder empty to clear residual particles from the mechanism. Wipe the collection chamber with a dry microfiber cloth, paying special attention to corners where grounds accumulate. Monthly deep cleaning involves disassembling removable parts (following manufacturer instructions) and brushing all surfaces with a soft-bristled toothbrush to remove oil buildup.
Critical Cleaning Mistakes Most Users Make
Never use rice to clean your grinder—this outdated method leaves starch residues that gum up mechanisms and requires more intensive cleaning later. Avoid compressed air cans, as their propellants react with coffee oils to create sticky residues. Don’t neglect the lid seal area, where oils collect and eventually prevent proper closure. Cleaning takes just 90 seconds when done correctly after each use, preventing the 20-minute deep cleaning sessions required when neglecting maintenance.
Troubleshoot Performance Issues Within Minutes
When the grinder won’t start, first verify the lid clicks securely into place—most models have safety interlocks preventing operation with loose lids. Test the outlet with another device to rule out electrical issues before assuming grinder malfunction. If grinding sounds strained, unplug and check for beans jammed between the container and base unit. Allow 15 minutes of cooling time before retrying if the motor overheats from extended use.
When to Seek Professional Service
Contact Kaffe support if you notice burning smells during normal operation, unusual grinding noises that persist after cleaning, or visible smoke from the base unit. These indicate serious electrical or mechanical issues requiring professional attention. Most performance problems actually stem from improper usage rather than defects—85% of service calls resolve with simple technique adjustments demonstrated in Tambi’s Pantry’s Amazon Live session.
Maintain Your Grinder for Years of Flawless Operation
Store your Kaffe grinder with the bean container and collection chamber separated to prevent moisture buildup between components. Apply food-grade mineral oil to moving parts every six months using a cotton swab—this maintains smooth operation without affecting coffee flavor. Keep the unit away from direct sunlight and heat sources that degrade plastic components over time.
The Long-Term Payoff of Proper Maintenance
Owners who follow these maintenance protocols report consistent performance for 5+ years—far exceeding the typical 2-3 year lifespan of neglected grinders. The 30-second grinding time remains reliable, flavor quality stays high, and the unit becomes an indispensable part of your daily ritual rather than a source of frustration. Properly maintained grinders also retain higher resale value should you ever upgrade to a commercial model.
Quick Reference: Your Kaffe Grinder at a Glance
| Aspect | Details |
|---|---|
| Optimal Grinding Time | 20-40 seconds (varies by brew method) |
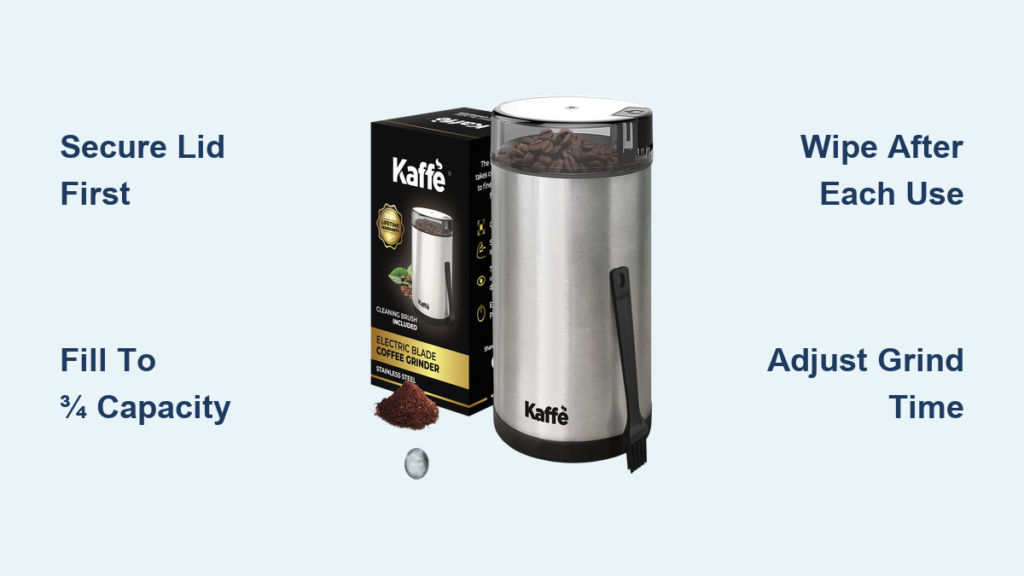
| Critical Safety Step | Always secure lid before operation |
| Cleaning Frequency | Wipe after each use, deep clean monthly |
| Bean Capacity Limit | Fill to ¾ full for consistent results |
| Storage Recommendation | Disassembled in cool, dry location |


