
Picture this: you’re camping in the mountains, the sun is just rising, and you need that perfect cup of coffee to start your day. Or maybe you’re in your kitchen, craving that nostalgic taste of coffee from simpler times. The perk coffee maker—also known as a percolator—is your solution for rich, bold coffee anywhere, whether you’re on a camping trip or enjoying a quiet morning at home. This guide shows you exactly how to use a perk coffee maker to achieve consistently delicious results, whether you have a stovetop model or an electric version. You’ll learn the precise techniques that transform basic coffee grounds into a flavorful brew that will make you wonder why you ever switched to more complicated methods.
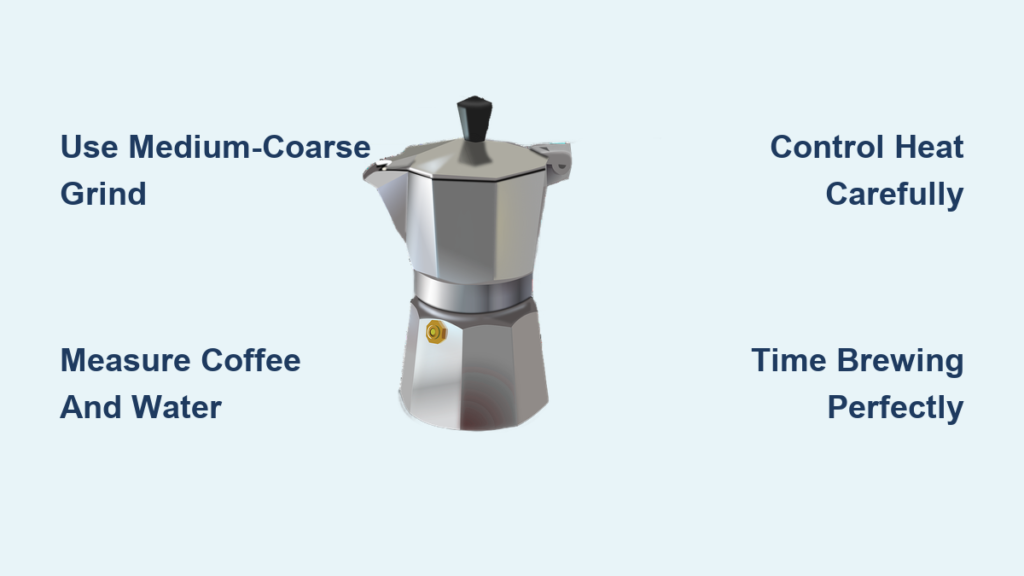
Select the Perfect Coffee Grind for Your Percolator
Using the wrong grind size is the most common mistake new percolator users make, and it directly impacts your coffee’s flavor profile. Your perk coffee maker needs a medium-coarse grind—think the texture of sea salt or breadcrumbs. This specific consistency allows water to flow through the grounds at the ideal rate, extracting maximum flavor without creating sludge in your cup.
If your coffee tastes bitter or has excessive sediment, your grind is likely too fine. On the other hand, weak, watery coffee usually means your grind is too coarse. For best results, grind your beans just before brewing; pre-ground coffee loses its volatile flavor compounds rapidly after grinding. Measure one to two tablespoons of coffee per cup of water, adjusting based on your taste preferences—those who enjoy stronger coffee should lean toward the higher end of this range.
Measure Water and Coffee with Precision
Accurate measurements separate good percolator coffee from great percolator coffee. Don’t rely solely on the markings inside your perk coffee maker, as these can be misleading. Instead, use a standard liquid measuring cup for water and a proper tablespoon for coffee grounds. For an 8-cup percolator, you’ll need approximately 64 ounces of water.
Critical ratio to remember: One tablespoon of coffee per 6 ounces of water creates a mild brew, while two tablespoons per 6 ounces produces a bold, robust cup. Since percolators naturally create stronger coffee than drip machines, you may want to start with less coffee than you’re used to. For example, if you typically use 3 tablespoons for a 6-cup drip pot, try 4 tablespoons for your 6-cup percolator to avoid overwhelming bitterness.
Assemble Your Percolator Components Correctly

Before adding any ingredients, ensure all parts of your perk coffee maker are clean and dry. For stovetop models, begin by placing the filter basket into the pot, then insert the stem assembly through the center hole. The stem creates the circulation system that makes percolation work—boiling water rises through this tube and showers back down through the coffee grounds.
Follow this exact sequence:
1. Add cold water to the pot first (never add coffee before water)
2. Fill only to the indicated line or leave 1-2 inches below the rim
3. Place coffee grounds into the filter basket (never pack them down)
4. Position the basket assembly securely in the center
5. Place the lid on firmly but don’t seal it completely during brewing
Overfilling causes messy boil-overs, while packing the grounds restricts water flow and creates uneven extraction. If using a paper filter, place it in the basket before adding grounds—this reduces sediment without significantly altering the characteristic percolator flavor.
Control Heat for Optimal Extraction
Stovetop percolators require careful heat management to prevent scorching the coffee or creating bitter flavors. Start with medium heat until you hear the distinctive “perking” sound—this indicates water is cycling through the system. Once perking begins (usually after 3-5 minutes), immediately reduce to low heat.
Key visual and auditory cues:
– Steady, rhythmic bubbling indicates proper extraction
– Violent boiling means heat is too high
– Infrequent popping means heat is too low
– A consistent “perk-perk-perk” sound is your target
Electric percolators simplify this process with automatic temperature control, but still require proper placement on a heat-resistant surface away from flammable materials. Never leave a percolator unattended during the heating phase—coffee can go from perfect to burnt in just minutes.
Time Your Brewing Cycle to Perfection

The magic happens between 5-10 minutes of active perking. Set a timer as soon as you hear the first perking sounds. Seven minutes typically delivers the ideal balance of flavor extraction without bitterness. Brewing less than 5 minutes produces under-extracted, weak coffee, while exceeding 10 minutes almost guarantees over-extraction and bitterness.
Critical mistake to avoid: Lifting the lid to check progress. Each time you open the percolator, heat escapes and the extraction process resets. Instead, monitor the perking sound—when it slows significantly or becomes irregular, your coffee is nearly done. For electric models, most automatically switch to “keep warm” after 10 minutes, but you should still remove grounds promptly to prevent continued extraction.
Remove Grounds and Serve Immediately
The moment brewing completes, remove the coffee grounds to stop the extraction process. For stovetop models, carefully lift out the entire stem and basket assembly using oven mitts—the components will be extremely hot. Electric models often have a removable basket that lifts out easily.
Serving tips for best results:
– Let coffee rest 30-60 seconds before pouring to allow sediment to settle
– Pour slowly to avoid disturbing settled grounds at the bottom
– Serve immediately for peak flavor (percolator coffee degrades faster than other methods)
– Avoid reheating, as this intensifies bitterness
Percolator coffee maintains heat well due to the metal pot’s thermal mass, but flavor begins deteriorating after 20-30 minutes. For gatherings, transfer to an insulated carafe rather than keeping it on a heat source.
Clean Your Perk Coffee Maker Thoroughly After Each Use
Residual coffee oils and mineral deposits accumulate quickly in percolators, affecting both taste and performance. Disassemble all components while still warm (but not hot) for easiest cleaning. Never put a hot percolator under cold water—this can cause warping or cracking.
Effective cleaning routine:
1. Disassemble stem, basket, and lid
2. Hand wash with mild detergent and soft sponge
3. For stubborn stains, use baking soda paste (1 part water to 3 parts baking soda)
4. Soak mineral deposits in equal parts water and white vinegar for 15 minutes
5. Rinse thoroughly—any soap residue will taint your next brew
Electric models require special care—never immerse the base in water. Wipe with a damp cloth only, and check the cord regularly for damage. Proper cleaning prevents the “stale coffee” taste that plagues neglected percolators.
Fix Weak or Bitter Coffee Immediately
Weak coffee despite proper timing usually stems from one of three issues: too coarse a grind, insufficient coffee-to-water ratio, or water temperature that never reached proper extraction levels. Increase coffee amount by one tablespoon per pot and ensure your grind resembles coarse sand.
Bitter coffee indicates over-extraction from either too fine a grind, excessive brewing time, or heat that was too high. Reduce brewing time by 1-2 minutes and lower your heat setting. If sediment appears in your cup, your grind is too fine or the filter basket is damaged—add a paper filter on top of your permanent filter for immediate improvement.
Optimize Flavor with Professional Techniques
For exceptional percolator coffee, start with freshly roasted, high-quality beans and grind them immediately before brewing. Darker roasts particularly shine with this method, as the extended extraction highlights their caramelized, chocolatey notes. Preheating your empty percolator with hot water before brewing maintains more consistent extraction temperatures.
Pro tips for peak performance:
– Use filtered water to prevent mineral interference with flavor
– Add a pinch of salt to neutralize bitterness without adding calories
– Store beans in an airtight container away from light and heat
– Never reuse coffee grounds—they’ve given up their best flavors
Store Your Percolator Properly for Longevity
After thorough cleaning and complete drying, store your perk coffee maker with all components assembled but not compressed. Store the lid slightly ajar to prevent musty odors from developing. Never stack heavy items on top of the pot, as this can dent or misalign critical components.
Electric percolators should be stored with the cord loosely coiled—tight bends damage internal wiring over time. Cover the unit to protect from dust while ensuring adequate ventilation. With proper care, a quality percolator can deliver decades of reliable service, becoming a cherished heirloom in your kitchen.
Mastering your perk coffee maker transforms morning routines into ritualistic pleasure. By selecting the right grind, measuring precisely, controlling heat carefully, and cleaning thoroughly, you’ll consistently produce coffee with rich body and complex flavor that modern machines struggle to replicate. The percolator’s beauty lies in its simplicity—no electricity required for stovetop models, no disposable filters, and no complicated programming. Once you’ve perfected these techniques, you’ll understand why coffee enthusiasts have relied on this method for generations. Your perfect cup of percolated coffee awaits—just follow these steps and savor the bold, satisfying results.


