
You’re standing in your kitchen, desperately needing that morning coffee, only to have your Keurig sputter weakly before giving up completely. The frustration of a clogged water line hits hard when you’re running late and caffeine-deprived. Most Keurig owners experience this problem at least once—your machine makes all the right sounds but produces little or no coffee despite a full water reservoir.
This common issue typically stems from mineral buildup or coffee grounds obstructing your machine’s delicate water pathways. The good news is that how to unclog a keurig water line doesn’t require professional help in most cases. With basic household items and systematic troubleshooting, you can restore full functionality to your coffee maker in under an hour.
Recognize Water Line Blockage Symptoms Immediately
Complete Water Refusal Signs
When your Keurig powers on normally but produces absolutely no coffee, you’re facing a serious water line obstruction. The machine hums and displays normal indicators, but no liquid emerges—this usually means either heavy mineral deposits or a physical blockage preventing water flow entirely. Check if the reservoir level remains unchanged after attempted brewing, which confirms the water isn’t being drawn through the system.
Partial Cup Brewing Issues
Nothing’s more frustrating than watching your Keurig start brewing enthusiastically only to stop halfway through your selected cup size. This inconsistent flow typically indicates narrowing water channels caused by calcium deposits or partial obstructions. The machine attempts to draw water but can’t maintain sufficient pressure to complete the cycle, often leaving you with just a few ounces instead of your full cup.
Error Message Triggers
That “More Water Please” message flashing on your display while your reservoir is visibly full is your machine’s distress signal. This error combined with unusual grinding or clicking sounds points directly to flow restriction problems. The pump works overtime trying to force water through blocked lines, triggering false low-water alerts that confuse many first-time troubleshooters.
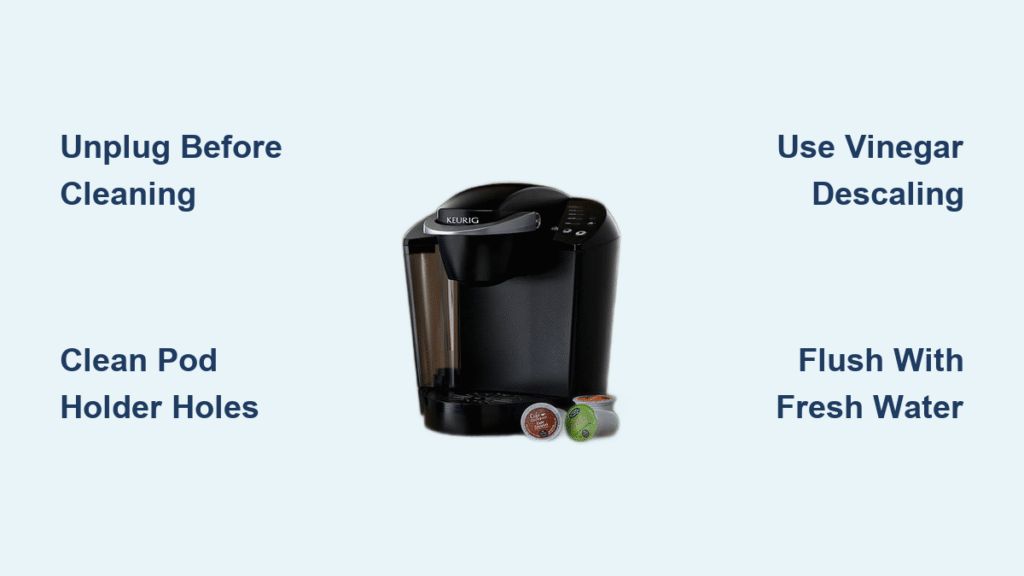
Essential Safety Steps Before Cleaning
Power Down Protocol
Always unplug your Keurig before attempting any cleaning—this simple step prevents electrical hazards when working with water components. Allow at least 30 minutes for internal water to cool, as temperatures inside can reach near-boiling levels even after turning off the machine. Skipping this cooling period risks serious burns when handling internal components.
Workspace Setup
Move your Keurig to a well-lit area near a sink with ample counter space. Keep several towels handy for inevitable water spills and have all your cleaning tools organized before starting. Proper lighting is crucial for spotting tiny coffee grounds or mineral deposits that might otherwise go unnoticed during inspection.
Gather Required Cleaning Tools
Basic Supplies Checklist
You’ll need just a few common household items:
– Liquid dish soap to break down coffee oils
– Microfiber cloths that won’t scratch delicate surfaces
– Warm water for effective cleaning
– A standard paperclip (straightened for precision work)
Advanced Tools for Stubborn Clogs
For more persistent blockages:
– Distilled white vinegar for dissolving mineral deposits
– Turkey baster or plastic straw to apply air pressure
– Large mug to catch cleaning solutions
– Soft-bristled brush for stubborn residue
Execute Quick Visual Inspection Steps

Water Reservoir Check
Remove the tank by lifting straight up and examine the base connection point. White, crusty buildup indicates mineral deposits, while floating coffee grounds suggest overflow issues. Inspect the reservoir walls for residue accumulation that could be entering your water lines during normal operation.
Drip Tray Examination
Slide out the drip tray completely and check for excessive coffee residue buildup. Significant accumulation here often signals partial blockages forcing water to take alternate paths through your machine. Clean thoroughly with soap and water before proceeding to internal components.
Pod Holder Inspection
Open the machine top and remove the black funnel-shaped pod holder. Hold it up to light and examine the small end where multiple tiny holes allow water flow. Clogged holes appear dark or completely blocked—this component collects the most concentrated debris and requires special attention.
Deep Clean Removable Parts Properly

Component Removal Process
Start by lifting the water reservoir vertically to avoid spills, then pull the drip tray forward completely. Extract the coffee pod holder by opening the top and lifting straight up—note any resistance, as sticking parts often signal mineral buildup at connection points.
Soap and Water Method
Fill your sink with hot water and add two drops of dish soap. Soak all removable components for 5 minutes, then use your microfiber cloth to scrub:
– Coffee pod holder crevices where grounds pack tightly
– Reservoir base where calcium forms crusty rings
– Drip tray channels that direct overflow
Rinse and Dry Protocol
Rinse each component under running water until completely soap-free—residual soap affects coffee taste. Dry thoroughly with a clean microfiber cloth before reassembly; moisture left behind can dilute your next brew or accelerate new mineral deposits.
Perform Manual Sediment Removal
Paperclip Technique for Pod Holder
Straighten one end of a paperclip to create a precise cleaning tool. Insert it into each tiny hole at the small end of the pod holder, rotating gently to dislodge packed coffee grounds. Tap the holder against the sink to release loosened debris, continuing until all holes appear clear when held to light.
Upper Needle Cleaning Procedure
Open your Keurig’s top and locate the metal needle along the upper edge. Find the three small holes surrounding it where water flows from the water line. Carefully insert your paperclip into each hole, rotating to break up debris without damaging the needle tip—this is a common clog point that needs thorough attention.
Apply Effective Air Pressure
Spout Location Identification
Identify the white water spout at the reservoir connection point on your machine—this is where water enters from the tank. Positioning your air pressure tool correctly here maximizes effectiveness for dislodging stubborn internal blockages.
Straw Technique Execution
Use a plastic straw or turkey baster to create targeted air pressure. While holding the machine inverted over your sink, seal the straw over the spout and puff air through several times. Listen for changes in resistance indicating debris movement—persistent blockages often yield to consistent air pressure application.
Complete Vinegar Descaling Process
Solution Mix Ratio
Combine equal parts distilled white vinegar and clean water in your reservoir—this 50/50 ratio provides optimal descaling strength without damaging internal components. Fill completely for maximum coverage through all water pathways.
Descaling Cycle Execution
Place a large mug on the drip tray and run your Keurig on the hot water setting through complete cycles until the reservoir empties. You’ll likely see mineral particles or discolored water expelled—this visible evidence confirms the vinegar is dissolving deposits.
Post-Descale Flush Protocol
Empty and rinse the reservoir thoroughly to remove all vinegar residue. Fill with fresh water and run complete brewing cycles twice. Taste the final flush water—any vinegar flavor means continued flushing is needed. Residual acid affects coffee taste and can damage components over time.
Prevent Future Water Line Clogs
Regular Cleaning Schedule
Clean removable components every 3-4 months for typical home use, or every 6-8 weeks in high-volume environments. Adjust frequency based on water hardness—test your water if unsure about mineral content to establish an appropriate maintenance routine.
Water Quality Choices
Use filtered or bottled water to minimize mineral introduction, especially in hard water areas. Avoid tap water that accelerates calcium and magnesium buildup. Consider a water softening filter in your reservoir if you must use tap water.
Daily Maintenance Habits
After brewing sugary drinks like hot cocoa or chai, run plain water through the machine to prevent sugar crystallization in water lines. Empty and rinse your water reservoir daily to prevent stagnation and bacterial growth that contributes to clogs.
Address Persistent Clog Solutions
When Basic Methods Fail
If your Keurig still underperforms after completing all cleaning methods, you may face pump failure rather than simple clogs. Listen for grinding, clicking, or sputtering sounds indicating mechanical stress beyond mineral blockage—these require professional assessment.
Professional Service Indicators
Contact Keurig customer service when experiencing complete pump failure, unusual mechanical noises, electrical issues where the machine won’t power on, or warranty coverage questions for newer machines. Some problems simply require factory-trained technicians.
Your morning coffee ritual doesn’t have to end with a sputtering machine. Most Keurig water line clogs clear within an hour using these methods. Start with visual inspection and basic cleaning—often, that’s all you need. Keep up the preventative maintenance, and you’ll enjoy consistent brewing for years to come. Remember that how to unclog a keurig water line successfully depends on identifying the specific blockage type and applying the appropriate solution systematically.


