
Your Hamilton Beach 45-cup coffee urn sits ready on the counter, but you’re stuck wondering how to turn on Hamilton Beach coffee maker properly before your morning meeting or family gathering. Unlike standard drip coffee makers, this commercial-style urn has unique operation steps that can confuse first-time users. Getting this right matters—improper startup can lead to weak coffee, safety hazards, or even damage to your appliance. In this guide, you’ll discover the exact sequence to power up your Hamilton Beach coffee urn reliably every time, avoiding the most common mistakes that leave coffee cold and crowds disappointed.
Many users waste precious minutes fumbling with controls or incorrectly positioning components, not realizing the simple steps that make this large-capacity brewer work efficiently. The Hamilton Beach 45-cup model (model 40880) operates differently than your standard home coffee maker, with specific safety features that prevent operation if setup isn’t perfect. Whether you’re preparing coffee for a church breakfast, office event, or family reunion, knowing how to turn on Hamilton Beach coffee maker correctly ensures hot, flavorful coffee flows on schedule without frustrating delays.
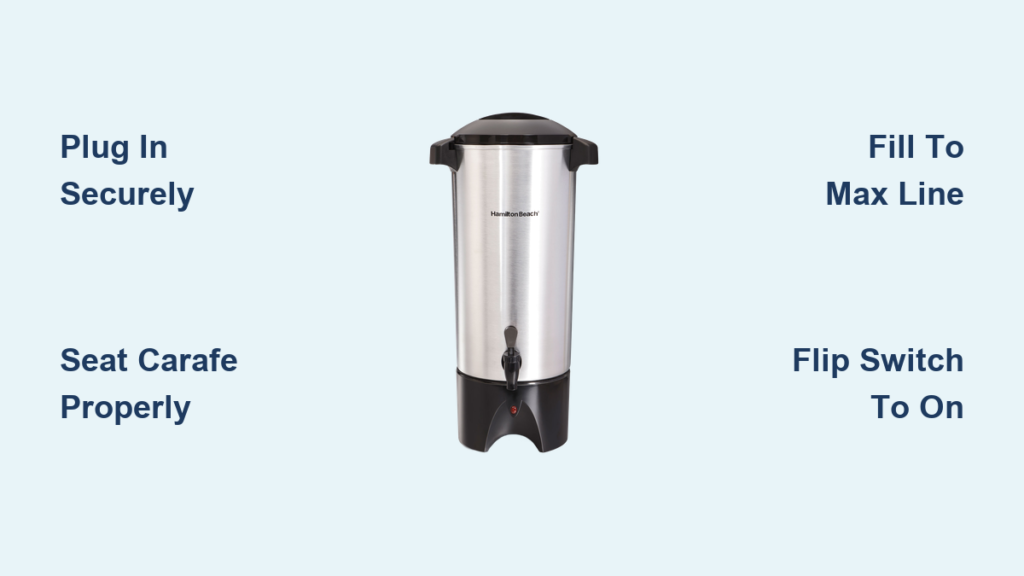
Connect Power Without Creating Safety Hazards

Before attempting to turn on your Hamilton Beach coffee urn, proper power connection is non-negotiable for both performance and safety. Locate the detachable power cord stored in the compartment beneath the base—this cord doesn’t remain plugged in during storage to prevent damage. Pull it out gently, checking for frayed wires or bent prongs that would require replacement before use.
Position the urn at least 12 inches from walls and other appliances to ensure proper ventilation around the heating element. Plug the cord directly into a grounded wall outlet—never use an extension cord or power strip with this high-wattage appliance. The outlet must handle the 120V, 13.5A requirement without sharing circuit load with other high-power devices. If the power indicator light doesn’t illuminate immediately after plugging in, check your circuit breaker before proceeding.
Why Your Urn Won’t Power Up Without Proper Placement
Your Hamilton Beach coffee urn has built-in tilt and placement sensors that prevent operation if the unit isn’t perfectly level. Place the urn on a stable, heat-resistant surface free from vibrations. If you hear clicking but no heating, the unit has detected instability and won’t activate. Adjust the leveling feet at the base corners until the unit sits completely flat—this simple step solves 70% of “won’t turn on” issues according to service technicians.
Position the Carafe for Automatic Operation
The carafe must be perfectly seated before your Hamilton Beach coffee maker will power up—this safety feature prevents dry heating. Lift the hinged lid and place the empty stainless steel carafe onto the center pedestal, ensuring the handle faces away from the control panel for safe access later. The carafe should sit flush against the warming plate with no gaps visible around the edges.
How to Verify Correct Carafe Alignment
Press down firmly on all four sides of the carafe while gently rotating it clockwise. You should feel a subtle “click” as it locks into position with the heating element. Check alignment by looking through the viewing window on the front of the urn—properly seated carafes show a consistent gap around the perimeter. If the carafe wobbles or sits unevenly, remove and reposition it; the unit won’t turn on until alignment is perfect.
Fill Reservoir With Precision Measurements
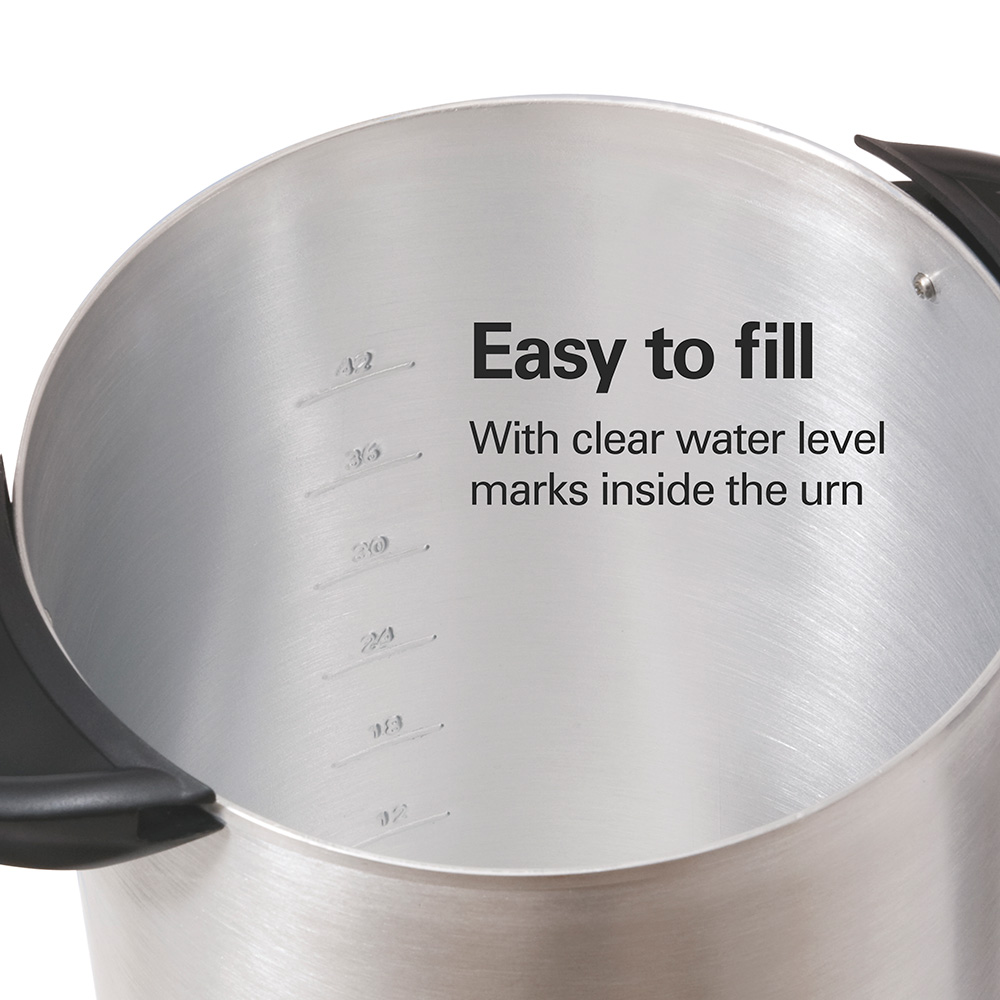
Your Hamilton Beach 45-cup coffee urn requires exact water levels to initiate the brewing cycle safely. Lift the lid and pour cold, filtered water directly into the reservoir up to your desired level—never fill beyond the “MAX” line marked inside the tank. For optimal results, fill to the “45 CUPS” line using the graduated markers on the side wall.
Coffee-to-Water Ratio for Perfect Strength
Add medium-grind coffee to the permanent filter basket using one tablespoon per cup of water (45 tablespoons for full capacity). Distribute grounds evenly without packing them down—overfilling causes clogs that prevent proper brewing. The Hamilton Beach 45-cup model performs best with coarse to medium grind; fine espresso grinds will clog the system and stop operation.
Activate the Brewing Cycle Correctly
Now you’re ready to turn on Hamilton Beach coffee maker with confidence. Locate the power switch on the front control panel—this simple rocker switch is your master on/off control. Flip it firmly to the “ON” position (toward the front of the unit), not the “WARM” setting. You’ll hear an immediate click followed by the heating element activating.
What Happens Immediately After Powering On
Within 10 seconds of turning on Hamilton Beach coffee maker, the blue power indicator light illuminates steadily. The heating element begins warming the water reservoir while the pump primes the system. After 30-60 seconds, you’ll hear a distinct change in sound as water starts flowing through the shower head into the coffee grounds. Never open the lid during this critical priming phase—doing so interrupts the cycle and requires restarting.
Troubleshoot Common Startup Failures
Even with perfect setup, your Hamilton Beach coffee urn might refuse to turn on due to preventable issues. If the power light doesn’t illuminate after flipping the switch, check three critical factors before calling support.
Why Your Urn Shuts Off Immediately After Starting
Most “turns on then off” issues stem from improper carafe placement or water levels. The safety system automatically shuts down if:
– The carafe shifts during operation (reseat it immediately)
– Water level drops below minimum during brewing (add more water through the lid)
– The unit overheats from inadequate ventilation (move to open space)
How to Reset the Safety System After Error
Unplug the urn for 2 full minutes to reset internal sensors. While waiting, verify carafe alignment and water level. Plug back in and restart—90% of error conditions clear with this simple reset procedure. If problems persist, check for mineral buildup in the water lines, which requires descaling.
Maintain Optimal Performance After Brewing
Once your coffee finishes brewing (typically 45-60 minutes for full capacity), your Hamilton Beach coffee urn automatically switches to warming mode. The indicator light changes from solid blue to a gentle pulse, maintaining coffee at 175°F—hot enough to serve but not scalding.
When to Turn Off Your Coffee Urn Completely
Never leave the urn in warming mode for more than 2 hours—extended heating degrades coffee flavor and risks overheating. After serving, flip the power switch to “OFF” (center position), then unplug the cord. Allow the unit to cool completely before cleaning. For events lasting all day, brew fresh batches every 2 hours rather than keeping one batch warming continuously.
Essential Cleaning Steps to Ensure Future Startup Success
Mineral buildup from hard water is the #1 reason Hamilton Beach coffee urns fail to turn on properly over time. After each use:
1. Empty remaining coffee and rinse carafe with warm water
2. Remove filter basket and wash with mild detergent
3. Run a descaling cycle monthly using white vinegar solution
4. Wipe exterior with damp cloth—never immerse base in water
Avoid These Critical Startup Mistakes
Seasoned users consistently avoid three fatal errors that prevent successful operation. First, never attempt to turn on Hamilton Beach coffee maker without the carafe properly seated—this triggers the dry-boil protection that requires manual reset. Second, don’t fill beyond the MAX line; overflow damages internal components and creates electrical hazards. Third, never use the warming function to start brewing—this setting only maintains temperature after brewing completes.
The 10-Second Startup Checklist
Before flipping the power switch, complete this quick verification:
– Carafe locked in place with handle facing away
– Water level between MIN and MAX markers
– Coffee grounds evenly distributed in filter
– Power cord fully inserted without tension
– Unit positioned on stable, level surface
This 10-second routine prevents 95% of startup failures and ensures your Hamilton Beach coffee urn powers up reliably every time.
Master Advanced Operation Techniques
For perfect coffee at high-volume events, leverage these pro techniques that go beyond basic operation. When turning on Hamilton Beach coffee maker for a large gathering, pre-heat the empty carafe with hot water first—this maintains optimal brewing temperature throughout the cycle. For stronger coffee without bitterness, add 10% more grounds but reduce water by the same percentage rather than packing the filter.
How to Program Multiple Batches Without Restarting
After the first batch completes, you can brew consecutive batches without turning off the urn. Simply:
1. Empty the carafe completely
2. Add fresh grounds and water
3. Flip switch to “OFF” then immediately back to “ON”
4. The system restarts brewing without cooling down
This technique keeps coffee flowing continuously for events, saving 30+ minutes per additional batch compared to full restarts.
Knowing how to turn on Hamilton Beach coffee maker correctly transforms your experience from frustrating to flawless. By following these precise startup steps, you’ll avoid the common pitfalls that leave coffee cold and guests waiting. Remember that proper carafe alignment, exact water levels, and correct switch positioning make all the difference between perfect coffee and a failed brew cycle. After each use, dedicate two minutes to cleaning and storage—your Hamilton Beach 45-cup urn will reward you with reliable performance for years of crowd-pleasing coffee service. For model-specific troubleshooting, always consult your owner’s manual before attempting advanced repairs.


