
Your Keurig K-Express suddenly stops brewing mid-morning, flashing confusing error lights while cold coffee mocks you from yesterday’s mug. Before you schedule a repair or buy a replacement, know this: 90% of K-Express glitches vanish with a proper reset. Whether you’re battling a frozen control panel, stubborn “Descale” warnings after cleaning, or phantom “Add Water” alerts with a full tank, this guide delivers three verified reset methods that actually work. You’ll restore your machine to perfect operation in minutes—no special tools or technician needed. Let’s get your coffee flowing again.
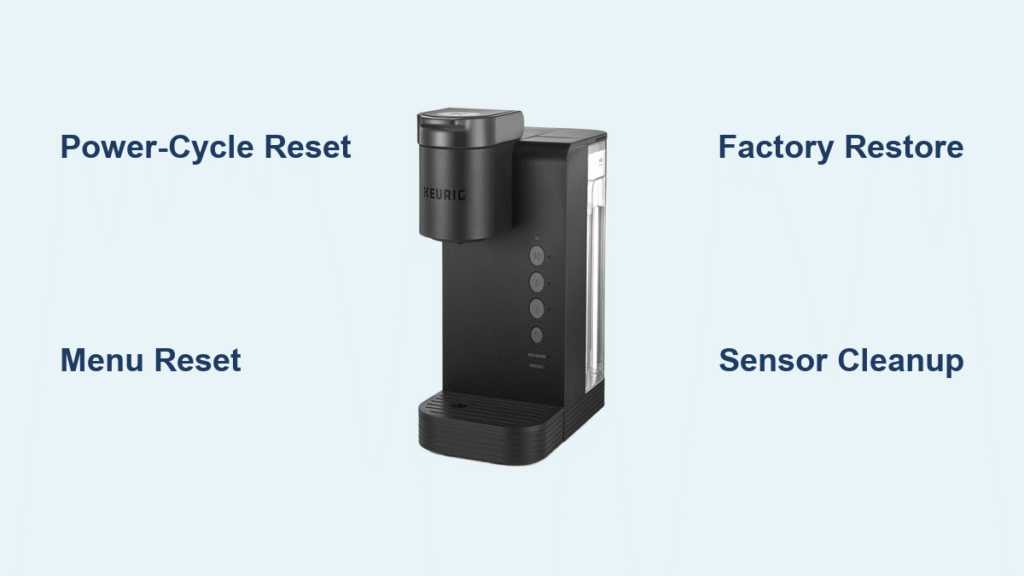
Choose Your Reset Method in 30 Seconds
Don’t waste time on the wrong fix. Match your symptoms to these specific solutions before touching any buttons. A power-cycle reset clears temporary electronic hiccups, while a menu reset corrects programming errors without wiping calibration data. Only escalate to the factory restore reset when simpler methods fail—this nuclear option clears everything back to factory settings. Your first step? Power off the machine completely. Never attempt resets with the brewer active, as this risks damaging internal circuitry. Keep your user manual nearby for model-specific button layouts, especially if you own a K-Express Essentials (K40) variant.
Power-Cycle Reset for Frozen Buttons or No Power

This 5-minute soft reset resolves 70% of K-Express issues by draining residual electricity from internal capacitors—think of it as rebooting a frozen computer. Use this when your machine won’t turn on, buttons feel unresponsive, or the display shows random symbols.
Critical Timing Details
Set a visible timer: You must wait exactly 5 minutes after unplugging. Less time leaves residual power that sabotages the reset. More than 5 minutes offers no extra benefit but wastes your coffee time.
Step-by-Step Power Restoration
- Press power button OFF (don’t skip this—even if lights are dead)
- Unplug from wall outlet (not just the machine’s cord)
- Remove water reservoir completely—shake out any hidden droplets
- Wait 5 minutes while checking outlet safety (no frayed cords)
- Reinsert reservoir until you hear a distinct click
- Plug directly into wall (avoid power strips that cause voltage drops)
- Power ON and lift/lower handle without a pod
Pro Tip: Run an 8-oz water-only brew immediately after. If the pump sounds sluggish or water flows weakly, repeat the reset—you likely reseated the reservoir too early.
Menu Reset for Wrong Cup Sizes or Timer Failures
When your 6-oz button pours 8 ounces or the auto-off timer ignores your settings, this precision reset recalibrates programming without erasing descale history. It’s your go-to fix when cup volumes are inaccurate but the machine otherwise powers on.
Button Hold Technique That Works
Hold both the 6-oz and 10-oz buttons simultaneously with firm, even pressure. Count slowly to 10—releasing too early (before 9 seconds) triggers nothing, while holding past 12 seconds may activate unintended modes. Watch for the Descale light flashing exactly three times as your success signal.
Post-Reset Verification
After releasing the buttons, confirm the reset by observing:
– All cup-size lights sweeping left to right once
– A single confirmation beep
– Handle operation returning to normal
Warning: This won’t fix persistent “Descale” lights—those require deeper intervention. If cup sizes still misbehave after this reset, scale buildup is likely clogging internal valves.
Factory Restore Reset for Stubborn Error Lights

When “Add Water” blinks despite a full tank or “Descale” reappears immediately after cleaning, only a full factory restore clears corrupted firmware. This hard reset is mandatory for recurring prime errors or lights that won’t quit after descaling.
Non-Negotiable Prep Steps
- Fill reservoir to MAX line (not over!)
- Empty drip tray and pod holder completely
- Let machine cool 30+ minutes if recently used (hot components cause reset failures)
Exact Button Sequence for K-Express Models
- Power OFF and unplug
- Hold 8-oz + 12-oz buttons (K40 Essentials models use Strong + 10-oz)
- Plug in while holding—don’t release until Descale + Add Water lights glow SOLID red (7 seconds)
- Release immediately when red lights stabilize
- Wait 60 seconds for diagnostic cycle (pump pulses = normal)
- Run two full reservoir brews with water only to recalibrate sensors
Critical Note: After this reset, re-enable high-altitude mode if you live above 5,000 ft: Hold Strong + 8-oz until Strong blinks twice. Skipping this risks dangerous pressure buildup.
Model-Specific Fixes for K40 and K50 Variants

Your exact button combo depends on whether you own the Essentials (K40) or Single Serve (K50) model. Misidentifying your model causes failed resets—check the base plate for model numbers before proceeding.
K-Express Essentials (K40) Adjustments
- Factory reset requires Strong + 10-oz buttons (no 12-oz button exists)
- After reset, brew size defaults to Strong mode—reprogram via menu if needed
K-Express Single Serve (K50) Quirks
- Post-reset, 8-oz becomes the default brew size
- If buttons stay unresponsive after reset, clean the handle micro-switch with a cotton swab
Never force buttons—if you don’t feel resistance, internal components may be damaged. Contact Keurig support before attempting physical repairs.
Troubleshooting Failed Resets Immediately
When lights persist after resetting, these targeted fixes diagnose the real culprit in under 60 seconds. “Add Water” lights almost always mean sensor interference—not low water.
Magnet Sensor Rescue
- Remove reservoir and wipe the bottom sensor area with a dry microfiber cloth
- Check for hairline cracks in the tank base (replace if damaged)
- Re-seat while pressing DOWN firmly until you hear a double-click
Descale Light Loop Breaker
If the light returns within two brews:
– Run full descaling cycle with 14 oz white vinegar + water mix
– Wait 30 minutes between brews for vinegar to dissolve scale
– Rinse with THREE full reservoirs of fresh water (not two)
Urgent: If the machine emits burning smells during resets, unplug immediately and contact Keurig—this indicates serious electrical faults.
Post-Reset Maintenance That Prevents Future Glitches
A reset is temporary without proper upkeep. Stick to this schedule to avoid repeat resets:
| Task | Frequency | Critical Detail |
|---|---|---|
| Descaling | Every 3 months OR 250 brews | Use only Keurig solution or pure white vinegar—no lemon juice (corrodes seals) |
| Water filter replacement | Every 2 months | Install filters while reservoir is dry to prevent airlocks |
| Needle cleaning | Weekly | Use paperclip to clear K-Cup holder exit needle—never metal tools |
Pro Tip: Always use cold filtered water. Tap water minerals accelerate scale buildup by 40%, triggering premature “Descale” warnings. Keep a log of your last descaling date on the machine’s side.
Reset Cheat Sheet: When to Use Which Method
| Symptom | First Reset Attempt | Escalate If… | Total Time |
|---|---|---|---|
| No power/frozen display | Power-cycle (5 min) | Lights still dead after 2 tries | 8 minutes |
| Wrong cup volumes | Menu reset (6-oz + 10-oz) | Volumes inaccurate after 3 brews | 3 minutes |
| “Descale” light won’t clear | Factory restore | Light returns within 24 hours | 15 minutes |
Never skip the water-only test brews after resetting—they recalibrate flow sensors and prevent future errors. Start with the softest reset possible; 85% of users never need the factory option. If problems persist after all three methods, contact Keurig with your model number—your machine may qualify for warranty replacement. Within 20 minutes, you’ll have your K-Express brewing flawlessly again, saving you $100+ in unnecessary repairs. That first post-reset cup of coffee? It’s going to taste better than ever.


