
Your coffee grinder’s performance has suddenly declined. The grounds are uneven, the motor sounds strained, and your morning ritual has become frustrating. Before you consider replacing your entire grinder, the solution might be simpler than you think—your blade likely needs cleaning or replacement. Knowing how to remove blade from coffee grinder properly can save you money and extend your appliance’s lifespan. Whether you’re dealing with stubborn coffee oils, mineral buildup, or a dull blade affecting your espresso quality, this guide delivers the exact steps to safely access and remove your grinder’s cutting mechanism. You’ll learn model-specific techniques that prevent damage to your equipment while ensuring optimal coffee extraction for perfectly brewed cups every time.
Why Coffee Grinder Blades Need Removal and Maintenance
Coffee grinder blades accumulate oils and residue that dramatically impact your brew quality. As coffee beans pass through your grinder, natural oils coat the blade assembly, attracting fine particles that harden over time. This buildup creates uneven grinding surfaces that produce inconsistent particle sizes—resulting in bitter or weak coffee. Most manufacturers recommend deep cleaning your grinder blade every 2-3 months for regular users, but many coffee enthusiasts overlook this critical maintenance step until performance suffers noticeably.
The consequences of neglected blade maintenance extend beyond poor extraction. Built-up residue creates extra resistance that forces your motor to work harder, potentially shortening your grinder’s lifespan. You might notice your grinder taking longer to process beans, emitting burning smells, or even stalling completely during operation. Removing and cleaning your blade addresses these issues at the source, restoring peak performance without requiring expensive repairs or replacements. Understanding how to remove blade from coffee grinder properly ensures you can maintain consistent grind quality that elevates your entire coffee experience.
Essential Safety Preparations Before Blade Removal
Disconnect Power and Clear Workspace
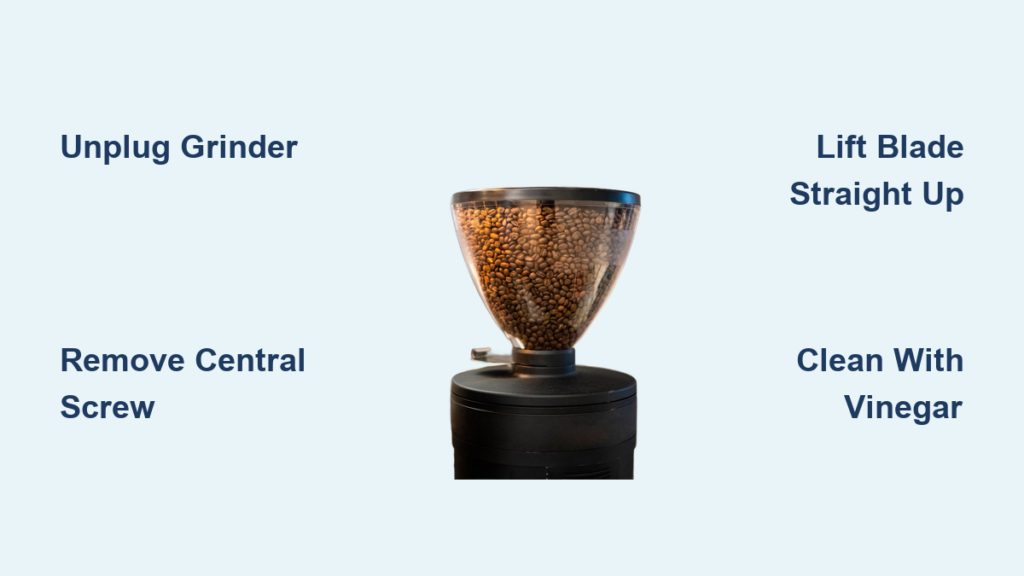
Before attempting to remove your coffee grinder blade, complete these critical safety steps. Unplug your electric grinder or remove batteries from cordless models—never work on a powered device. Place the grinder on a non-slip surface with ample lighting, keeping children and pets away from your workspace. Gather necessary tools within easy reach before beginning to avoid distractions during the process. This preparation prevents accidental activation that could cause serious injury from the sharp blades.
Identify Potential Hazards Based on Your Grinder Type
Different grinder models present unique risks during blade removal. Electric blade grinders often have spring-loaded mechanisms that can snap unexpectedly when released. Burr grinders may have tightly secured components requiring significant force to disengage. Before proceeding, examine your grinder for warning labels or manufacturer instructions regarding disassembly. If your model has visible screws, note their positions and sizes—taking photos can help with reassembly. Recognizing these specific hazards prevents damage to your grinder and protects you from accidental cuts or pinched fingers.
How to Remove Blade from Electric Coffee Grinder Models
Standard Electric Blade Grinder Disassembly
Follow these precise steps to access the blade assembly in most electric coffee grinders. First, remove the bean hopper and any removable grounds container. Turn the grinder upside down and locate the central screw securing the blade—this often requires a Phillips or Torx screwdriver matching your specific model. While holding the blade steady with a non-slip tool (like a rubber glove or silicone pad), turn the screw counterclockwise. If the screw resists, apply gentle pressure while turning to prevent stripping. Once loose, lift the blade assembly straight up—never twist or force it sideways.
Troubleshooting Stuck Blade Screws in Electric Grinders
When your blade screw won’t budge despite proper technique, try these professional methods. Apply a few drops of penetrating oil around the screw threads and wait 10 minutes before attempting again. Use a hairdryer on low heat to warm the screw area for 30 seconds—thermal expansion often loosens stuck components. For particularly stubborn cases, grip the blade with locking pliers wrapped in cloth to prevent damage while turning the screw. Never use excessive force that could strip the screw head or damage internal components. If these methods fail, consult your manufacturer’s support rather than risking further damage.
Removing Blades from Manual Coffee Grinders

Step-by-Step Manual Grinder Blade Removal
Manual coffee grinder blade removal follows different procedures than electric models. Start by emptying all coffee beans from the hopper and grinding mechanism. Most manual grinders require you to unscrew the adjustment knob completely before accessing the blade assembly. Rotate the upper burr carrier counterclockwise while stabilizing the base—this often reveals the central blade mounting. Some models have a locking ring that must be released first using a coin or specialized tool. Once exposed, the blade typically lifts straight out without screws. Document each step with photos to ensure correct reassembly.
Special Considerations for Ceramic Blade Manual Grinders
Ceramic blades in manual grinders require extra care during removal. Unlike metal blades, ceramic components can crack under improper pressure. Before attempting removal, confirm your grinder uses ceramic blades by checking manufacturer documentation. When disassembling, avoid metal tools that could scratch or chip the ceramic surface. Use plastic or wooden implements to gently separate components. If resistance is encountered, stop immediately—ceramic blades shouldn’t require forceful removal. Many ceramic blade grinders have proprietary disassembly methods, so consulting official guides is crucial to prevent costly damage to these precision components.
Cleaning and Reinstalling Your Coffee Grinder Blade
Proper Blade Cleaning Techniques After Removal
Once your blade is free, follow these cleaning protocols for optimal results. Soak the blade in a 50/50 mixture of white vinegar and water for 15 minutes to dissolve coffee oils—avoid harsh chemicals that could damage metal components. Use a soft-bristled brush (an old toothbrush works well) to gently scrub between blade edges, paying special attention to the mounting hole where residue accumulates. Rinse thoroughly with warm water and dry completely with a microfiber cloth—any moisture left can cause rust or electrical issues upon reinstallation. Never place grinder blades in a dishwasher, as detergents and heat can degrade metal integrity.
Correct Reinstallation Procedures to Prevent Damage
Reinstalling your coffee grinder blade requires precision to ensure proper function. Before reassembly, inspect all components for wear—replace any damaged parts rather than forcing reinstallation. Apply a tiny amount of food-grade lubricant to the mounting shaft if your manufacturer recommends it. Position the blade exactly as it was originally seated—most blades have specific alignment notches. When tightening the securing screw, use firm but moderate pressure—over-tightening can strip threads or distort the blade. After reassembly, manually rotate the blade to confirm smooth movement before powering on your grinder. Test with a small amount of beans to verify proper operation before brewing your next cup.
When to Replace Rather Than Clean Your Coffee Grinder Blade
Identifying Irreparable Blade Damage

Sometimes cleaning won’t restore your grinder’s performance. Look for these definitive signs that replacement is necessary: visible nicks or chips along the cutting edge, significant rust that penetrates the metal surface, or warping that prevents proper alignment. If your blade produces consistently uneven grounds even after thorough cleaning, the cutting edges have likely dulled beyond recovery. Professional baristas consider replacing grinder blades every 50-75 pounds of coffee for home use, but actual lifespan depends on usage frequency and bean type. Harder beans like dark roasts accelerate blade wear compared to lighter roasts.
Sourcing Correct Replacement Blades for Your Model
Finding the right replacement blade prevents compatibility issues. Always match replacement parts to your specific grinder model—universal blades often create performance problems. Check your grinder’s manual for part numbers or contact the manufacturer directly with your model information. When ordering online, verify seller authenticity to avoid counterfeit parts that compromise safety and performance. Some high-end grinders require professional installation for blade replacement—don’t force incompatible parts that could damage your entire grinding mechanism. Investing in genuine replacement blades ensures continued optimal performance and maintains your grinder’s warranty coverage.
Preventing Future Blade Problems Through Proper Maintenance
Daily and Weekly Cleaning Routines
Implement these simple habits to extend your blade’s lifespan between deep cleanings. After each use, run a few tablespoons of dry rice through your grinder—this absorbs oils and dislodges fine particles. Wipe the bean hopper and grounds container with a dry cloth to prevent static buildup. Once weekly, use a small brush to remove visible debris from around the blade assembly without full disassembly. For espresso grinders, purge the mechanism with a few grams of old coffee beans before switching bean types to prevent flavor contamination. These quick practices dramatically reduce the frequency of complete blade removal while maintaining consistent grind quality.
Long-Term Blade Care Strategies
Protect your investment with these advanced maintenance techniques. Store your grinder in a cool, dry place away from direct sunlight that can degrade plastic components. Avoid grinding oily or flavored beans that accelerate residue buildup. For electric grinders, never operate the motor without beans present—this causes unnecessary wear on the blade mechanism. Consider using grinder cleaning tablets monthly for deep residue removal without full disassembly. When storing your grinder long-term, leave the bean hopper empty and the grounds container open to prevent moisture buildup. These strategies preserve blade sharpness and ensure years of reliable service from your coffee grinding equipment.
Final Note: Regular blade maintenance transforms your coffee experience from frustrating to flawless. By mastering how to remove blade from coffee grinder safely and effectively, you’ve gained control over one of the most critical elements in coffee preparation. Implement these cleaning routines monthly, and you’ll notice dramatic improvements in extraction quality, flavor clarity, and equipment longevity. Remember that consistent maintenance prevents 90% of common grinder issues—don’t wait for performance problems to develop before addressing blade care. Your perfect cup starts with a perfectly maintained grinder, and now you have the knowledge to keep it operating at its best for years to come.


