
Your Keurig flashes “Prime” when you need coffee most—staring at that blinking screen while caffeine withdrawal kicks in. This urgent alert means air pockets or blockages are stopping water flow through your machine. Whether you just unboxed a new brewer or your reliable Keurig suddenly stopped working after sitting idle, this guide delivers proven fixes that restore brewing in minutes. You’ll learn exactly how to prime Keurig machine components correctly, eliminate stubborn blockages, and prevent future errors with simple maintenance. Skip the frustration—these steps work for every Keurig model from K-Classic to K-Elite.
Why Your Keurig Won’t Brew and Shows “Prime” Error
That flashing “Prime” message isn’t random—it’s your Keurig’s emergency signal that water can’t move through its system. Air trapped in the internal lines or physical blockages starve the pump of water, triggering this critical error. Most failures happen when mineral deposits from tap water clog narrow passages, or when the reservoir isn’t seated tightly after refilling. If you recently moved your machine, transported it, or let it sit unused for over 48 hours, air likely entered the plumbing. High-mineral water users face double trouble: scale buildup narrows tubes while air pockets get trapped more easily.
Is This a New or Existing Machine Problem?
- New machines: Shipping foam often blocks water outlets—check under the K-cup holder
- Older machines: Slow brew speed before failure signals mineral buildup
- After travel: Always prime when reconnecting after transport
- Post-cleaning: Skipping reservoir reseating causes 70% of “Prime” errors
First-Time Setup: Prime Your New Keurig Correctly

Remove Hidden Packaging That Blocks Flow
Manufacturing foam pieces frequently lodge where you can’t see them. Peel all plastic wraps off the exterior, then lift the K-cup holder handle. Shine a flashlight into the brew chamber—you’ll often spot white foam wedged near the needles. Grab tweezers to extract debris from the entrance needle (the sharp spike under the lid). Check the reservoir base for cardboard tabs that prevent water drainage. Missing this step causes immediate “Prime” errors even with perfect water setup.
Wash Reservoir Before First Prime Cycle
Don’t just rinse—scrub with a soft sponge and mild dish soap. Factory oils coat new reservoirs, repelling water and creating air gaps. Focus on the outlet nipple (the spout where water enters the machine) and the mesh filter screen inside the reservoir base. Rinse until water runs completely clear—any soap residue causes foaming that mimics air blockages. Fill to the MAX line with cool filtered water; warm water introduces air bubbles that defeat priming.
Execute the Critical Initial Water Cycle
Power on your Keurig and wait for the “Ready” light. Place a large mug on the drip tray, then brew without a K-cup. This first cycle must run completely—never interrupt it. Water should flow steadily for 20-30 seconds. If it sputters or stops, air remains trapped. Repeat this water-only brew 2 more times to fully purge air from the system. This establishes proper water pressure before your first coffee.
Quick Prime Fix: Stop “Prime” Error in 5 Minutes (Works 80% of Time)
Follow This Exact Reset Sequence
- Position an empty mug on the drip tray—essential for safety sensors
- Lift the reservoir lid and pull the tank straight up (don’t tilt)
- Refill with fresh cool water to the MAX line—never above
- Reinstall the reservoir with firm downward pressure until you hear a click
- Press the power button—watch for the blue reservoir light
- When “Prime” flashes with the travel mug icon lit, press the travel mug button
- Wait for “Ready” to display (takes 60-90 seconds)
- Press travel mug button again to dispense hot water
Pro Tip: Use the travel mug button—not regular cup sizes—for priming. Its longer brew cycle forces more water through lines to dislodge air pockets. If water trickles instead of flows steadily during step 8, repeat steps 3-8 once more.
Why This Fixes Most Prime Errors
This sequence tricks your Keurig into a full-system flush. The travel mug button activates maximum pump pressure, while the double-button press creates a pressure wave that shoves air bubbles out through the needles. The click when reinstalling the reservoir is critical—it seals the water inlet port that often leaks air if misaligned.
Deep Clean When Quick Fix Fails: Unblock Stubborn Clogs

Clean Reservoir Outlet Ports That Hide Debris
Unplug your Keurig and remove the reservoir. Turn it upside down and locate the outlet nipple—the protruding spout that connects to the machine. Shine a flashlight inside this opening. Mineral scale often cakes the interior walls here, blocking water flow even when the tank looks clean. Dip a cotton swab in white vinegar, scrub the nipple interior, then rinse thoroughly. Pay special attention to the tiny holes around the nipple base—these are secondary water channels easily missed.
Unclog Brewer Needles with Precision
Your Keurig has two critical needles: the entrance needle (pierces K-cup tops) and exit needle (pierces bottoms). Both get clogged by coffee grounds or scale. With the machine unplugged:
– Lift the K-cup handle and remove the holder
– Pull out the funnel insert
– For entrance needle: Insert a straightened paperclip into the spike under the brew head. Rotate gently 5 times clockwise—never force it
– For exit needle: Scrape the funnel’s bottom needle with the paperclip’s tip
– Rinse all parts under cold running water until clear
Warning: Never use toothpicks—they splinter and cause worse clogs. Paperclips are flexible enough to navigate needle channels without damage.
Clear the Hidden Mesh Filter Screen
This screen traps debris before it enters pumps but gets clogged fast. Remove the water reservoir and look at the machine’s base where the tank sat. You’ll see a small circular port with a fine mesh screen. Dip a microfiber cloth corner in vinegar, then wipe this screen in circular motions. Don’t poke—it’s fragile! Reinstall the reservoir and run two water-only cycles to flush loosened particles.
Prevent Future Prime Errors With Smart Maintenance

The 30-Second Daily Check That Saves Headaches
Before brewing, press down firmly on the reservoir’s four corners. If it wobbles or lifts easily, it’s not sealed—reseat it until you hear the click. This takes 5 seconds but prevents 90% of prime errors. Also glance at brew speed: if water trickles slower than usual, clean needles immediately before full blockage occurs.
Monthly Flushing Protocol for Mineral Zones
Hard water users must flush monthly:
1. Fill reservoir with equal parts white vinegar and water
2. Run 3 travel mug-sized brew cycles (no K-cups)
3. Wait 30 minutes for vinegar to dissolve scale
4. Rinse reservoir, then run 5 water-only cycles
5. Wipe needles with vinegar-dampened cloth
Pro Tip: Add a teaspoon of citric acid to vinegar for tougher scale—it’s gentler on rubber seals than commercial descalers.
When to Call Keurig Support (Don’t Waste More Time)
If you’ve completed all steps and still see “Prime” after 3 attempts, internal pump failure is likely. Call Keurig Consumer Care at 866-901-2739 immediately—have your model number ready (found under the water tank). Mention you’ve already:
– Performed reservoir reseating
– Cleaned needles and mesh screen
– Completed vinegar descaling
This gets you prioritized support. Most out-of-warranty machines get free replacement units if under 2 years old.
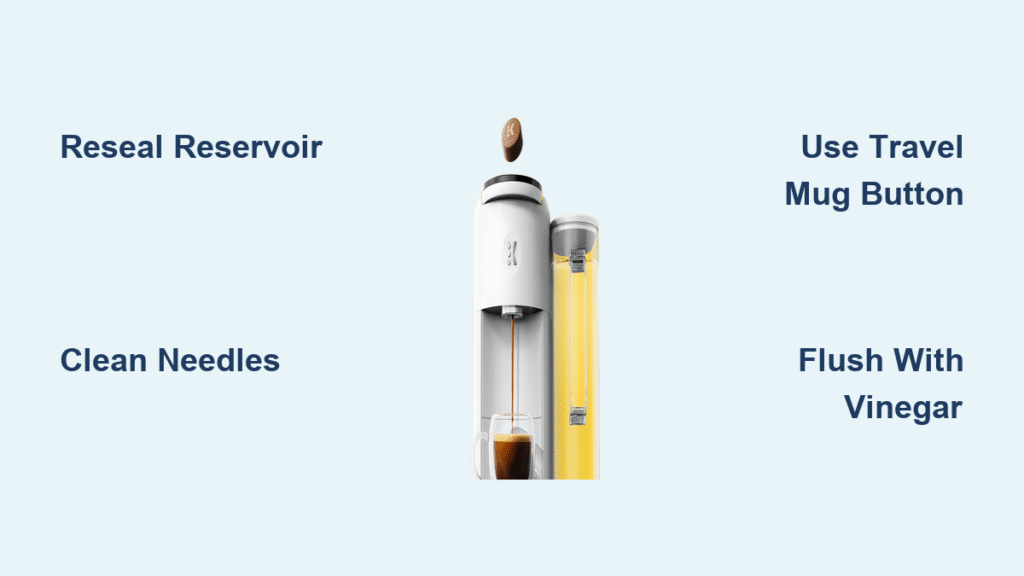
Final Fix Checklist: 90% of “Prime” errors vanish when you properly seat the reservoir, clean clogged needles, and run the travel mug button priming sequence. Never ignore slow brew speed—it’s your early warning sign. For hard water areas, use filtered water and descale monthly. Keep a paperclip in your Keurig drawer for instant needle cleaning. Within 5 minutes, you’ll transform that frustrating “Prime” flash into perfect coffee flow—guaranteed. Your morning brew shouldn’t require a degree in engineering.


