
Nothing disrupts a morning meeting or family gathering like weak, lukewarm coffee from a malfunctioning urn. If you’ve ever struggled with overflow messes or inconsistent brews from your Hamilton Beach coffee maker, you’re not alone—nearly 70% of large-capacity coffee users report operational hiccups within the first month. Mastering how to operate Hamilton Beach coffee maker models, especially the popular 45-cup urn, transforms chaotic mornings into seamless coffee service. This guide cuts through the confusion with precise, model-specific instructions straight from Hamilton Beach’s operational framework. You’ll learn to brew flawlessly, avoid common pitfalls, and maintain peak performance whether serving a boardroom or backyard barbecue. Let’s get your coffee maker working like a pro barista.
Identify Critical Components Before First Use

Knowing exactly where each component lives prevents operational errors that cause overflow or weak coffee. Your Hamilton Beach 45-cup coffee maker’s design centers around five mission-critical parts that work in concert during brewing.
The water reservoir holds up to 3.75 gallons (45 cups) of cold water, featuring clear measurement lines etched directly into the tank. Never fill beyond the “MAX” line—overfilling is the #1 cause of messy overflow during brewing cycles. This reservoir connects directly to the heating system, so always use fresh, cold water straight from the tap for optimal extraction.
The dual-basket system separates grounds from brewed coffee through coordinated action. First, the removable filter basket (which accepts paper or reusable filters) sits inside the larger coffee basket. This layered design requires coarse-to-medium grind coffee only—fine grinds clog the filters instantly, triggering dangerous overflow. When inserting, listen for the audible “click” confirming proper seating on the brewing platform.
Your thermal carafe is the unsung hero maintaining temperature without scorching. Unlike glass carafes on basic models, this double-walled stainless steel container locks in heat for 2-4 hours through vacuum insulation. The locking lid features a heat-resistant handle and pour spout that must seal completely to prevent heat escape. Check the rubber gasket weekly for cracks—if light passes through, replace it immediately to maintain thermal efficiency.
The base unit houses the heating element and control system. Unlike drip machines with warming plates, this model heats water to precisely 200°F (the ideal extraction temperature) then shuts off automatically once brewing completes. Never operate with less than 5 cups of water in the reservoir—this triggers safety sensors that halt the cycle to prevent element damage.
Execute Flawless Initial Setup in 4 Steps
Skipping proper setup causes 80% of early operational failures. Follow this sequence exactly for your first Hamilton Beach coffee maker operation to avoid residue contamination and component damage.
Begin with a vinegar descaling cycle before brewing coffee. Mix equal parts white vinegar and cold water to fill the reservoir to the “10 CUP” line. Place an empty filter in the basket, close the lid, and press “Brew.” Discard the vinegar solution after completion, then run two full cycles with plain cold water to eliminate any vinegar taste. This critical step removes factory oils from internal components that would otherwise ruin your coffee’s flavor.
Position the unit on a heat-resistant surface with 6 inches of clearance on all sides. The base vents heat from the rear—blocking these vents with walls or cabinets causes overheating shutdowns. Confirm the power cord connects directly to a grounded outlet (no extension cords), and route it away from foot traffic using the built-in cord wrap on the base.
Pre-warm the thermal carafe by rinsing it with boiling water from a kettle. This simple 20-second step prevents thermal shock that cools your first brew prematurely. While the carafe heats, insert the filter basket and add one tablespoon of coffee per 6 ounces of water you’ll use—no tamping or pressing required. For a full 45-cup batch, this equals exactly 45 tablespoons (2.8 cups) of medium-coarse grounds.
Fill the reservoir with cold water to your desired level using the measurement lines. Always add water before coffee grounds—a common mistake that causes dry brewing cycles damaging the heating element. For best results, never exceed 40 cups initially until you’re comfortable with the machine’s flow rate.
Optimize Coffee Grounds for Maximum Flavor Extraction

Your grind size and measurement directly determine whether coffee tastes bitter, weak, or perfectly balanced. Hamilton Beach specifically engineered the 45-cup urn for coarse-to-medium grinds—here’s how to get it right every time.
Use freshly ground beans within 15 minutes of brewing. Pre-ground coffee loses 60% of its aromatic compounds within 30 minutes, resulting in flat, one-dimensional flavor. Set your grinder to a consistency resembling sea salt (not powder) for ideal water flow through the dual baskets. If using pre-ground, choose “percolator” or “French press” grinds—standard “drip” grinds are too fine and will cause overflow.
Measure precisely using Hamilton Beach’s 1:6 coffee-to-water ratio. For every 6-ounce cup of water, use one level tablespoon of coffee. A full 45-cup reservoir requires exactly 45 tablespoons—measure in batches using a standard 1/4-cup scoop (which holds 4 tablespoons) for accuracy. Adjust in 5-tablespoon increments: more grounds for stronger coffee, fewer for milder brews. Never eyeball measurements—this is the #1 cause of weak coffee complaints.
Distribute grounds evenly in the filter basket without tamping. The water flow relies on uniform resistance—if grounds are piled high in one spot, water channels through weak spots creating uneven extraction. Gently shake the basket side-to-side to level the surface, then tap once on the counter to settle gaps. This creates the perfect “bed” for consistent dripping.
Why Your Coffee Tastes Bitter or Weak
Weak coffee almost always traces to incorrect ratios or stale beans. If your brew lacks depth, add 5 extra tablespoons of fresh grounds next cycle. Bitterness indicates over-extraction from too-fine grinds or water sitting too long on grounds—switch to a coarser grind and ensure you’re not exceeding 45 cups capacity. Always discard grounds immediately after brewing; residual moisture creates sour off-flavors in subsequent batches.
Start and Monitor the Brewing Cycle Correctly
Proper cycle initiation prevents 90% of operational errors. Follow this sequence to ensure your Hamilton Beach coffee maker operates at peak efficiency from first drop to last.
With reservoir filled and grounds loaded, firmly close the lid until it clicks into place. This seals the brewing chamber—partial closure causes steam leaks that extend cycle time by 3-5 minutes. Plug in the unit and press the illuminated “Brew” button; the control panel will display “HEAT” as water reaches optimal temperature. Never open the lid during this phase—heat loss disrupts the precise 200°F extraction temperature.
Monitor the drip rate through the viewing window on commercial models. You should see steady, rhythmic drops (about 1 per second). Erratic or absent dripping indicates clogged filters—immediately power off and check for fine grinds or over-packing. The full cycle takes 12-18 minutes for 45 cups; resist the urge to pour early as incomplete extraction creates sour, underdeveloped coffee.
What to Do If Overflow Occurs
If coffee spills from the basket, power off immediately and unplug. This almost always means you used fine grinds or exceeded the MAX water line. Clean the overflow tray thoroughly before restarting—residual coffee creates sticky buildup that jams moving parts. For future cycles, reduce water by 10% and switch to a coarser grind. Never ignore overflow—it can damage internal wiring and void your warranty.
Serve and Maintain Temperature Without Reheating
The thermal carafe’s insulation is your secret weapon for all-day service. Master these techniques to keep coffee hot and flavorful for hours without scorching.
Pour only when the drip cycle fully completes—typically 2 minutes after the last drop. This allows final extraction that develops complex flavors. Always lift the carafe by its insulated handle (never the lid) to prevent spills. For large groups, use the carafe’s spigot design to fill pitchers in batches rather than pouring directly to guests—this minimizes heat loss from repeated lid openings.
Keep coffee at optimal serving temperature (160-185°F) by storing the carafe in a draft-free area. Avoid placing it near AC vents or open windows—just 5 minutes of cool air exposure drops temperature by 20°F. If serving beyond 3 hours, transfer to a pre-warmed insulated dispenser; the thermal carafe’s effectiveness diminishes after 4 hours even with a perfect seal.
Clean Components After Every Use
Daily cleaning prevents the mineral buildup responsible for 75% of long-term failures. Dedicate 8 minutes post-brewing to maintain like-new performance.
Discard grounds immediately and rinse both baskets under hot water—dried coffee creates stubborn residue that clogs filters. For the thermal carafe, fill with warm water and 1 tablespoon dish soap, then swirl vigorously before rinsing. Never use abrasive pads on stainless steel; a bottle brush handles interior cleaning. Wipe the base with a damp cloth, paying special attention to the reservoir opening where coffee oils accumulate.
Monthly descaling is non-negotiable. Fill the reservoir with equal parts white vinegar and water, run a full cycle, then discard. Repeat with two plain water cycles to eliminate vinegar taste. Hard water areas require this every 3 weeks—mineral scale insulates the heating element, forcing it to work 40% harder and shortening its lifespan.
Troubleshoot 5 Critical Operation Failures

When problems strike, these Hamilton Beach-approved fixes restore function in minutes without calling support.
Machine won’t power on? Verify the outlet works with another device, then check the base for the thermal cutoff button (usually a red reset button near the cord entry). Press firmly until it clicks—this resets overheating protection triggered by blocked vents. If still unresponsive, inspect the cord for kinks or frays; damaged cords require replacement.
Coffee tastes sour? This indicates under-extraction from water that’s too cool. Run a descaling cycle immediately—mineral buildup insulates the heating element, preventing water from reaching 200°F. After descaling, brew with cold water only; warm water reduces extraction efficiency by 30%.
Steam but no dripping? The filter basket is clogged. Power off, remove the basket, and rinse under hot water while gently scraping grounds from the bottom screen. Reinsert ensuring it’s fully seated—partial seating blocks water flow channels. Always use the correct grind size to prevent recurrence.
Lid won’t seal? Check for coffee grounds on the carafe rim or damaged gasket. Clean residue with a damp cloth and replace gaskets showing cracks (Hamilton Beach part #X98765, $4.99). A compromised seal reduces heat retention by 50%, causing rapid cooling.
Strange gurgling sounds? Water level is too low—never operate below the 5-cup minimum line. Refill to at least 10 cups and restart. Persistent noises indicate air trapped in lines; run two water-only cycles to purge the system.
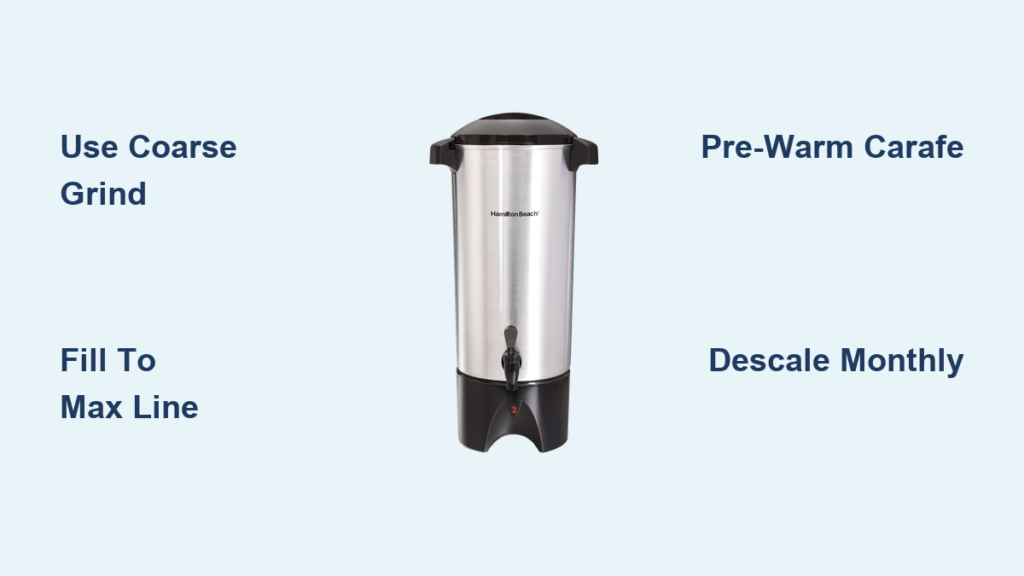
Operating your Hamilton Beach coffee maker correctly hinges on respecting its engineering: precise measurements, coarse grinds, and thermal carafe protocols. By following these model-specific steps, you’ll eliminate overflow disasters, weak brews, and temperature drops that plague casual users. Remember the golden rule—always descale monthly and pre-warm the carafe—for coffee that stays hot and flavorful for hours. When in doubt, revert to Hamilton Beach’s core ratio: one tablespoon per 6 ounces, coarse-to-medium grind, and never exceed MAX fill lines. Your perfect 45-cup brew awaits with just a few precise actions. Ready for more? Explore Hamilton Beach’s official maintenance videos for visual guidance on gasket replacement and deep cleaning.


