There’s nothing quite like that first sip of café-quality coffee with perfectly textured foam dancing on top. Whether you’re craving a velvety latte, a rich cappuccino, or simply want to elevate your morning brew, mastering coffee froth transforms ordinary coffee into an experience. The best part? You don’t need expensive equipment or barista certification to achieve professional results. With the right techniques and a bit of practice, you can create luxurious foam that rivals your favorite coffee shop—all from your kitchen counter.
This comprehensive guide reveals every practical method for achieving café-quality coffee froth, from specialized tools to clever household alternatives. You’ll discover why certain milks froth better than others, learn precise temperature requirements that make or break your foam, and pick up expert techniques that ensure consistent results. Whether you’re working with whole milk, oat milk, or have zero specialized equipment, you’ll find actionable steps to create barista-worthy beverages that impress every time.
Why Your Milk Won’t Froth Properly
The difference between disappointing flat coffee and luxurious foam often comes down to three critical factors that most home baristas overlook. Understanding these elements transforms inconsistent results into reliable café-quality drinks.
Is Your Milk Past Its Prime?
Milk quality directly impacts frothing success more than any technique. Fresh milk contains intact proteins that trap air bubbles, creating stable foam. Milk past its prime or stored improperly has degraded proteins that can’t maintain structure, resulting in thin, collapsing foam. Always check expiration dates and give milk a sniff before frothing—sour or off smells indicate protein breakdown. Ultra-pasteurized milk, while convenient, often froths poorly because high-heat processing alters protein structure. For best results, use pasteurized milk within one week of opening and store it at the back of your refrigerator where temperatures remain most consistent.
Are You Hitting the Temperature Sweet Spot?
Milk reaches optimal frothing temperature between 135°F and 155°F (57°C to 68°C). Below this range, proteins can’t expand properly, yielding thin foam that collapses quickly. Above 155°F, proteins break down, causing froth to collapse and developing a scalded taste. Professional baristas consistently aim for 140°F-150°F, where milk’s natural sugars caramelize slightly, adding sweetness. Use an instant-read thermometer for precision—guessing by touch leads to inconsistent results. If your container feels uncomfortably hot to hold, you’ve exceeded the ideal range.
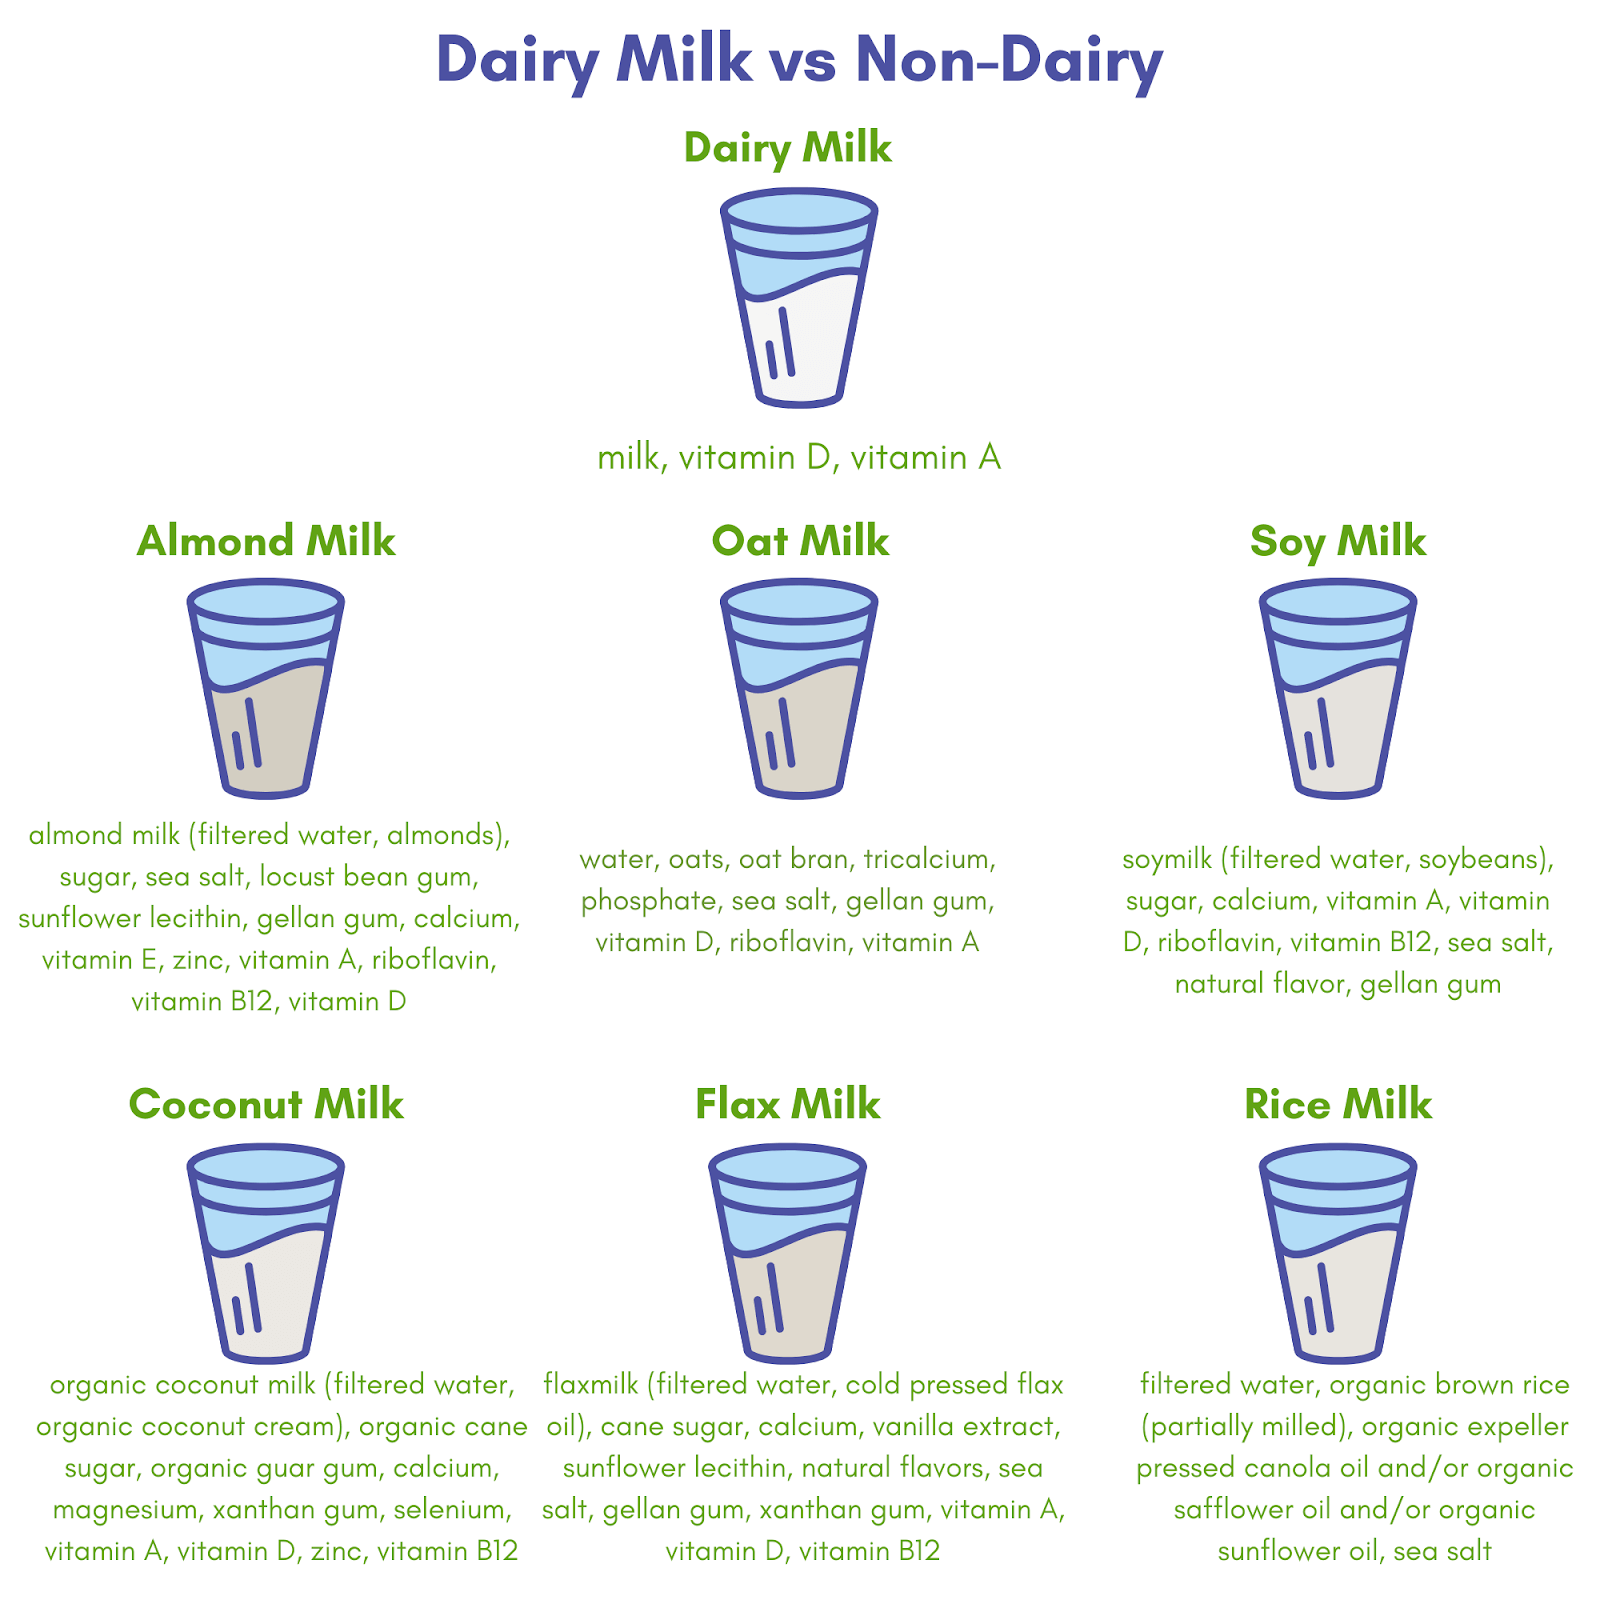
Does Your Milk Type Match Your Method?
Different milks respond uniquely to frothing techniques. Whole milk froths most easily due to optimal fat-to-protein balance, creating rich, stable foam. Skim milk produces higher volume foam but lacks creaminess. Plant-based options vary dramatically: barista-formulated oat milk mimics dairy’s performance, while almond milk often struggles to maintain structure. Match your milk choice to your equipment—handheld frothers work better with whole dairy or barista oat milk, while steamers handle a wider variety. Never use refrigerated milk straight from the fridge; cold milk requires more energy to heat and froth properly.
French Press Method for Professional-Grade Foam
Your existing French press transforms into a powerful frothing tool capable of producing café-quality microfoam with zero additional investment. This method works by forcing air into milk through rapid plunging motion, creating voluminous foam perfect for lattes and cappuccinos.
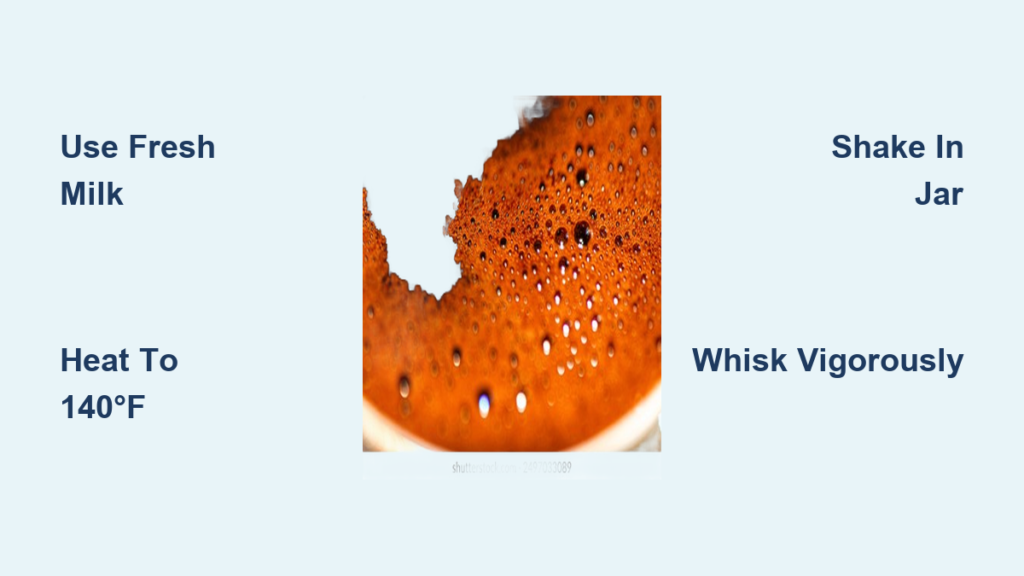
Heating Milk to Precise Temperature
Pour cold milk into a narrow container like a tall mason jar—this concentrates the milk during frothing. Heat to 140°F using a thermometer or until the container feels comfortably warm but not hot enough to hold for more than a few seconds. Remove any surface foam that forms during heating, as it interferes with proper aeration. The narrow container helps milk rise rather than spill during vigorous frothing.
Perfect Plunging Technique
Submerge the French press plunger completely, ensuring the filter sits just below the milk surface. Pump rapidly—aim for two to three complete strokes per second—for 20-30 seconds. You’ll feel resistance increase as foam develops; stop when pumping becomes noticeably harder. The milk should double in volume with a paint-like consistency. Let it rest 30-60 seconds to allow large bubbles to rise while smaller, stable bubbles settle below. Tap the container gently to pop surface bubbles for smoother texture.
Handheld Frother Techniques That Deliver Microfoam
Battery-powered handheld frothers deliver impressive results with minimal investment, but most users make critical positioning mistakes that compromise foam quality. Mastering these techniques separates amateur results from professional microfoam.
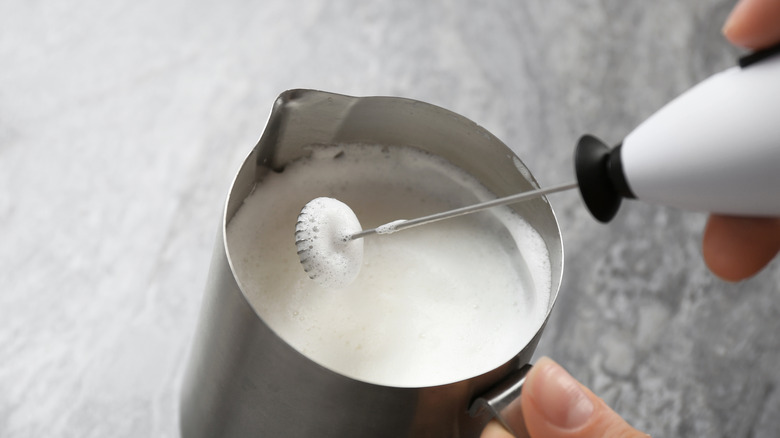
Positioning for Optimal Aeration
Pour heated milk into a tall, narrow container filled no more than halfway. Submerge the whisk completely near the bottom, then move in small circular motions while gradually raising and lowering it. Listen for a consistent whirring sound—labored noises indicate improper positioning. Whole milk typically requires 15-25 seconds of frothing, while plant-based options need 30-45 seconds. Stop when milk doubles in volume and develops creamy texture.
Creating True Microfoam
The secret to silky microfoam involves strategic positioning. Begin with the whisk just below the surface to introduce air gradually, creating smaller, uniform bubbles. After 10-15 seconds, lower the frother to the bottom and move in slow circles for 5-10 seconds to integrate bubbles. This two-phase technique produces the glossy, paint-like texture that characterizes specialty coffee drinks. Avoid submerging too deep initially, which creates large, unstable bubbles instead of fine foam.
No-Equipment Methods That Actually Work
When specialized tools aren’t available, these proven techniques deliver surprisingly good results using common household items. While they require more effort, they ensure you never have to settle for flat coffee.
Mason Jar Shaking Method
Fill a clean glass jar halfway with heated milk, leaving room for expansion. Seal tightly and shake vigorously for 30-60 seconds. Microwave the sealed jar for 20-30 seconds to stabilize foam—this heating step is crucial for foam longevity. The resulting froth won’t match professional quality but creates a reasonable approximation for emergency situations. Avoid overfilling, which causes messy spills during shaking.
Whisk-and-Bowl Technique
Heat milk to proper temperature, then pour into a wide, shallow bowl. Whisk vigorously in back-and-forth motion (not circular) using a balloon whisk for maximum air incorporation. Continue 60-90 seconds until milk doubles in volume with thick, creamy texture. This method requires significant arm effort but produces surprisingly good results. For better aeration, tilt the bowl slightly to create a vortex motion during whisking.
Troubleshooting Collapsing Foam Issues
Even experienced coffee lovers encounter frothing difficulties. Recognizing these common problems and their solutions ensures consistent results every time.
Fixing Thin, Runny Froth
If your foam disappears within minutes, you’re likely under-aerating or using incorrect temperature. Froth longer to double the milk’s volume, and verify temperature with a thermometer—below 135°F prevents proper protein expansion. Reheat milk to 140°F-150°F and refroth for improved stability. Whole milk users should check expiration dates, as older milk naturally produces weaker foam regardless of technique.
Eliminating Large Bubbles
Open-textured foam with visible bubbles indicates aggressive frothing rather than controlled aeration. Reposition your tool closer to the surface and reduce motion intensity. For French press users, slow your plunging stroke; for handheld frothers, decrease submersion depth during initial aeration. After frothing, tap the container firmly on your counter to pop surface bubbles, then swirl milk vigorously in circular motion to integrate remaining bubbles.
Preventing Milk Separation
Foam that separates into liquid milk with thick layer on top signals temperature damage or expired milk. Verify your milk didn’t exceed 155°F during heating—overheated milk breaks down proteins. Use a thermometer for precision, or test by touch: the container should be warm but comfortable to hold. If temperature was proper, check milk freshness—expired milk won’t froth well regardless of technique. Always use fresh, properly stored milk for best results.
Dairy vs. Non-Dairy Milk Frothing Guide
The milk you choose fundamentally shapes your frothing results. Understanding these differences helps you adapt technique for optimal results with any milk type.
Whole Milk: The Gold Standard
Whole milk offers the most forgiving frothing experience due to optimal protein and fat balance. Its higher fat content provides richness while proteins create stable structure, making it ideal for beginners. Even with minor temperature or timing errors, whole milk produces acceptable results. The fat also contributes to better flavor integration, creating more satisfying coffee drinks. Always use pasteurized (not ultra-pasteurized) whole milk for best results.
Barista Oat Milk: Best Non-Dairy Option
Oat milk has become the leading non-dairy frothing choice due to natural fat and protein content resembling dairy. Look for “barista edition” formulations containing additional fats and emulsifiers that dramatically improve frothing. Freshness matters more with plant-based milks—older cartons produce thin foam regardless of technique. Froth at slightly lower temperatures (130°F-140°F) and avoid overheating, which causes separation. Shake cartons well before use to redistribute ingredients.
Maintaining Your Frothing Equipment

Proper equipment maintenance ensures consistent results and extends tool lifespan. Milk residues build up quickly, affecting performance and potentially harboring bacteria.
French Press Cleaning Protocol
Disassemble the plunger completely after each use. Rinse components immediately to prevent milk drying in the filter mesh. Scrub the filter gently with a soft brush to remove trapped residue. Dry all parts thoroughly before reassembly, and periodically check for filter damage that affects performance. Never put French press components in the dishwasher, as high heat can warp plastic parts.
Handheld Frother Maintenance
Rinse the whisk attachment under hot running water while turning to dislodge milk from between wires. Soak in warm, soapy water for 5-10 minutes if milk has dried, then scrub gently with a soft brush. Wipe the handle with a damp cloth, avoiding water contact with electrical components. Store with the whisk detached to prevent wire deformation. Replace whisk attachments every 6-12 months as wires lose tension and effectiveness.
Professional Barista Secrets for Perfect Foam
Incorporate these expert insights to bridge the gap between kitchen and café. These techniques transform good froth into exceptional results.
Temperature Precision Matters
Invest in an instant-read thermometer specifically for milk frothing. The difference between 135°F and 155°F significantly affects froth stability and flavor. Digital thermometers offer faster, more accurate readings than analog options. Professional baristas hit 140°F-150°F consistently—guessing by touch leads to inconsistent results. Test your thermometer regularly for accuracy.
Perfect Pouring Sequence
Add flavorings to your empty cup first, then pour espresso, and finally milk. This sequence ensures even distribution throughout the drink rather than concentration at the bottom. Pour within ten seconds of completing frothing—waiting longer allows foam separation. Begin with a high, fast stream to mix components, then lower the pitcher close to the cup surface for the final portion to create the distinctive white cap.
Freshness impacts every component of your coffee drink. Use whole beans ground immediately before brewing for better crema, and milk within a week of opening for optimal frothing. Even water quality matters—hard water affects both espresso extraction and milk frothing, so filtered water improves results. These small details transform ordinary coffee into extraordinary café-quality beverages.