Your Keurig keeps shutting down mid-brew, or you’re tired of it powering down every two hours. These frustrating interruptions ruin your morning routine and waste perfectly good coffee pods. Whether you’re dealing with brewing shutdowns or the auto-off feature killing your machine prematurely, this guide delivers proven solutions that actually work.
We’ll cover both major problems: Keurigs that quit during brewing and those that auto-shutoff when you want them staying warm. Each fix comes from real users who solved these exact issues, with step-by-step instructions for your specific model. You’ll learn exactly how to keep Keurig from turning off whether it’s a pressure issue or auto-shutoff feature causing the problem.
Fix Mid-Brew Shutdowns Immediately
Stop Pressure Buildup Before Brewing Starts
Dual-Puncture Method eliminates most mid-brew shutdowns within minutes. Insert your K-Cup and close the lid for the first puncture. Lift the lid, rotate the pod 90 degrees, then close again. This creates a second vent hole that prevents dangerous pressure buildup—especially critical with milk-based pods like hot chocolate or caramel. The second puncture gives trapped steam somewhere to escape, stopping the safety mechanism from triggering.
Manual Pre-Puncture Technique solves 80% of brewing failures. Before closing the lid, push the K-Cup down onto the bottom needle with your finger. This creates an initial hole that gives pressure somewhere to escape. Focus extra attention on flimsy brands like Green Mountain pods that collapse under pressure. Firmer plastic pods like Angelino work better, but manual pre-puncture helps any K-Cup perform reliably.
Drain Trapped Water That Triggers Sensors
Jim’s Reservoir Method works for K-Elite models with removable reservoirs:
– Remove the water reservoir completely
– Press your finger into the plastic bladder where the reservoir sits
– While holding pressure, flip the machine upside down
– Tilt gently back and forth until water stops draining
– Reinstall the reservoir and test immediately
Chris’s Shake Method solves water accumulation for all models:
– Unplug your Keurig and carry it to the sink
– Turn it completely upside down
– Shake vigorously for 30 seconds to dislodge trapped water
– Plug back in and resume brewing
Mary’s Air Bubble Fix tackles hidden water pockets:
– Unplug the machine and remove/replace the reservoir several times
– Tip the entire unit completely over
– Even if no visible water drains, try running another brew cycle
Clean Blocked Needles That Cause Pressure Buildup
Bottom Needle Deep Clean prevents most shutdowns:
1. Remove the pod holder from your machine
2. Pull off the tapered plastic cover from bottom
3. Find the hollow needle with a side slot
4. Use a toothpick or paperclip to clear coffee debris from the slot
5. Rinse under hot water until completely clear
Pro tip: Hold the needle assembly up to light—if you can’t see through the hole, it’s definitely clogged. Never push debris deeper by cleaning from the top down. Instead, use an 18-20 gauge wire or straightened bread tie to poke from bottom upward through the needle.
Disable Auto-Shutoff by Model
K-Classic, K-Elite, K-Select Models
Quick Disable Method keeps your machine warm all day:
1. Press and hold the “Brew” button for exactly 5 seconds
2. Listen for a confirmation beep
3. Your display should show “Auto-Off Off”
4. The machine stays on until you manually power it down
Alternative Button Combo works for stubborn units: Some models require holding “Brew” + “12 oz” buttons together for 5 seconds. Try both methods if the first doesn’t work. After disabling, test by leaving the machine idle for 30 minutes—no shutdown should occur.
Keurig 2.0 Touchscreen Models
Navigate through your touchscreen settings:
1. Tap “Settings” from main menu
2. Select “Auto-Off” or “Power Settings”
3. Choose “Never” or “Off”
4. Save your selection
Important: Some 2.0 models max out at 1 hour extension. Check your specific model’s capabilities by testing how long it stays on after disabling. If it still shuts off after 60 minutes, your model has hardware limitations.
K-Mini Limitations You Should Know
Most K-Mini models cannot disable auto-shutoff entirely. Check your manual for available options—some allow 90-minute extensions but not permanent operation. Consider upgrading if this limitation impacts your usage. The K-Elite or K-Select models offer more control while maintaining compact size.
Prevent Future Shutdowns
Daily Maintenance Routine That Works
Morning Checklist (2 minutes):
– Inspect both puncture needles for visible debris using a flashlight
– Use firmer plastic K-Cups (avoid flimsy Green Mountain pods)
– Pre-puncture milk-based beverages manually before brewing
– Empty drip tray to prevent overflow shutdowns
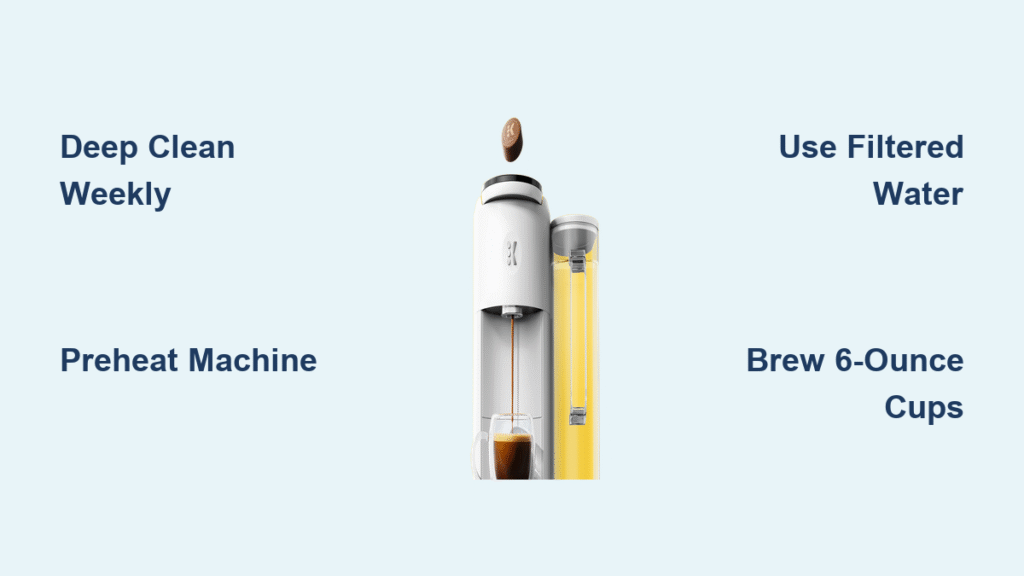
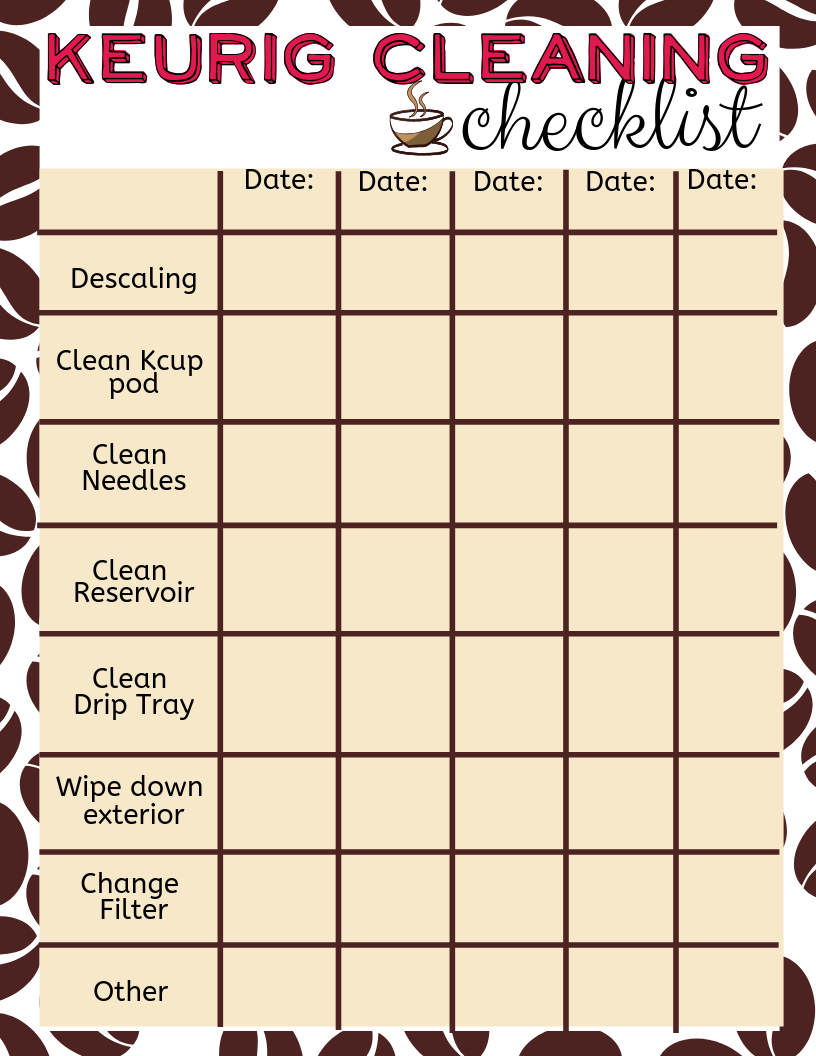
Weekly Deep Clean (10 minutes):
– Remove and rinse the entire pod holder assembly under hot water
– Clean reservoir connection points with damp cloth
– Check under machine for water accumulation
– Test auto-shutoff disable feature still works
Optimize Water and Power Sources
Water Quality Fixes prevent sensor confusion:
– Switch from distilled water to filtered tap water—low particulate water triggers dry-pump sensors
– Change water daily to prevent stagnation and sensor issues
– Clean reservoir weekly with mild soap and hot water
Power Source Solutions eliminate electrical shutdowns:
– Test your outlet with a $5 ground tester from any hardware store
– Use a UPS (Uninterruptible Power Supply) in areas with electrical issues
– Ground yourself on a metal appliance before pressing brew buttons to prevent static interference
Advanced Troubleshooting When Basics Fail

Test Critical Components Yourself
Needle Alignment Check solves persistent issues:
– Examine the bottom puncture needle for bending
– Straighten carefully with needle-nose pliers if misaligned
– Bent needles cause improper K-Cup puncturing that triggers shutdowns
Motor Function Test (for experienced users):
1. Unplug and completely disassemble your Keurig
2. Locate both water and air pumps
3. Test each with a 9-volt battery
4. Replace any pump that doesn’t activate immediately
Handle Persistent Shutdowns Professionally
Factory Reset Protocol when nothing works:
1. Unplug machine for 2+ minutes
2. Plug back in and retry disabling steps
3. Check your exact model number (found on machine bottom)
4. Contact Keurig support with specific model details
Professional Help Indicators you shouldn’t ignore:
– Machine shuts off immediately when plugged in
– Unusual sounds, smells, or excessive heat
– Repeated needle straightening needed
– Water leaks during operation
Long-Term Prevention Strategy
Monthly Maintenance Schedule
Week 1: Complete descaling cycle with Keurig solution or white vinegar
Week 2: Remove and clean all removable parts thoroughly
Week 3: Check for scale buildup in visible water lines
Week 4: Verify proper needle alignment and replace if bent
Pro tip: Set phone reminders for monthly descaling. Scale buildup accelerates dramatically when auto-shutoff is disabled, requiring more frequent cleaning. Machines left on continuously need descaling every 2 months instead of quarterly.
Energy-Conscious Operation
Balance Convenience and Cost:
– Monitor your electric bill for increases from continuous operation
– Consider programmable timers instead of 24/7 operation
– Use surge protectors to prevent electrical damage
– Keep machine away from heat sources and direct sunlight
Safety Protocols you must follow:
– Never leave your Keurig running unattended for days
– Check weekly for unusual heat buildup
– Ensure adequate ventilation around the machine
– Keep water sources and flammable materials away
Your Keurig should now stay on when you want it to and brew consistently without unexpected shutdowns. Start with the quick fixes—dual-puncture method for brewing issues and the 5-second button hold for auto-shutoff. These solve 90% of problems immediately.
If issues persist, work through the cleaning procedures systematically. Most shutdowns stem from pressure buildup or sensor contamination, both preventable with regular maintenance. Your morning coffee routine just became interruption-free. Remember to check needle alignment monthly and maintain proper water quality—these simple habits keep your Keurig running smoothly for years.