
Nothing ruins a morning faster than pouring a cup of bitter, muddy coffee from your percolator—only to realize the problem started long before brewing began. The secret to rich, full-bodied percolator coffee isn’t just in the beans or water temperature; it’s in getting the grind size exactly right. Unlike drip coffee makers or French presses, percolators require a specific coarse grind that prevents over-extraction during their unique cycling process. When you use the wrong grind, you’re essentially fighting against your percolator’s design, resulting in disappointing cups no matter how premium your beans. This guide reveals precisely how to grind coffee for percolator brewing so you consistently enjoy clean, flavorful coffee without sediment or bitterness—whether you’re using a vintage stovetop model or modern electric percolator.
Why Percolators Demand Coarse Coffee Grind
Percolators operate on a continuous cycling principle that fundamentally differs from other brewing methods. As water heats, it travels up a central tube, sprays over the coffee basket, and then filters back down through the grounds repeatedly during the 5-10 minute brew cycle. This constant exposure means fine grounds over-extract rapidly, releasing harsh bitter compounds and creating that dreaded “muddy” texture at the bottom of your cup. The coarse grind acts as your first line of defense against these problems.
Think of coffee extraction like dissolving sugar in water. A teaspoon of powdered sugar vanishes almost instantly, while the same amount of coarse Demerara sugar takes significantly longer to dissolve. Similarly, coarse coffee particles release their flavors gradually during the percolation process, building complexity without overwhelming bitterness. When you use medium or fine grind, it’s like pouring powdered sugar into hot water—the extraction happens too quickly and completely, leaving nothing but harshness.
The physics of percolation explains why this matters. Water moving through fine grounds creates resistance, forcing some water to find paths of least resistance around the compacted coffee. This channeling causes uneven extraction—some grounds become over-extracted and bitter while others remain under-extracted and sour. Coarse grind prevents this by allowing water to flow freely through all grounds, creating consistent extraction that delivers balanced flavor from first cup to last.
Perfect Percolator Grind Consistency You Can Verify
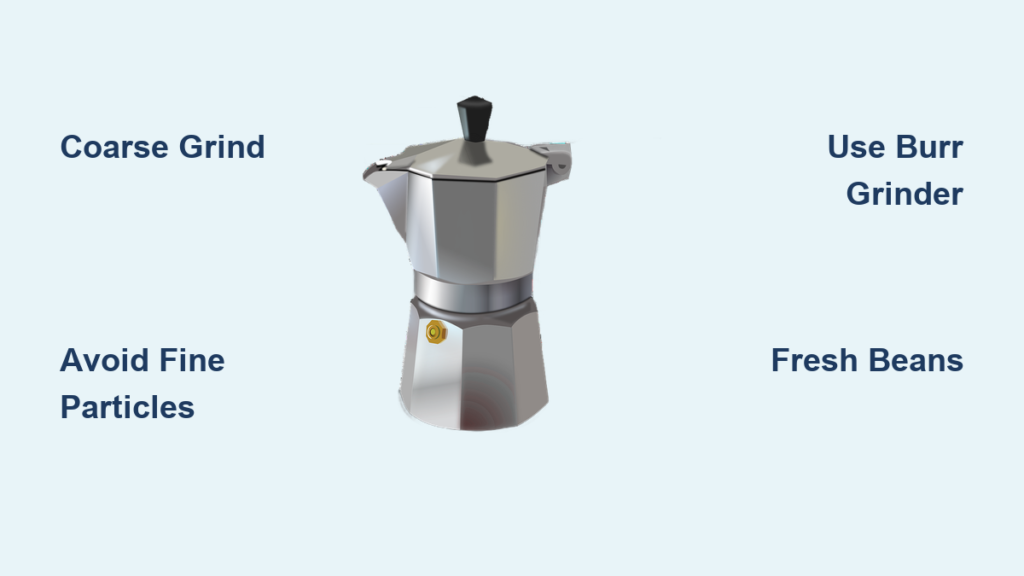
The ideal grind for percolator coffee should resemble coarse sea salt or raw sugar crystals—visible individual particles ranging from 0.5 to 1.5 millimeters in size. When you pour grounds into your palm, they should look granular with noticeable variation in size (which is actually beneficial for complex flavor development). Run a pinch between your fingers: quality percolator grind feels distinctly gritty, not powdery or smooth.
Perform the squeeze test to confirm your grind is perfect: take about a tablespoon of grounds and press firmly in your palm. Properly ground coffee should hold a loose shape briefly before crumbling apart when poked. If it compresses into a solid puck that maintains its form, your grind is too fine. If it falls apart instantly like dry sand, you’ve gone slightly too coarse—though this is less problematic than fine grind for percolators.
Examine your grounds against a white background to spot problematic fines. While some fine particles are inevitable with home grinders, they should be minimal. A healthy percolator grind shows distinct pieces catching the light, with no significant dusty film. If you see excessive powder, consider sifting your grounds through a coarse mesh sieve before brewing—this simple step removes the fines most responsible for sediment and bitterness.
Choosing the Best Grinder for Percolator Coffee

Burr grinders produce dramatically better results for percolator coffee than blade models, and here’s why: burr grinders crush beans between two abrasive surfaces at a consistent setting, creating uniform particle size essential for even extraction. Conical burr grinders (typically quieter and more compact) and flat burr grinders (often producing slightly more uniform results) both work well—choose based on your budget and counter space.
When selecting a burr grinder, look for clear, numbered grind settings rather than vague descriptions like “fine” or “coarse.” This precision lets you dial in the exact setting for percolator brewing and return to it consistently. Test your grinder by making small batches at different settings until you achieve that sea salt consistency, then note the setting number for future reference.
Blade grinders create significant challenges for percolator coffee due to their inconsistent cutting action. The spinning blade smashes rather than cuts beans, producing a mixture of powder, fine particles, and oversized chunks. If you must use a blade grinder, pulse in one-second bursts no more than 10-15 times total, and always sift the grounds through a coarse mesh sieve to remove fines before brewing. Consider this a temporary solution until you can invest in a quality burr grinder.
Step-by-Step Guide to Grinding Coffee for Percolator
Start with fresh, high-quality whole beans stored in an airtight container away from light and moisture—never pre-ground coffee. Measure beans using a kitchen scale for precision: aim for 1 ounce (28 grams) of coffee per 64 ounces of water for medium strength. Adjust to taste, but remember percolators naturally produce stronger coffee than drip methods due to extended contact time.
Set your burr grinder to the coarsest setting labeled for French press or percolator. If your grinder lacks specific labels, start at the setting just before the coarsest extreme. Grind in short bursts if using an electric grinder, or use a consistent hand-cranking motion for manual models. Never grind more than you need for immediate use—freshly ground coffee begins losing volatile aromatics within minutes.
After grinding, immediately perform the squeeze test and visual inspection. If particles feel powdery or compress into a puck, adjust coarser and regrind a small sample. If they’re falling apart too easily like dry sand, go slightly finer while maintaining coarse texture. Finding your grinder’s sweet spot may take 2-3 attempts, but once identified, note the setting for consistent future results.
5 Critical Percolator Grinding Mistakes That Ruin Your Coffee

Using medium grind is the most common error, as many coffee lovers default to what works for drip machines. Medium grind has too much surface area for percolation’s repeated water exposure, guaranteeing bitter, over-extracted coffee that tastes ashy even with premium beans. Always err toward coarser rather than finer when in doubt.
Grinding coffee hours or days in advance sacrifices flavor complexity. Oxidation begins immediately upon grinding, and while coffee won’t “go bad,” it loses delicate aromatic compounds that create nuanced flavor. For percolator brewing, where extraction is already aggressive, starting with stale grounds compounds the problem.
Failing to clean your grinder regularly introduces rancid oils that contaminate fresh batches. Burrs accumulate coffee residue that oxidizes over time, creating off-flavors that overpower your carefully selected beans. Clean your grinder weekly with a small brush to remove built-up oils and grounds from the burr chamber.
Ignoring bean density differences leads to inconsistent results. Light roast beans are denser and may require slightly longer grinding time at the same setting to achieve proper coarseness. Dark roasts are more brittle and produce more fines—adjust your setting slightly coarser when switching to dark roasts.
Overfilling the coffee basket disrupts water flow dynamics. Even with perfect grind, cramming too many grounds into the basket prevents even water distribution, causing some areas to over-extract while others remain dry. Fill the basket no more than three-quarters full regardless of how strong you want your coffee.
Troubleshooting Percolator Coffee Flavor Problems
Bitter, harsh coffee almost always indicates grind that’s too fine. The solution is immediate: adjust your grinder one setting coarser and brew a new batch. If bitterness persists, go another setting coarser. Never try to fix fine grind issues by reducing brew time—that only creates uneven extraction where some grounds are over-extracted while others remain under-extracted.
Weak, watery coffee despite using adequate coffee volume suggests excessively coarse grind. The water passes through too quickly without extracting sufficient flavor compounds. Make a small adjustment toward finer settings while maintaining coarse texture—think “coarse but not chunky.” Test with a small batch before committing to a full pot.
Sediment at the bottom of your cup means fines are escaping through the basket. First verify your grind isn’t too fine, then inspect your percolator basket for enlarged holes from wear. Some vintage percolators develop larger perforations over decades of use, requiring even coarser grind to compensate. Replace worn baskets if sediment becomes problematic.
Inconsistent flavor between cups points to uneven particle size. Some grounds over-extract while others contribute nothing, creating an imbalanced brew. This typically indicates a problem with your grinder—either dull burrs needing replacement or a blade grinder producing inconsistent cuts. Upgrading to a quality burr grinder solves this issue permanently.
Pro Tips for Maximum Flavor Extraction in Percolators
Preheat your percolator before brewing to stabilize extraction temperatures. Add hot water to the reservoir and let the empty basket sit in place for 2-3 minutes. This simple step prevents thermal shock that can extract harsh compounds from coffee grounds during the initial heating phase.
Use filtered water for noticeably cleaner taste—chlorine and minerals in tap water interact with coffee compounds, creating off-flavors that mask the bean’s natural characteristics. The water should taste good on its own since it forms 98% of your final cup.
Control brew time precisely by listening to the percolation sounds. When the vigorous bubbling transitions to a gentle gurgle (typically at 6-8 minutes), your coffee is done. Leaving it longer extracts increasingly bitter compounds. Some experts recommend removing the basket at first percolation sounds for optimal results.
After brewing, remove the coffee basket immediately to prevent continued extraction as the percolator cools. Leaving grounds in contact with hot water creates progressively more bitter coffee with each passing minute. Transfer brewed coffee to a thermal carafe to maintain temperature without further extraction.
Invest in a quality burr grinder if you haven’t already—this single upgrade transforms percolator coffee from a nostalgic experiment into genuinely excellent coffee. The consistency and control from proper grinding make every other variable easier to manage, resulting in reliable, restaurant-quality coffee from your home percolator.


