
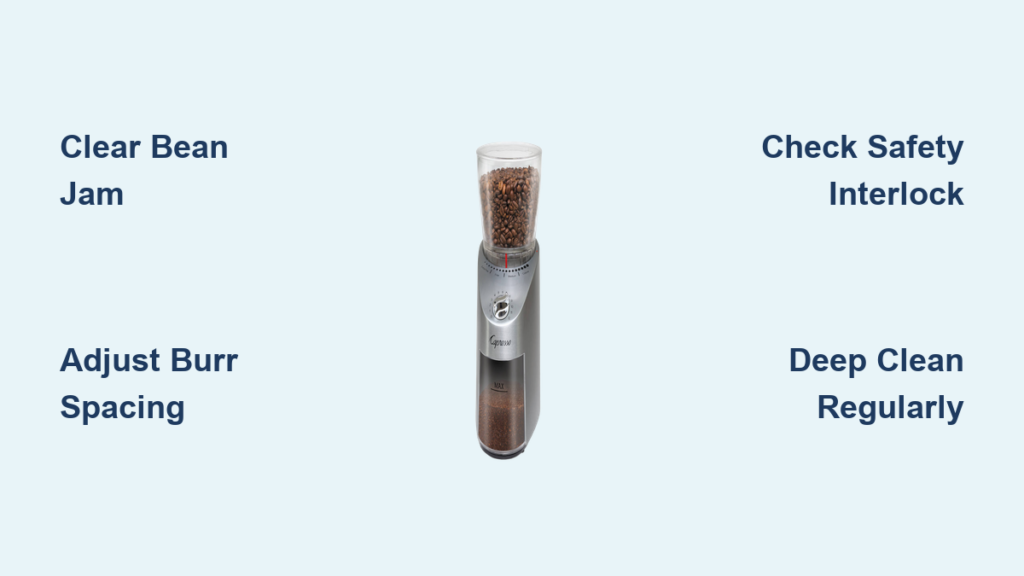
Is your Capresso coffee grinder suddenly producing inconsistent grounds or refusing to turn on? You’re not alone—many coffee enthusiasts face frustrating issues with their grinders just when they need that perfect morning brew. A malfunctioning Capresso grinder can disrupt your entire coffee routine, whether it’s jammed beans, uneven grinding, or complete motor failure. This comprehensive guide delivers specific, actionable solutions to get your Capresso coffee grinder working properly again. You’ll learn precise troubleshooting techniques, cleaning procedures, and repair steps that address the most common problems across Capresso’s popular models including the 565, 485, and Infinity series.
Why Your Capresso Grinder Suddenly Stops Working Properly
When your Capresso coffee grinder fails during operation, the cause typically falls into one of three categories: bean jams, electrical issues, or mechanical wear. Coffee oils gradually build up inside the grinding chamber, causing grounds to clump and creating resistance that can trip internal safety mechanisms. Many users mistakenly continue pressing the pulse button when jammed, which actually worsens the problem by packing grounds more tightly around the burrs. Before attempting any repairs, unplug your grinder immediately to prevent electrical hazards or further damage to internal components.
How to Clear a Severe Bean Jam in Under 5 Minutes
When beans are completely stuck and won’t budge despite repeated attempts:
- Unplug the grinder and remove any visible beans from the hopper
- Turn the grinder upside down and gently tap the base against your palm to dislodge stuck grounds
- Use a soft-bristled brush (never metal tools) to carefully remove grounds from around the burr assembly
- For stubborn jams, apply compressed air around the burr edges while rotating the upper burr carrier
- Reassemble and test with a small amount of beans before normal use
Critical warning: Never use liquid cleaners inside the grinding chamber as moisture can damage electrical components and cause rust on metal burrs.
What to Do When Beans Won’t Feed Into the Grinding Chamber
If beans remain stuck in the hopper without dropping into the grinding mechanism:
- Check for static buildup by wiping the hopper with a slightly damp microfiber cloth
- Ensure you’re not overfilling beyond the MAX line marked inside the hopper
- Inspect for small bean fragments blocking the feed chute using a flashlight
- Gently rotate the upper burr carrier by hand to reset the feed mechanism
Capresso Grinder Producing Uneven Coffee Grounds
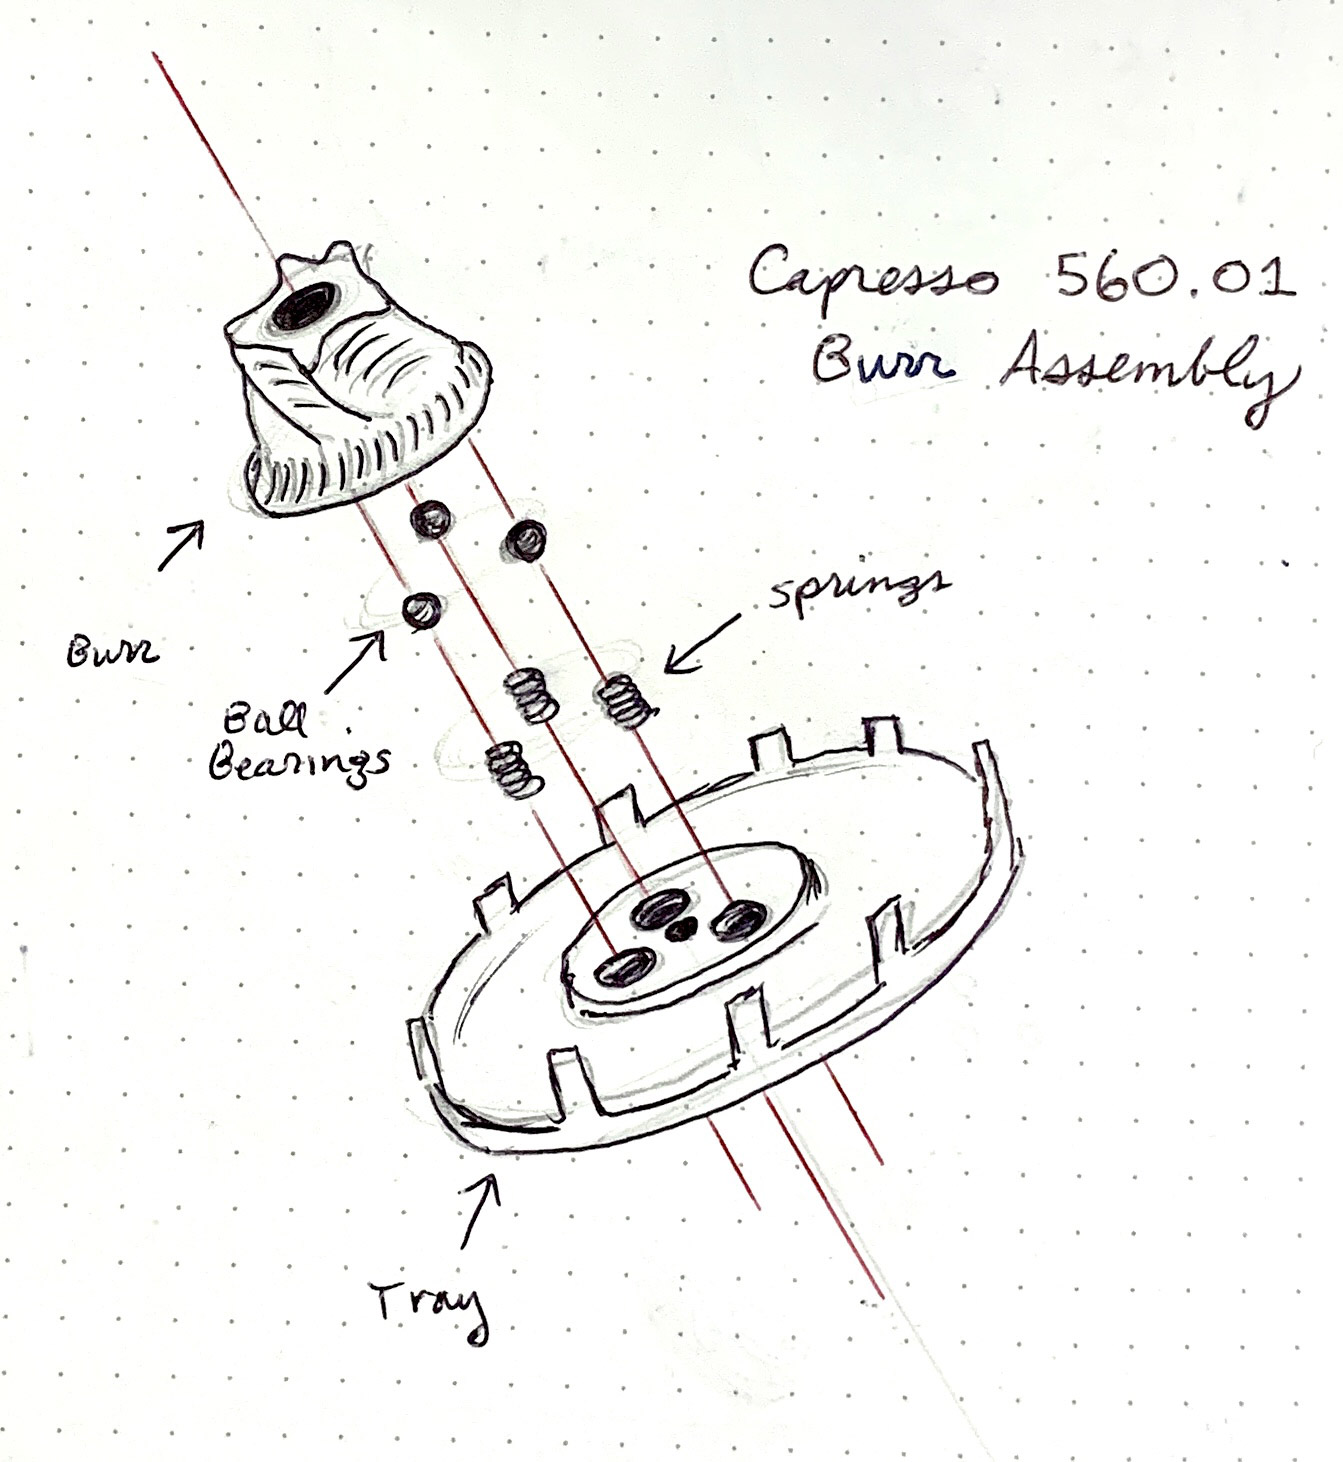
Inconsistent grind size ruins espresso extraction and affects your coffee’s flavor profile. This problem usually indicates burr misalignment or excessive wear. The conical burrs in Capresso grinders maintain precise spacing through adjustment rings that can shift over time. Unlike blade grinders that create random particle sizes, burr grinders should produce uniform grounds—if yours isn’t, it needs immediate attention before your coffee quality deteriorates further.
How to Adjust Burr Spacing for Perfect Grind Consistency

- Unplug the grinder and empty all beans from the hopper
- Locate the adjustment ring (usually marked with numbers or settings)
- Turn the ring counterclockwise for finer grinds or clockwise for coarser settings
- Make quarter-turn adjustments, testing with small bean quantities after each change
- Find the “sweet spot” where grounds flow freely without clumping or inconsistency
Pro tip: Keep a small container of rice handy for occasional cleaning runs—grinding uncooked rice absorbs coffee oils and helps prevent buildup between deep cleanings.
When to Replace Worn Burrs in Your Capresso Grinder

Signs your burrs need replacement include:
– Noticeable increase in grinding time for the same quantity of beans
– Visible pitting or discoloration on burr surfaces
– Persistent inconsistency despite proper adjustment
– Unusual metallic grinding noises during operation
Most Capresso models use standardized burr assemblies that can be replaced in under 15 minutes with basic tools. Consult your specific model’s manual for exact replacement part numbers before ordering.
Electrical Issues: Why Your Capresso Grinder Won’t Turn On
When pressing the power button yields no response, the problem likely involves the power supply, safety interlock, or internal circuitry. Capresso grinders incorporate multiple safety features that prevent operation when components aren’t properly aligned—a design feature often mistaken for malfunction. Before assuming electrical failure, verify all mechanical components are correctly positioned.
How to Test and Reset the Safety Interlock System
- Unplug the grinder and remove the bean hopper
- Check that the grinding chamber is fully seated in the base unit
- Inspect the alignment marks on both components to ensure proper positioning
- Clean any coffee grounds from the connection points between chamber and base
- Reassemble carefully, listening for the distinct “click” indicating proper alignment
- Plug in and test operation
If the grinder still won’t power on after verifying alignment, the issue may involve the power cord or internal fuse—proceed to the next troubleshooting step.
Diagnosing Power Supply Problems Without Technical Expertise
For models with detachable power cords:
– Try a different power outlet to rule out electrical circuit issues
– Inspect the cord for visible damage or fraying near connection points
– Ensure the cord is fully inserted at both ends (grinder and wall)
– Test with a known-working appliance to verify outlet functionality
If your model has a non-removable cord, the problem likely requires professional service—do not attempt to open the base unit as this voids warranties and creates electrical hazards.
Cleaning Your Capresso Grinder Properly (Most Users Do It Wrong)
Regular cleaning prevents 80% of common grinder problems, yet most owners use improper techniques that actually accelerate wear. Water exposure damages electrical components and causes rust on metal burrs, while improper tools scratch critical surfaces. The correct cleaning process requires specific materials and careful handling to maintain optimal performance without causing damage.
Step-by-Step Deep Cleaning Procedure for All Capresso Models
- Unplug the grinder and remove all beans from the hopper
- Disassemble removable components according to your model’s manual
- Use a soft-bristled brush (included with most Capresso models) to remove dry grounds
- For stubborn residue, use food-safe grinder cleaning tablets ground through the mechanism
- Wipe exterior surfaces with a slightly damp cloth (never immerse in water)
- Allow all parts to air-dry completely before reassembly
- Run a small quantity of rice through the grinder to absorb remaining oils
Critical mistake to avoid: Never use compressed air directly on electrical components as this can force grounds into sensitive areas.
How Often You Should Clean Based on Usage Frequency
- Daily users: Brush cleaning after each use, deep clean weekly
- Occasional users: Brush before each use, deep clean monthly
- Heavy commercial use: Brush after each batch, deep clean every 3 days
When to Seek Professional Repair vs. DIY Fixes
Some Capresso grinder issues require specialized tools and expertise that exceed safe DIY capabilities. Motor replacement, circuit board repairs, and internal gear adjustments should only be performed by authorized service technicians. Attempting these repairs yourself risks electrical shock, component damage, and voided warranties. Recognizing your limitations prevents costly mistakes and extends your grinder’s lifespan.
Signs Your Capresso Grinder Needs Professional Service
- Burning smell during operation
- Visible sparks from the motor area
- Grinding noises that persist after cleaning and burr replacement
- Complete electrical failure after verifying power supply
- Warranty coverage still in effect
For out-of-warranty models, contact Capresso’s service department for repair estimates before purchasing replacement parts—sometimes professional service costs less than DIY attempts gone wrong.
Preventing Future Capresso Grinder Problems Before They Start
The best repair is the one you never need. Implement these preventative measures to keep your grinder operating smoothly for years:
- Store beans in airtight containers away from heat and moisture
- Never grind oily or flavored beans that accelerate buildup
- Use the correct grind setting for your brewing method (adjust finer for espresso, coarser for French press)
- Clean after each use with the included brush
- Replace burrs every 500-700 pounds of coffee (most home users need replacement every 3-5 years)
Final Note: A well-maintained Capresso coffee grinder should deliver consistent performance for many years. By following these specific troubleshooting steps and maintenance practices, you’ll avoid most common problems and extend your grinder’s lifespan significantly. Remember that safety always comes first—when in doubt about electrical components or complex mechanical repairs, seek professional assistance. For model-specific guidance, consult Capresso’s official documentation or contact their customer support with your exact model number. Regular care ensures your morning coffee ritual remains smooth, flavorful, and frustration-free.


