
That bitter taste in your morning coffee might be telling you it’s time to replace your Keurig water filter—but where exactly is it hiding? Many Keurig owners spend precious minutes searching for this crucial component, not realizing it’s cleverly integrated into their water reservoir. If you’ve ever wondered how to find Keurig water filter components in your specific model, you’re not alone. This guide cuts through the confusion with precise, model-specific instructions to locate your filter in under 60 seconds—no guesswork required.
Whether you own a sleek K-Supreme or a trusty K-Classic, every full-size Keurig with filtration capability hides its water filter in one of three specific reservoir locations. Let’s eliminate the frustration and get straight to where your filter actually lives, so you can maintain optimal coffee quality and extend your machine’s lifespan.
Identify Your Keurig Model Before Searching
Your search for the water filter starts with knowing exactly what you’re working with—Keurig’s filter placement varies dramatically across models. Grab a flashlight and check these four spots before proceeding.
Find your model number in under 2 minutes:
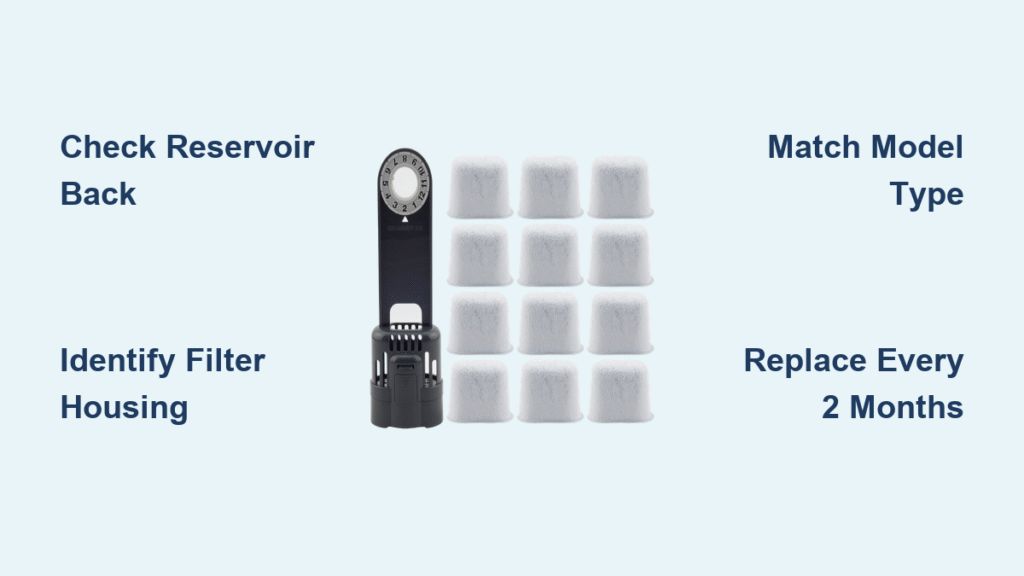
– Flip your brewer upside down and examine the silver sticker on the bottom
– Remove the drip tray and inspect the area behind it
– Shine a light inside the water reservoir’s back wall
– Check your original packaging or download the manual online if unavailable
Keurig models with internal filters:
– K-Supreme series (all variants)
– K-Elite and K-Select models
– K-Cafe specialty brewers
– K-Classic (K50, K55)
– K-Compact series
Critical exception: K-Mini and K15 models lack internal filters—these require you to use pre-filtered water instead. If you own one of these compact models, skip the search and grab a Brita pitcher for your next brew.
Reservoir Filter Locations by Design Type

Front Reservoir Models (K-Classic, K-Select, K-Elite)
Most Keurig machines conceal the filter inside the main water tank—here’s exactly how to spot it:
- Lift the reservoir straight up from the brewer base (no twisting required)
- Look toward the back interior wall inside the tank—don’t check the front
- Identify the cylindrical holder—typically white or clear plastic about 2 inches wide
- Focus on the exit channel where water flows into the machine base
What to look for: A circular opening with a small handle or tab protruding slightly above the reservoir floor. When you spot this, you’ve found your filter housing—it pulls straight up with gentle pressure.
Side Reservoir Models (K-Supreme Series)
K-Supreme owners face a unique challenge with side-mounted tanks:
- Open the side reservoir lid completely to access the interior
- Move to the rear section inside the tank—filters never sit near the front
- Spot the tall cartridge—noticeably longer than other models’ filters
- Confirm the locking mechanism—K-Supreme filters twist slightly before removal
Pro tip: If you see a short, wide filter in your K-Supreme, you’re using the wrong replacement. These models require the specific tall cartridge with the integrated holder from Keurig’s starter kit.
Rear Reservoir Models (Traditional Designs)
Older Keurig models position filters differently:
- Check the bottom rear corner—never the front or sides
- Look for a snap-fit design—short, wide holder with no twist mechanism
- Apply upward pressure—proper filters lift straight out with slight resistance
- Verify color—should be white or clear plastic (yellowed indicates overdue replacement)
Filter Types Matched to Your Exact Model

Universal Short Filters (Most Common)
- Fits: K-Classic, K-Select, K-Elite, K-Cafe, K-Compact
- Dimensions: 2 inches diameter, 1.25 inches tall
- Visual ID: White housing with distinctive blue mesh filter
- Replacement frequency: Every 60 tank refills or 2 months
Warning: Don’t confuse these with generic “universal” filters sold online—only Keurig part numbers KWF01 or KWF02 guarantee proper fit for these models.
Keurig 2.0 Tall Filters
- Fits: K200 through K575 series
- Dimensions: 1.5 inches diameter, 2.5 inches tall
- Critical detail: Narrower than universal filters with different threading
- Installation quirk: Requires full insertion before locking into place
Troubleshooting: If your 2.0 filter won’t seat properly, check for mineral buildup in the reservoir housing—descale your machine first using white vinegar.
K-Supreme Exclusive Filters
- Fits: Only K-Supreme, K-Supreme Plus, K-Supreme Plus SMART
- Dimensions: 1.4 inches diameter, 2.75 inches tall
- Special requirement: Must use the holder from the starter kit
- Common mistake: Owners try using 2.0 filters which cause leaks
Time-saver: When replacing, soak the new filter for 5 minutes then run 3 water-only brew cycles to eliminate carbon dust before regular use.
Three Foolproof Methods to Locate Your Filter
Visual Inspection Technique (Under 60 Seconds)
Step 1: Power down and unplug your brewer for safety
Step 2: Empty the reservoir completely—no water should remain
Step 3: Remove the tank and hold it at eye level with bright light
Step 4: Scan the bottom interior for a circular opening (about 2 inches wide)
Step 5: Spot the small tab or handle—that’s your filter holder
If you see nothing: Your model likely doesn’t have an internal filter. Double-check against the K-Mini exception list before concluding.
Hands-On Search Method (When Vision Fails)
When lighting or reservoir design makes visual identification difficult:
- Dry the empty reservoir completely with a microfiber cloth
- Insert your index finger along the bottom interior surface
- Feel for a cylindrical protrusion—filters sit 1/4 to 1/2 inch above tank floor
- Gently grasp any plastic component that moves independently
- Apply upward pressure—authentic holders release with firm but gentle pull
Expert note: If you feel resistance but can’t see the filter, shine a phone flashlight through the reservoir wall—the plastic housing becomes visible against the light.
Digital Reference Method (For Stubborn Cases)
When all else fails, leverage Keurig’s official resources:
- Visit Keurig.com/support on your smartphone or computer
- Enter your exact model number in the search field
- Download the user manual PDF specific to your brewer
- Jump to the maintenance section (usually page 12-15)
- Examine the filter replacement diagrams showing precise location
Pro shortcut: Search “[Your Model] water filter location” on YouTube—most models have 60-second video guides demonstrating exact filter placement.
What to Do Immediately After Finding Your Filter
Once you’ve located your filter, take these critical next steps:
- Measure its dimensions with a ruler—write down height and diameter
- Photograph the filter from multiple angles for future reference
- Check replacement indicators—discoloration means immediate replacement
- Order correct replacements using Keurig part numbers, not generic terms
- Set phone reminder for replacement date based on your usage pattern
Warning: Never force filter removal—if it resists, your model might require a twist motion instead of straight pull. Consult the manual before applying additional pressure.
Common Filter Location Mistakes to Avoid
Where filters NEVER live:
– Inside the K-Cup holder mechanism
– Beneath the drip tray or catch plate
– Within the brew head assembly
– Behind removable side panels
Critical reminder: All Keurig internal water filters reside exclusively in the water reservoir—nowhere else. If you’re searching elsewhere, you’re wasting time and risking damage to sensitive components.
Model-Specific Filter Location Cheat Sheet

| Model Series | Filter Location | Filter Type | Removal Method |
|---|---|---|---|
| K-Supreme | Side reservoir rear section | Tall cartridge | Lift and twist 1/4 turn |
| K-Elite/Select | Rear reservoir bottom | Universal short | Straight pull upward |
| K-Classic | Rear reservoir bottom | Universal short | Straight pull upward |
| K-Cafe | Rear reservoir bottom | Universal short | Straight pull upward |
| K-Compact | Rear reservoir bottom | Universal short | Straight pull upward |
| K-Mini/K15 | No internal filter | N/A | Use filtered water externally |
Finding your Keurig water filter shouldn’t feel like a scavenger hunt. By identifying your exact model first and checking the specific reservoir locations outlined here, you’ll locate your filter faster than it takes to brew a cup. Remember to replace it every 60 tank refills or 2 months—sooner if you notice off-tastes or reduced water flow. Your morning coffee deserves the cleanest water possible, and now you know exactly where to maintain that crucial filtration system. Grab your reservoir and find that filter today—your taste buds will thank you with every perfect cup.


