
Mineral deposits from hard water silently sabotage your Thermador coffee maker’s performance, transforming your premium espresso machine into an underperforming appliance that can’t deliver the rich, complex flavors you expect. If your machine takes longer to brew, produces lukewarm coffee, or makes unusual gurgling sounds, mineral buildup has likely compromised your system. This comprehensive guide delivers the exact steps to eliminate limescale and restore your Thermador to factory-fresh performance—preserving your investment and ensuring every cup meets the exceptional standards Thermador engineering promises.
Why Your Thermador Fails Without Regular Descaling
Hard water minerals form insulating layers on heating elements that force your machine to work 30-50% harder to reach optimal brewing temperature. This invisible limescale—primarily calcium carbonate—accumulates in water lines, boilers, and group heads with every use, gradually restricting water flow and altering extraction dynamics. Within months, these deposits can reduce water pressure by up to 40%, causing uneven puck saturation that extracts bitter compounds while missing delicate flavor notes.
Beyond performance degradation, mineral buildup creates perfect breeding grounds for bacteria that thrive in the warm, moist environment of scaled components. Even premium single-origin beans will taste flat or metallic when brewed through contaminated pathways. More critically, manufacturers like Thermador explicitly state that failure to maintain descaling schedules voids warranty coverage for heating element failures—a costly oversight that could mean replacing thousands of dollars worth of equipment prematurely.
Recognize Critical Descaling Warning Signs Before Damage Occurs
Your Thermador sends unmistakable signals when descaling becomes urgent. If brewing time for a single shot exceeds 30 seconds (when it previously took 25 seconds), mineral deposits have already restricted water flow by 20% or more. Pay attention to temperature inconsistencies—espresso should emerge at 195-205°F; if your shots feel lukewarm despite proper pre-infusion, scale insulation has compromised thermal regulation.
Listen for abnormal sounds during extraction: gurgling indicates air pockets forming in partially blocked lines, while high-pitched whistling suggests extreme pressure buildup in narrowed channels. Modern Thermador models display specific error codes like “ERR 07” or flashing descaling indicators when mineral accumulation reaches critical levels. Never ignore these warnings—the cost of professional descaling service after severe buildup often exceeds $200, while DIY maintenance costs less than $15.
Assemble Thermador-Specific Descaling Supplies Properly

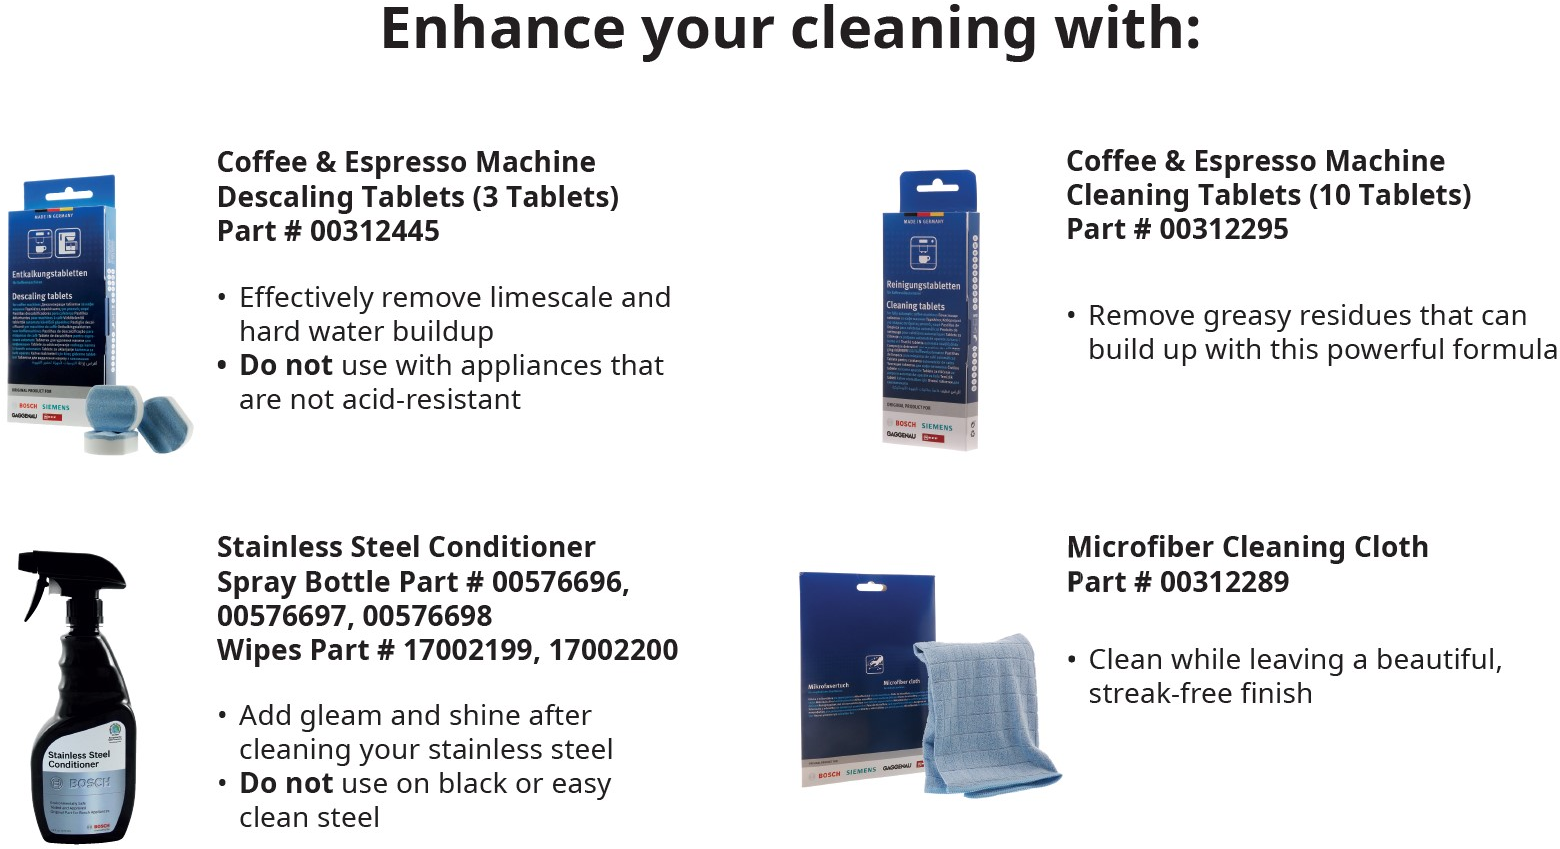
Using incorrect descaling solutions risks catastrophic damage to your machine’s precision components. Never substitute household vinegar or generic cleaners—Thermador’s stainless steel boilers and rubber seals require pH-balanced solutions specifically formulated for espresso machines. Purchase Thermador-approved descaling powder or liquid (part #TD-DESC8) or certified third-party alternatives like Urnex Full Circle or Durgol Swiss Espresso that carry Thermador compatibility verification.
You’ll need a 500ml container to catch solution runoff during backflushing, food-safe brushes for accessible components, and at least 2 liters of filtered water for thorough rinsing. Confirm your model’s specific requirements: some Thermador units require a blind basket for backflushing during descaling, while others need specialized adapters. Always check your owner’s manual for model-specific accessories—using improper tools can scratch precision-machined group heads.
Why Water Quality Determines Your Descaling Frequency
Hard water areas (above 120 ppm calcium carbonate) require monthly descaling with regular use, while soft water regions (below 60 ppm) may extend intervals to quarterly. Install a TDS meter to measure your water’s mineral content—anything above 150 ppm demands aggressive maintenance. Consider these real-world scenarios:
- A Dallas household (220 ppm hardness) using their Thermador twice daily must descale every 4-6 weeks
- A Seattle household (45 ppm hardness) with identical usage can safely extend to 12-14 weeks
- Commercial settings with constant use require bi-weekly descaling regardless of water hardness
Prepare Your Thermador for Effective Descaling in 4 Critical Steps
Begin only after your machine has cooled completely—never descale a hot boiler as thermal shock can crack components. Remove all coffee residues from the portafilter and group head using a brass brush (never steel, which scratches surfaces). Insert the included blind basket or backflush disc according to your model’s specifications—this critical step creates necessary pressure to dislodge stubborn deposits.
Empty and thoroughly clean the water reservoir with a soft brush, removing any visible sediment that could clog the intake valve. Fill the reservoir with the precise descaling solution mixture: typically 50ml solution to 500ml distilled water, but verify your model’s ratio in the manual. Position a large container beneath the group head to capture runoff—this solution contains dissolved minerals that could stain surfaces.
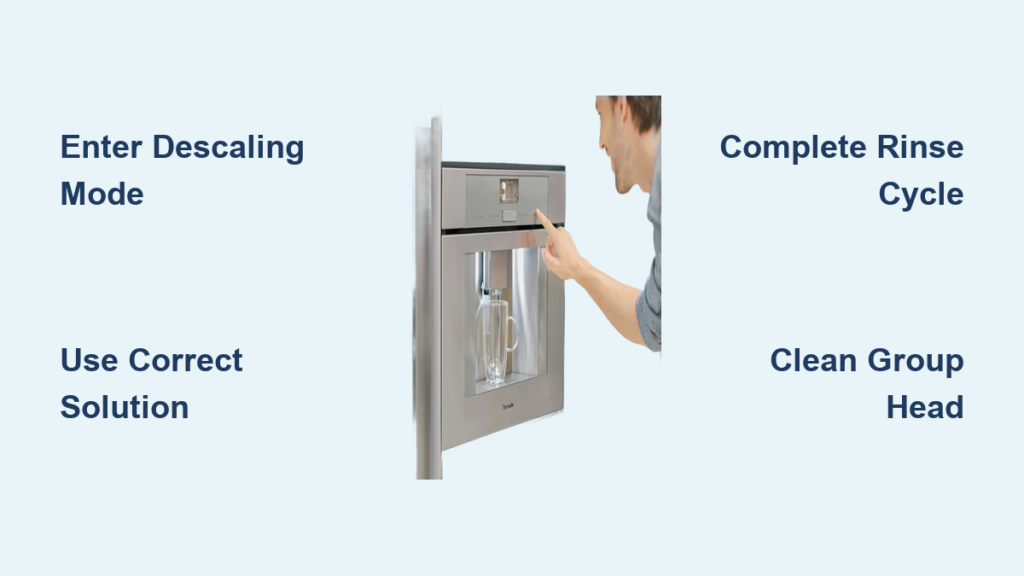
Activate Thermador’s Descaling Mode Correctly
Most Thermador models require holding the power and steam buttons simultaneously for 8 seconds until the descaling indicator begins flashing red. Newer touchscreen models navigate through: Settings > Maintenance > Descaling Mode. If your machine doesn’t respond, ensure it’s completely powered down first—many models won’t enter service mode from sleep state.
The descaling cycle won’t initiate until the boiler reaches minimum activation temperature (approximately 120°F). Watch for the confirmation light pattern: three rapid flashes followed by steady glow indicates successful entry. Never interrupt this mode—aborted cycles leave corrosive solution trapped in sensitive components. If your machine displays “ERR 12” during activation, power cycle completely and retry.
Execute the Descaling Cycle Without Common Mistakes
Once active, the machine will automatically pump solution through critical pathways in timed intervals. Allow the first 250ml to flow continuously through the group head—this initial pass dissolves surface deposits. When the machine pauses (typically after 5 minutes), remove the blind basket and manually rotate it 180 degrees to dislodge stubborn particles from different angles.
Monitor solution color: clear liquid indicates minimal buildup, while cloudy or brown runoff signals severe accumulation requiring an additional cycle. Never let the reservoir run dry—maintain minimum levels to prevent air locks. If the machine stops mid-cycle with “ERR 05”, immediately refill with solution and restart the segment. Complete the full cycle duration (usually 20-25 minutes) even if flow appears clear—residual deposits require sustained exposure.
Eliminate All Descaling Residue with Triple-Rinse Protocol
Residual solution contaminates coffee and damages seals—rinsing requires methodical precision. Perform three complete water-only cycles using fresh, filtered water each time. After each cycle, taste the runoff: any sour or chemical aftertaste means more rinsing is needed. Measure pH with test strips until readings stabilize between 6.5-7.5—outside this range indicates solution remnants.
For thorough verification, brew a test shot using only water (no coffee). The liquid should run clear with no discoloration or unusual odors. If traces remain, repeat rinse cycles until perfect. This step takes 15-20 minutes but prevents the most common post-descaling issue: ruined coffee batches from residual chemicals.
Clean External Components During Internal Maintenance
While the machine processes solution internally, disassemble and clean all removable parts. Soak the portafilter, shower screen, and dispersion block in warm descaling solution for 15 minutes to dissolve baked-on minerals. Use a dedicated group head brush to scrub the brew group interior, focusing on the dispersion holes that easily clog.
For steam wand maintenance, immerse the tip in solution while running steam briefly to clear internal channels. Replace worn group head gaskets during this maintenance window—mineral deposits accelerate rubber degradation. Wipe exterior surfaces with a microfiber cloth dampened with solution, then immediately dry to prevent water spots on stainless steel finishes.
Implement a Foolproof Descaling Schedule That Works
Create a maintenance calendar based on actual usage, not arbitrary time intervals. For home users, descale after every 150-200 espresso shots; commercial users need service after 50-75 shots. Mark your calendar with both date and shot counter readings. Modern Thermador models track usage internally—set reminders at 80% of your machine’s recommended descaling interval.
Track water hardness changes throughout the year—many municipal supplies fluctuate seasonally. Keep a maintenance log noting solution color during descaling; dark runoff indicates you’ve waited too long. For critical environments like home baristas or small cafes, invest in an inline water filter that reduces hardness by 70%, effectively doubling time between descaling sessions.
Prevent Future Buildup With Professional-Grade Strategies
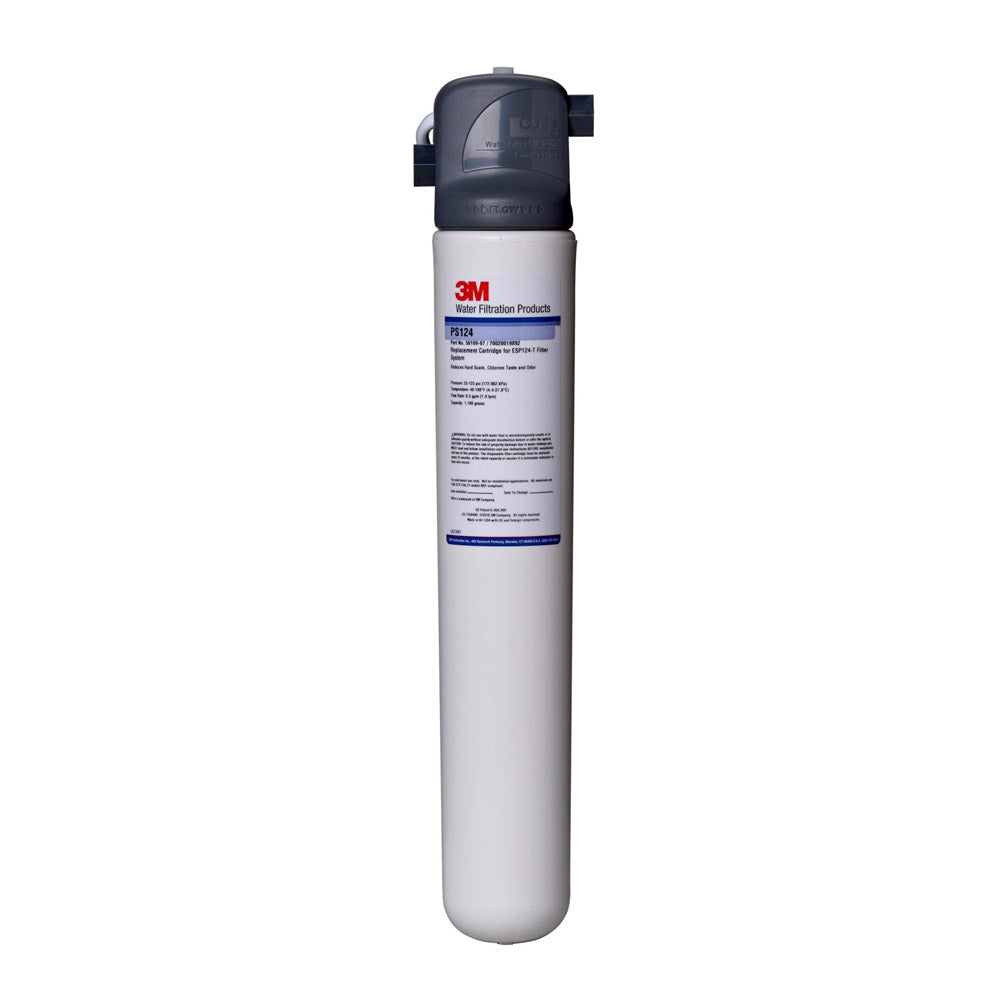
Install a 5-micron carbon filter combined with ion exchange resin specifically designed for espresso machines—these reduce scale-forming minerals by 90% while preserving beneficial elements for flavor development. Never use distilled water exclusively, as complete mineral absence corrodes metal components over time. The ideal water profile contains 50-100 ppm total hardness with balanced calcium-to-magnesium ratios.
Implement daily backflushing with clean water after your last shot—this simple 30-second habit prevents coffee oils from bonding with minerals to create stubborn deposits. Wipe the group head dry after each use to prevent evaporation that concentrates minerals. For Thermador models with removable boilers, consider annual professional servicing to inspect and clean areas inaccessible during home maintenance.
Restore Your Thermador’s Performance Today
Mineral buildup doesn’t happen overnight, but neither does the solution—consistent descaling preserves your Thermador’s precision engineering and ensures every cup delivers the nuanced flavors your investment deserves. By following these exact procedures, you’ll extend your machine’s lifespan by 3-5 years while maintaining optimal extraction performance. Set a reminder right now for your next descaling session—your future self will thank you when your morning espresso still pulls with perfect viscosity and rich crema years from now.
Important Note: Specific button sequences, solution ratios, and cycle times vary significantly between Thermador models (Professional Series, Masterpiece, etc.). Always consult your owner’s manual for manufacturer-approved procedures and use only Thermador-certified descaling products to maintain warranty coverage. When in doubt about any step, contact Thermador’s technical support before proceeding.


