
Coffee grinder hoppers collect stubborn oils that degrade your morning brew’s quality within days. If your coffee tastes stale or bitter despite using fresh beans, residue in your hopper is likely the culprit. This guide shows exactly how to clean coffee grinder hopper components properly—no guesswork, no damage to your equipment. You’ll learn daily maintenance routines and deep cleaning techniques that take less than 15 minutes, preserving your grinder’s performance and ensuring every cup delivers peak flavor.
Most coffee enthusiasts focus only on the burrs while ignoring the hopper where 70% of oil buildup occurs. Left uncleaned, these rancid oils transfer to fresh beans, creating off-flavors that ruin even premium single-origin coffees. Whether you have a plastic, metal, or wooden hopper, this comprehensive cleaning approach works for all major grinder models including Baratza, Breville, and Fellow. Follow these methods to eliminate stale residue and protect your investment.
Gather These Essential Cleaning Supplies First
Before disassembling your grinder, collect these hopper-specific cleaning tools. Using improper materials can scratch surfaces or leave chemical residues that contaminate your coffee. The right supplies make the process faster and prevent damage to delicate components.
Must-Have Cleaning Tools for Different Hopper Materials
- For plastic hoppers: Soft microfiber cloths, food-safe brush (like a dedicated toothbrush), rice or专用 grinder cleaning pellets
- For metal hoppers: Non-abrasive stainless steel cleaner, lint-free cloths, plastic scraper for stubborn buildup
- For wooden hoppers: Dry brush only (never liquids), food-grade mineral oil for conditioning
Pro Tip: Keep a dedicated cleaning kit near your grinder—never use household cleaners that leave dangerous chemical residues in food-contact surfaces. Vinegar solutions can damage certain plastics and leave lingering odors in porous materials.
What to Avoid When Cleaning Your Hopper
- ❌ Dishwashers (heat and detergents warp plastic and damage seals)
- ❌ Abrasive scrubbers (create microscopic grooves that trap more oils)
- ❌ Excessive water (causes mold in hidden crevices and warps wood)
Daily Hopper Maintenance Routine That Takes 60 Seconds
Preventing buildup is easier than removing it. Implement this daily ritual after your last grind to extend time between deep cleanings. Consistent maintenance preserves bean freshness and prevents cross-contamination between different coffee varieties.
Quick Wipe Down Procedure
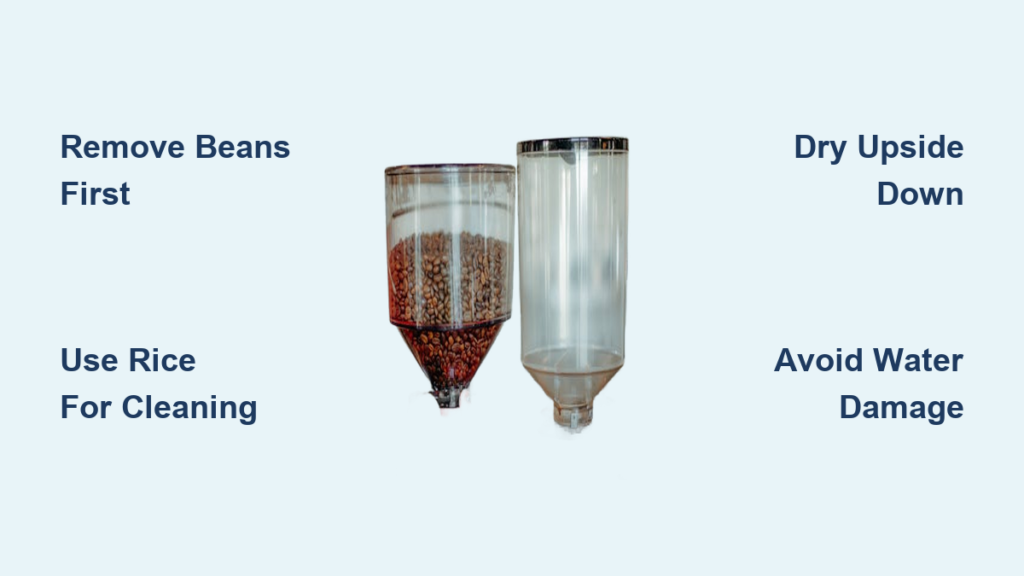
- Unplug your grinder and remove any remaining beans
- Use a dry microfiber cloth to wipe interior surfaces
- Pay special attention to the bean chute area where oils accumulate fastest
- Store hopper upside down to prevent dust accumulation
Critical Step: Never leave beans in the hopper overnight—moisture from beans creates the perfect environment for oil oxidation. Transfer unused beans to an airtight container immediately after grinding.
Deep Cleaning Process for Stubborn Oil Residue

When your hopper develops a sticky film or visible oil sheen, it’s time for thorough cleaning. This method removes years of buildup without damaging your hopper’s surface. Complete this process monthly for daily users, or quarterly for occasional brewers.
Plastic Hopper Deep Cleaning Steps
- Remove hopper from grinder and empty completely
- Fill with uncooked rice (or专用 cleaning pellets) to 1/3 capacity
- Secure lid and shake vigorously for 60 seconds—rice acts as a natural abrasive
- Empty rice and wipe interior with dry cloth
- For stubborn spots, use a soft brush with food-safe cleaner
Troubleshooting Tip: If rice grains get stuck in crevices, use compressed air (not your mouth—moisture causes mold) to dislodge them before reassembly.
Removing Oil Buildup from Metal Hoppers
Metal hoppers require different techniques to avoid scratching. Follow these steps for stainless steel components:
- Apply food-safe metal cleaner to a soft cloth (never directly to hopper)
- Wipe in direction of the grain to prevent visible scratches
- For pitted areas, use a plastic scraper at 45-degree angle
- Polish with dry microfiber cloth to restore shine
Proper Drying Techniques to Prevent Mold Growth

Improper drying causes more damage than the oils themselves. Moisture trapped in seams or under labels creates mold that ruins coffee flavor and requires complete hopper replacement.
Critical Drying Protocol
- Air dry upside down on clean towel for minimum 4 hours
- Never use heat sources (hair dryers warp plastic)
- Check hidden areas with flashlight before reassembly
- For wooden hoppers, condition with food-grade mineral oil after drying
Warning: Reassembling a damp hopper transfers moisture to burrs and motor components, causing expensive internal damage. If in doubt, wait another hour.
Reassemble Your Grinder Without Cross-Contamination
Many users reintroduce contaminants during reassembly. Follow these precise steps to ensure your cleaning effort isn’t wasted.
Correct Reassembly Sequence
- Verify all components are completely dry
- Align hopper with grinder base using orientation marks
- Gently twist into place—never force components
- Test with small bean quantity before regular use
Pro Tip: Place a single coffee bean in the hopper before reassembly. If it grinds properly, your alignment is correct. If not, disassemble and retry.
Troubleshooting Common Hopper Cleaning Problems
Even careful cleaners encounter issues. These solutions address the most frequent post-cleaning problems reported by coffee professionals.
“My Coffee Tastes Like Cleaning Product”
This indicates chemical residue. Disassemble immediately and:
– Rinse with distilled water (not tap water which contains minerals)
– Dry for 24 hours before next use
– Run 10g of rice through grinder to absorb residual odors
“Hopper Won’t Seat Properly After Cleaning”
Check for:
– Misaligned internal tabs (common in Baratza models)
– Trapped rice grains in connection points
– Warped plastic from improper drying
How Often to Clean Your Coffee Grinder Hopper
Your cleaning schedule depends on usage patterns and bean type. Follow this precise timeline based on professional barista recommendations:
- Daily users: Deep clean every 3-4 weeks
- Occasional users: Clean monthly regardless of use
- Oily beans (Sumatran, French roast): Clean 50% more frequently
- Light roasts (Ethiopian, Kenyan): Standard cleaning schedule
Critical Rule: If you switch between very different bean types (e.g., dark chocolatey espresso to delicate floral pour-over), clean the hopper immediately to prevent flavor transfer.
Preventing Future Buildup Between Cleanings
Smart storage habits dramatically reduce cleaning frequency. Implement these professional techniques to keep your hopper fresher longer.
Bean Storage Best Practices
- Store beans in opaque, airtight containers away from light
- Only add 3-4 days’ worth of beans to the hopper at a time
- Choose fresher beans (within 2-4 weeks of roast date)—older beans release more oils
Expert Insight: Lighter roasted beans produce significantly less oil residue. Consider rotating bean varieties if you struggle with frequent cleaning.
When Your Hopper Needs Replacement
Some damage can’t be fixed. Recognize these irreversible conditions that require hopper replacement:
- Deep scratches that trap oils (visible under bright light)
- Cracks near connection points (harbors mold)
- Persistent off-flavors after multiple cleanings
- Warping that prevents proper sealing
Cost-Saving Tip: Most manufacturers sell replacement hoppers for 20-30% of the grinder’s cost—far cheaper than buying a new machine.
Final Tip: Set phone reminders for hopper maintenance—your taste buds will thank you. Clean hoppers extend grinder life by 3+ years and ensure each cup delivers the nuanced flavors your beans deserve. Start implementing these techniques today for noticeably better coffee tomorrow. For burr cleaning techniques, check our companion guide on maintaining your grinder’s cutting mechanism.


