

That first cup of coffee in the morning should be a moment of pure enjoyment, not disappointment from stale or off-tasting brew. When your Proctor Silex coffee maker starts producing bitter coffee or showing signs of mineral buildup, it’s time for a proper cleaning session. Learning how to clean a Proctor Silex coffee maker properly is essential for maintaining optimal performance and ensuring your coffee tastes as fresh as the day you bought the machine.
Mineral deposits from water and coffee oils accumulate with every brew cycle, gradually degrading both flavor quality and machine functionality. The good news is that regular cleaning takes minimal effort but delivers significant benefits. This guide provides complete instructions for daily maintenance, deep cleaning procedures, and descaling techniques specifically designed for Proctor Silex models, helping you extend your coffee maker’s lifespan while enjoying consistently great-tasting coffee.
Gather Your Cleaning Supplies
Before starting any cleaning procedure, assemble all necessary supplies to avoid interruptions mid-process. Having everything within reach makes cleaning more efficient and ensures you complete each step thoroughly.
Your essential cleaning kit should include: white vinegar for effective descaling, baking soda for tackling stubborn stains and odors, a soft microfiber cloth or non-abrasive sponge, a small brush (an old toothbrush works perfectly), mild dish soap without strong fragrances, and fresh filtered water. Keep a bowl nearby for soaking components and a dry towel for immediate drying.
For particularly challenging stains inside your glass carafe, add coarse salt and ice cubes to create a gentle abrasive cleaning solution that won’t scratch surfaces. The ice provides the scrubbing action while the salt acts as a natural cleaner. When cleaning the filter basket area and around the brew basket hinge—common spots where coffee grounds accumulate—a soft-bristled toothbrush proves invaluable for dislodging trapped particles without damaging plastic components.
Perform Daily Quick Cleaning
Daily maintenance takes less than two minutes but prevents the buildup that leads to more intensive cleaning sessions later. Making this habit part of your morning routine keeps your coffee maker functioning optimally with minimal effort.
Immediately after brewing, empty the carafe and discard used coffee grounds from the filter basket. Rinse both components thoroughly with warm water before coffee oils have a chance to dry and harden on surfaces. When rinsing the carafe, swirl water vigorously to reach all interior surfaces, paying special attention to the bottom where residue accumulates most heavily.
Allow all removable parts to air dry completely on a clean dish towel before reassembling your coffee maker. Never store the carafe with the lid closed, as trapped moisture creates an environment where mold and mildew can thrive. If you notice water spots forming, they indicate hard water deposits beginning to accumulate—address this with more frequent descaling sessions.
Weekly Deep Cleaning Routine
Weekly cleaning addresses coffee oils and light mineral deposits that daily rinsing misses. This deeper maintenance keeps your coffee tasting fresh and prevents internal component degradation that affects brewing performance.
Always unplug your coffee maker and allow it to cool completely before starting any cleaning procedure. Remove the carafe, lid, and filter basket from the unit. Wash these removable parts in warm water with a few drops of mild dish soap, using your sponge to scrub away visible residue. For the filter basket, focus on the bottom surface and the area where it seats into the machine—these spots collect the most coffee oils.
Wipe down the interior of the brew basket area with a damp cloth, carefully reaching into corners and along the heating element plate. If your Proctor Silex model features a permanent filter, remove and rinse it under warm water, gently scrubbing with a soft brush to dislodge trapped oils. Don’t neglect the carafe lid—remove it if possible and wash all surfaces, checking the steam vent for clogs that affect brewing temperature.
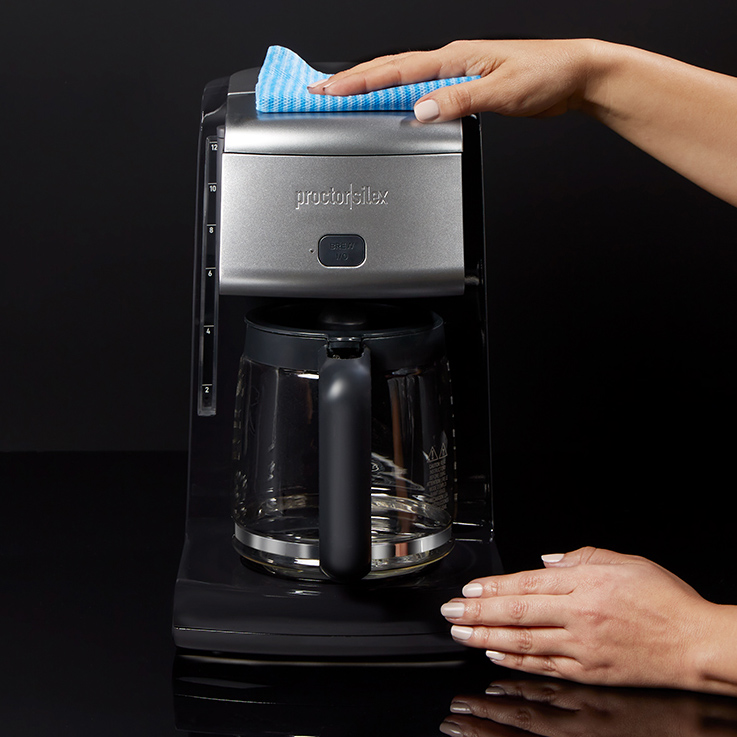
Rinse all washed components thoroughly with clean water and dry completely before reassembling. While components dry, wipe the exterior of the coffee maker with a damp cloth to remove fingerprints, dust, or coffee spatter. Pay special attention to control buttons and crevices where debris collects.
Descale to Remove Mineral Buildup
Mineral deposits from water gradually accumulate inside your coffee maker’s internal components, reducing heating efficiency and potentially causing permanent damage. Descaling neutralizes these deposits and should be performed monthly for most households, or every 40-80 brews depending on your water hardness.
Fill the water reservoir with equal parts white vinegar and cool water—typically one cup of each for standard capacity machines. The acetic acid in vinegar effectively dissolves mineral scale without damaging internal components when used properly. Begin the descaling brew cycle by placing an empty carafe on the warming plate and starting the brew process.
Allow half the vinegar solution to brew through, then turn off the machine and let it sit for 15-20 minutes. This soaking time allows the vinegar to penetrate and loosen stubborn deposits deep within the water pathways. After soaking, complete the remaining brew cycle and allow the carafe to empty completely.
Once finished, turn off the machine and let it sit for another 10 minutes. Then, run two full cycles of plain cool water through the machine to thoroughly rinse away any remaining vinegar and dissolved minerals. This rinsing step is crucial—residual vinegar affects coffee taste and can damage components over time. Discard the first pot of water after descaling to ensure complete removal of cleaning solution.
Clean the Carafe Thoroughly
The carafe accumulates coffee stains and oils with each use, and these residues directly affect both appearance and flavor. Regular thorough cleaning keeps your carafe looking new and ensures pure coffee taste without lingering bitterness.
For regular cleaning, fill the carafe with warm water and a drop of mild dish soap. Use a soft sponge or bottle brush to scrub the interior, paying extra attention to the bottom where residue settles. Rinse thoroughly with hot water and allow to air dry upside down on a clean towel to prevent water spots.
Stubborn coffee stains respond well to a baking soda paste. Mix two tablespoons of baking soda with just enough water to form a thick paste, apply to stained areas, and let sit for 15 minutes before scrubbing and rinsing. The mild abrasiveness of baking soda lifts stains without scratching glass surfaces.
For glass carafes with persistent staining, try the ice and salt method: fill the carafe with ice, add two tablespoons of coarse salt, then swirl vigorously for 30-60 seconds. The ice provides gentle abrasion while the salt acts as a natural cleaning agent. Rinse thoroughly afterward to remove all salt residue.
Care for the Filter Basket
The filter basket sees heavy use and accumulates coffee grounds and oils that can affect brew quality and cause clogging. Regular attention to this component ensures proper water flow and consistent brewing.
Remove the filter basket after each use and tap out any remaining grounds into compost or trash. Rinse the basket under warm running water, using a soft brush to remove residue from the mesh or permanent filter. If your model uses paper filters, ensure no torn pieces remain caught in the basket that could end up in your next brew.
For monthly deep cleaning, soak the filter basket in a solution of warm water and mild dish soap for 15-20 minutes. After soaking, scrub gently with a soft brush to release trapped oils, then rinse thoroughly and dry completely before reinstalling. Inspect the filter basket for damage during cleaning—cracks, warping, or damaged filter mesh allow coffee grounds into your brew and indicate replacement is needed.
Troubleshoot Common Cleaning Issues
Sometimes cleaning reveals problems that affect your coffee maker’s performance. Addressing these issues promptly prevents further damage and ensures your machine operates correctly.
Weak coffee flow or slow brewing often indicates mineral buildup restricting water passages. If descaling doesn’t improve flow, the issue may stem from a clogged spray head. Remove the brew basket and examine the showerhead (usually a small disc with holes above the basket area). Clean holes with a toothpick or small brush, being careful not to enlarge them.
Bitter or off-tasting coffee after cleaning usually means residual cleaning solution remains in the system. Run two additional cycles of plain water through the machine, and consider discarding the first pot of coffee after any descaling procedure. If bitterness persists, the water reservoir may need a thorough scrubbing to remove trapped residue.
Musty or moldy odors suggest moisture has been trapped in the machine. This commonly occurs when the carafe lid is closed during storage or when the machine isn’t used regularly. Disassemble and clean all removable parts with a baking soda solution (two tablespoons per cup of water), then air dry completely before reassembling.
Extend Your Coffee Maker’s Lifespan
Consistent maintenance dramatically extends your Proctor Silex coffee maker’s functional life, often doubling or tripling the appliance’s useful lifespan compared to neglected machines. Implementing these practices saves money and ensures reliable performance.
Descaling monthly prevents internal mineral accumulation that gradually reduces heating efficiency. If you have hard water, descaling every two weeks may be necessary. Signs of hard water include visible scale on the carafe, slow brewing, or clicking sounds during the brew cycle.
Use filtered or bottled water in your coffee maker to reduce mineral deposits significantly. While this doesn’t eliminate the need for descaling, it extends the intervals between deep cleanings and improves coffee taste. Never leave water sitting in the reservoir between uses—empty any remaining water after brewing and allow the reservoir to air dry with the lid open.
Regular cleaning of your Proctor Silex coffee maker takes minimal time but delivers maximum benefits: better-tasting coffee, fewer repairs, and years of reliable service. By incorporating these simple procedures into your routine, you ensure every cup tastes fresh and your investment pays dividends through extended appliance life. When performed consistently, these cleaning methods transform your coffee experience from mediocre to exceptional with minimal effort.


