
That sluggish coffee stream and bitter morning brew? Your office Keurig is screaming for attention. Unlike home models, commercial units like the K150 endure constant use from multiple coworkers, accelerating coffee oil buildup and mineral deposits that ruin taste and performance. Learning how to clean a commercial keurig properly isn’t optional—it’s the only way to prevent 90% of service calls while keeping coffee tasting fresh. This guide delivers the exact weekly maintenance protocol approved for office machines, using tools you already have in your break room.
When coffee oils coat internal components after just days of heavy use, your machine fights to maintain proper brewing pressure. Mineral deposits from office water supplies crystallize on heating elements, forcing the unit to work harder with each brew cycle. Without this specific cleaning routine, you’ll face weak streams, incomplete brewing cycles, and that unmistakable metallic aftertaste coworkers complain about. Follow these steps every Friday afternoon when office traffic slows, and you’ll restore peak performance in under 25 minutes.
Why Your Office Keurig Needs Weekly Cleaning (Not Monthly)
Commercial Keurigs brew 10-20 times more coffee daily than home units, creating unique maintenance demands. Coffee oils polymerize rapidly inside the brew chamber under constant heat cycles, while office water supplies introduce higher mineral concentrations that scale heating elements. Unlike household models, these machines lack self-cleaning features because they’re engineered for speed over convenience. Waiting months between cleanings guarantees clogged needles, error messages, and permanent damage from mineral buildup—issues that cost $150+ for professional repair. Set calendar reminders for every Friday to avoid these preventable failures.
Critical Differences From Home Models
Office Keurigs operate under continuous thermal stress that home units never experience. The K150’s larger water reservoir stays heated 24/7, accelerating scale formation. Multiple users introduce inconsistent pod insertion techniques that jam needles faster. Most critically, commercial units brew at higher pressure—meaning even minor clogs cause immediate performance drops instead of gradual decline. Ignoring weekly cleaning turns minor residue into baked-on deposits within weeks.
Prepare Your Workspace Like a Pro
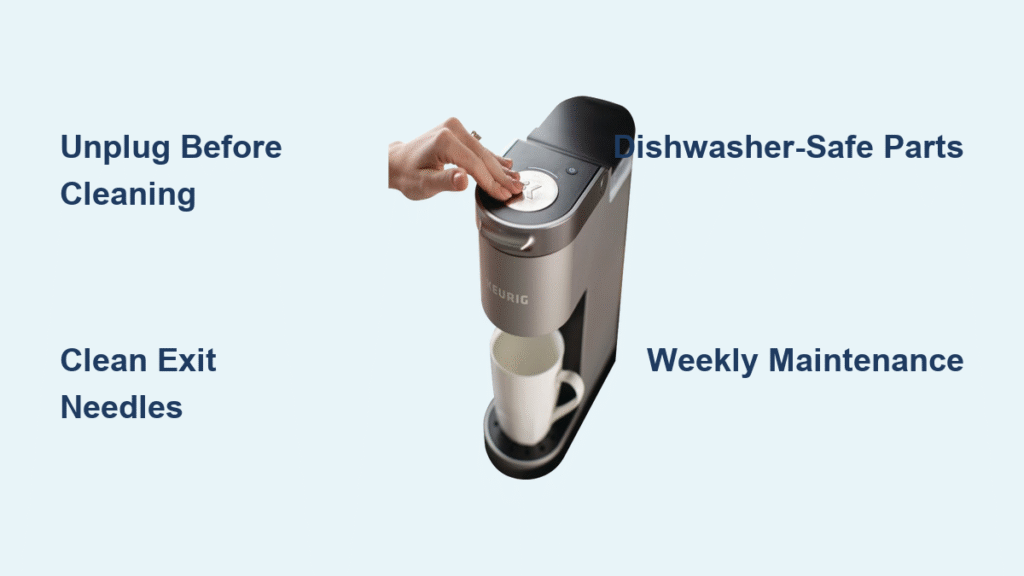
Unplug the unit immediately—commercial Keurigs retain dangerous heat for 90+ minutes after brewing. Never skip this step, as residual heat can cause scalding during component removal. Work during off-hours to avoid accidental reactivation by coworkers.
Clear Critical Zones First
Remove all coffee pods, stir sticks, and sugar containers from the immediate area. You’ll need 24 inches of counter space to lay out wet components without cross-contamination. Check behind the machine for hidden spills—office units often develop sticky residue along base seams from daily splatters.
Empty All Collection Points
- Drip tray: Slide out completely to dump accumulated coffee sludge
- Pod receptacle: Remove and discard all used K-Cups (never leave overnight)
- Water reservoir: Check for floating debris before removal
Identify Components by Cleaning Method

Never guess which parts go where—commercial Keurigs have strict material limitations. Dishwasher-safe components detach with zero force, while hand-wash items require gentle handling. If you need tools for removal, it stays attached.
Pull These for Dishwasher Cleaning
- K-Cup pod holder: Lift straight up from brew chamber (contains critical exit needles)
- Funnel: Slides off pod holder base—this directs coffee flow
- Drip plate: Remove from under dispenser spout
- Drip tray: Full-width base component that catches overflow
Hand-Wash Only Items
- Water reservoir: Lift vertically from rear slot (never submerge)
- Reservoir lid: Pop off with light pressure (mold hides in seal grooves)
- Machine base: Wipe exterior only—contains live electrical components
Clean Removable Parts Correctly

Never use detergent on dishwasher-safe components—residue taints future brews. Commercial units require hotter water cycles than home models to dissolve office-grade buildup.
Optimize Dishwasher Loading
- Top rack only: Pod holder and funnel (prevents warping from bottom-rack heat)
- Bottom rack: Drip plate and tray (withstands higher temperatures)
- Cycle selection: Use sanitize setting at 150°F+ to melt coffee oils
No-Dishwasher Alternative
Submerge parts in hot water (140°F) for 15 minutes to soften deposits. Use a bottle brush on textured surfaces—never abrasive pads. Rinse under running water until it runs completely clear, indicating all oils are removed. Air-dry on clean towels for 20 minutes before reassembly.
Hand-Wash Reservoir Without Ruining Taste
Detergents destroy coffee flavor—even microscopic traces create chemical aftertastes that linger for weeks. Commercial units demand absolute soap-free cleaning for water-contact parts.
Four-Step Reservoir Refresh
- Fill reservoir halfway with warm water (100°F)
- Swirl vigorously for 30 seconds to dislodge scale
- Empty and repeat until water remains clear after swirling
- Wipe interior with soft microfiber cloth—never scrub textured areas
Lid Deep Clean Protocol
Remove the rubber seal and wipe both sides with damp cloth. Pay special attention to condensation grooves where mold breeds. Re-seat the seal firmly to prevent leaks during brewing cycles.
Unclog Exit Needles in 90 Seconds
Clogged needles cause 70% of commercial Keurig failures. Both top (in brew head) and bottom (in pod holder) assemblies have three microscopic holes each that pack with coffee grounds like concrete.
Paper Clip Unclogging Method
- Straighten a standard paper clip completely
- Top needle: Insert through brew chamber ceiling with gentle twisting motion
- Bottom needle: Access through pod holder base
- Push through each hole until dark coffee pellets dislodge
- Flush with water to verify full clearance
Warning: If resistance feels solid, stop immediately—forced clearing damages needles. Call maintenance if clogs persist after two attempts.
Wipe Machine Base Without Risk
Water intrusion into the base causes electrical shorts. Commercial units have more exposed vents than home models, requiring precise cleaning techniques.
Safe Exterior Protocol
- Confirm unit is cool to touch (wait 90+ minutes after unplugging)
- Dampen microfiber cloth with warm water only—never spray directly
- Wipe display screen in circular motions to avoid scratches
- Dry immediately with separate lint-free cloth
- Check drip tray cavity for hidden coffee sludge
Critical Mistakes to Avoid
- Using paper towels (they shed fibers into crevices)
- Spraying cleaners near button panels
- Forgetting the reservoir slot area (a major spill zone)
Reassemble and Validate Function
Incorrect assembly causes 40% of post-cleaning failures. Follow this exact sequence to avoid leaks or error messages.
Component Installation Order
- Snap clean drip tray into base
- Position drip plate over tray
- Attach funnel to pod holder
- Insert pod holder into brew chamber
- Fill reservoir with fresh water
- Secure reservoir lid
Mandatory Test Brew
Run a full water-only cycle without a pod. Observe:
– Strong, consistent stream (indicates clear needles)
– No leaks around reservoir slot
– Complete drainage (confirms no clogs)
Discard this water—it flushes any residual particles.
Daily Maintenance That Prevents Emergencies
Two minutes each morning eliminates 80% of weekly cleaning effort. Train all users on these non-negotiable steps.
Morning Routine Checklist
- Empty pod receptacle before it overflows
- Wipe drip tray with damp cloth
- Refill reservoir to minimum line
- Quick visual check for leaks
End-of-Day Critical Steps
- Remove all used pods immediately
- Wipe counter area with coffee-safe cleaner
- Inspect base for hidden spills
- Verify drip tray isn’t full
Spot Warning Signs Before Damage Occurs
Don’t wait for error messages—commercial units show subtle symptoms days before failure. Train your team to recognize these red flags:
- Slower brewing: Takes 5+ seconds longer than normal stream
- Partial cycles: Machine stops mid-brew with coffee still dripping
- Grinding noises: Indicates scale on heating elements
- Bitter/metallic taste: Immediate sign of oil buildup
- Error codes: “DESCALE” or “CLEAN” prompts mean urgent action needed
Run the full weekly cleaning immediately when any symptom appears—delaying guarantees permanent damage.
Extend Machine Life Between Cleanings
Hard water is your office Keurig’s worst enemy. Commercial units in hard water areas need interventions most guides ignore.
Water Quality Solutions
- Install point-of-use filter for reservoir refills
- Use distilled water for 1 in 4 brews to slow scaling
- Increase cleaning frequency to every 5 days if hardness exceeds 7 grains
Shared Responsibility System
Post the weekly checklist near the machine with department assignments:
– Marketing handles odd weeks
– Sales covers even weeks
– Admin rotates monthly oversight
This prevents “someone else’s problem” neglect that ruins office machines.
Weekend and Holiday Storage Protocol
Never leave water sitting in commercial units during downtime—mineral deposits harden within 48 hours.
Proper Shutdown Steps
- Completely empty reservoir (tilt unit to drain hidden pockets)
- Leave lid off for 24 hours to air-dry interior
- Store pods in sealed containers (moisture ruins seals)
- Keep drip tray installed to block dust entry
Mastering how to clean a commercial keurig transforms your office coffee station from a liability into a reliable asset. That first perfect brew after cleaning—full-bodied, fast-flowing, and free of metallic notes—proves the 20-minute investment pays off daily. Implement this weekly ritual every Friday, and you’ll avoid emergency service calls while keeping morale high with consistently great coffee. Your coworkers won’t notice the cleaning effort, but they’ll definitely feel the difference in their Monday morning cup. Start this routine today, and your K150 will deliver peak performance for years beyond its expected lifespan.


