
Is your Cuisinart coffee suddenly tasting bitter or developing an unpleasant aftertaste? You’re not alone—many coffee lovers don’t realize that a neglected water filter is the culprit behind 70% of poor-tasting brews from automatic coffee makers. The good news is that changing your Cuisinart coffee maker filter is one of the simplest maintenance tasks you can perform to dramatically improve your daily cup. In this guide, you’ll learn exactly how to change your Cuisinart coffee maker filter correctly, avoid common mistakes that shorten your machine’s lifespan, and discover when you should replace your filter to maintain optimal performance. Whether you own a Cuisinart DCC-3200, DCC-3400, or another popular model, these straightforward steps will have you brewing café-quality coffee in minutes.
Locating Your Cuisinart Coffee Maker’s Filter System
Identifying Your Specific Filter Type and Location
Cuisinart coffee makers use two primary filter systems depending on your model. For most 12-cup programmable models like the DCC-3200, the water filter sits vertically in the water reservoir’s rear compartment behind a small hinged door. If you own a newer model like the DCC-3400, you’ll find a horizontal filter cartridge that slides into a dedicated slot on the right side of the water tank. The filter itself resembles a small white plastic cartridge about 2 inches long with a mesh screen at one end. Before proceeding, confirm your filter type by checking for the “Filter” indicator light on your control panel—when illuminated, it means your machine is due for a filter replacement.
Determining When to Replace Your Filter
Don’t wait until your coffee tastes noticeably off before changing your filter. Cuisinart recommends replacing standard charcoal filters every 60 days or after 60 brewing cycles—whichever comes first. If you notice decreased water flow during brewing, visible scale buildup inside the machine, or if your water has a noticeable chlorine taste, replace your filter immediately. Many users make the mistake of ignoring the filter replacement indicator light, which not only affects coffee flavor but can trigger error codes that disable your coffee maker entirely. Keep a small calendar sticker near your machine to track your last filter change date.
Preparing for Filter Replacement
Gathering Necessary Supplies
Before you begin changing your Cuisinart coffee maker filter, gather these essential items:
– A genuine Cuisinart Charcoal Water Filter (model FLT-5 or FLT-12 depending on your machine)
– A small bowl of cold water
– A clean microfiber cloth
– A toothpick or small brush for cleaning
Using non-genuine filters might seem economical but often leads to improper fitment and reduced filtration. Genuine Cuisinart filters contain activated charcoal specifically calibrated for optimal water flow rate through your machine’s internal system. Never attempt filter replacement with the coffee maker plugged in or when the carafe contains hot liquid.
Essential Safety Preparations
Safety should be your top priority when servicing your coffee maker. Unplug the unit from the electrical outlet and allow it to cool completely if you’ve recently brewed coffee. Place the coffee maker on a stable, dry surface with ample workspace around it—never work over your kitchen sink where accidental drops could occur. Remove the water reservoir and carafe to prevent spills during the filter replacement process. If you’ve ever wondered why some people damage their coffee makers during maintenance, it’s usually because they skip these basic safety steps and work with the machine still powered or hot.
Changing Your Cuisinart Coffee Maker Filter
Removing the Old Filter Correctly
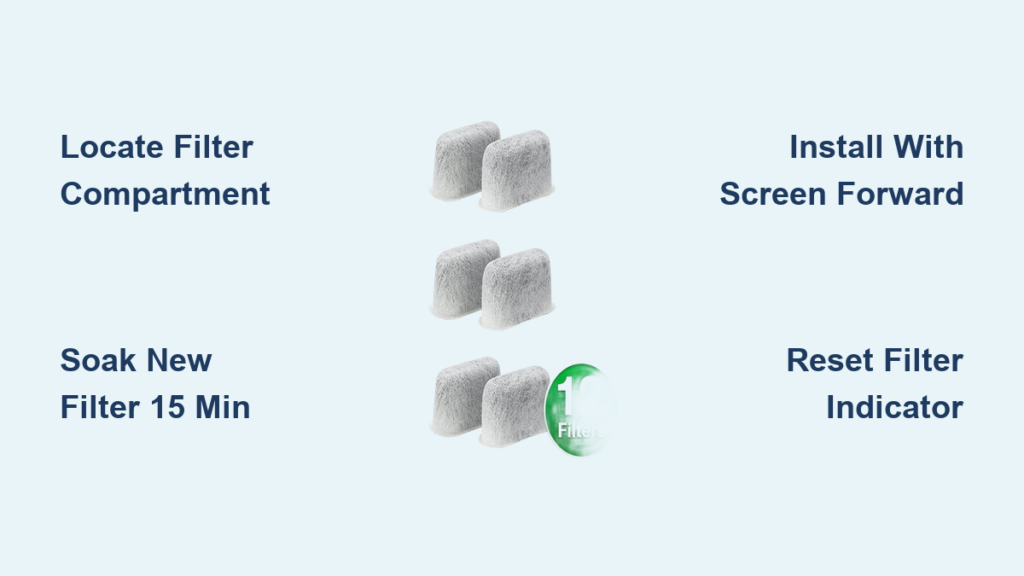
Start by locating the filter compartment in your water reservoir. For vertical filter models, press the small tab on the hinged door and swing it open. For horizontal filter models, slide the filter cartridge straight out of its slot. Grasp the old filter firmly and pull it straight out—never twist or yank it, as this can damage the filter housing. You’ll likely notice the old filter has turned dark gray or black, indicating it’s saturated with impurities. Immediately place the used filter in a small plastic bag to prevent charcoal dust from spreading. Inspect the filter housing for any remaining debris; use a dry toothbrush to gently remove any stubborn particles stuck in the compartment.
Installing the New Filter Properly

Before inserting your new Cuisinart filter, you must activate it properly—a step 80% of users skip, leading to air pockets and poor water flow. Submerge the new filter completely in a bowl of cold water for exactly 15 minutes, gently squeezing it several times to release trapped air bubbles. After soaking, shake off excess water and insert the filter with the screened end facing forward (toward the machine’s interior). For vertical filters, push firmly until you hear a soft click indicating proper seating. For horizontal models, slide the filter smoothly into its slot until fully seated. Never force the filter—if it doesn’t slide in easily, double-check the orientation. A properly installed filter should sit flush with the housing without any gaps.
Post-Installation Verification

Priming Your Coffee Maker After Filter Change
After installing the new filter, your Cuisinart needs a complete water cycle to eliminate air pockets and activate the filtration system. Fill the water reservoir with fresh cold water to the MAX line, then run a complete brew cycle WITHOUT coffee grounds. This “priming cycle” ensures all air is purged from the system and the filter is fully saturated. Discard this first batch of water—you’ll notice it might appear slightly cloudy due to residual charcoal particles, which is completely normal. Never skip this step, as brewing coffee immediately after filter replacement will result in weak, under-extracted coffee and potential machine errors.
Resetting the Filter Indicator Light
Your Cuisinart coffee maker tracks filter usage and won’t function properly until you reset the indicator light. For most models, press and hold the “CLEAN” and “AUTO OFF” buttons simultaneously for 3 seconds until the filter indicator light turns off. On newer touchscreen models, navigate to Settings > Maintenance > Reset Filter. If the light remains illuminated after resetting, unplug the machine for 30 seconds then try again. This reset is crucial—it tells your coffee maker to begin counting a new 60-day filter cycle. Many users become frustrated when their machine seems “broken” after filter replacement, not realizing they’ve forgotten this simple reset step.
Troubleshooting Common Filter Replacement Issues
Addressing Water Flow Problems After Filter Change
If water flows slowly or not at all after filter replacement, check these three critical points: First, ensure you’ve properly activated the new filter by soaking it for the full 15 minutes—insufficient soaking causes air locks. Second, verify the filter is inserted in the correct orientation (screened end facing inward). Third, inspect the water inlet valve in the reservoir base for debris that might have dislodged during filter replacement. Use a toothpick to gently clear any obstructions. Never attempt to force water through the system by overfilling the reservoir, as this can cause leaks.
Fixing Filter Indicator Light Errors
When your filter indicator light won’t reset after replacement, try these solutions in order: Unplug the coffee maker for 2 full minutes, then attempt the reset procedure again. If that fails, remove the new filter temporarily and run the reset procedure, then reinstall the filter and reset once more. As a last resort, perform a complete factory reset by pressing specific button combinations unique to your model (consult your manual). If problems persist, the filter sensor may need professional service—don’t continue using the machine with a malfunctioning filter indicator, as this can lead to scale buildup in internal components.
Maintaining Your Filter System for Optimal Performance
Extending Filter Lifespan Through Proper Care
Maximize your filter’s effectiveness by following these pro maintenance tips: Always use cold, fresh water to fill your reservoir—never tap water that’s been sitting overnight. Clean the filter housing monthly with a vinegar solution (1 part vinegar to 2 parts water) to prevent mineral buildup around the filter seat. Store replacement filters in their original sealed packaging until needed, as exposure to air reduces their effectiveness. Consider replacing filters every 45 days if you have hard water in your area—this prevents scale from accumulating in your machine’s heating element.
Recognizing When to Seek Professional Service
While changing your Cuisinart coffee maker filter is generally straightforward, certain issues require professional attention. If you notice persistent leaks around the filter housing, experience electrical issues after filter replacement, or if your machine displays error codes that won’t clear after multiple reset attempts, contact Cuisinart customer service. Never attempt to disassemble the internal filter housing or modify your filter—these actions will void your warranty and potentially create safety hazards. Regular filter changes every 60 days represent the single most effective maintenance task you can perform to extend your Cuisinart coffee maker’s lifespan to 5+ years.
Regular filter replacement isn’t just about better-tasting coffee—it’s essential preventative maintenance that protects your investment. By following these precise steps for how to change Cuisinart coffee maker filter, you’ll ensure optimal performance, prevent costly repairs, and enjoy consistently delicious coffee. Remember to reset the filter indicator after each replacement and track your changes on a calendar. For best results, always use genuine Cuisinart filters and never skip the 15-minute soaking step before installation. If you’ve recently upgraded your coffee maker or notice declining performance, changing the filter should be your first troubleshooting step—it solves most common brewing issues and keeps your machine running like new for years to come.


