
Hosting a family reunion, office meeting, or weekend gathering shouldn’t mean sacrificing coffee quality for quantity. The Hamilton Beach 45-cup coffee urn solves this exact problem by delivering consistently fresh, hot coffee for large crowds without the stress of constant pot refills. This isn’t just another appliance—it’s your secret weapon for effortless entertaining. By mastering its digital timer, adjustable brew strength, and built-in water filter, you’ll transform from coffee provider to crowd-pleasing host. In this guide, you’ll discover precisely how to brew coffee with Hamilton Beach equipment that stays hot for hours, tastes exceptional, and handles 45 cups like a pro.
Prepare Your Hamilton Beach Urn Before Brewing
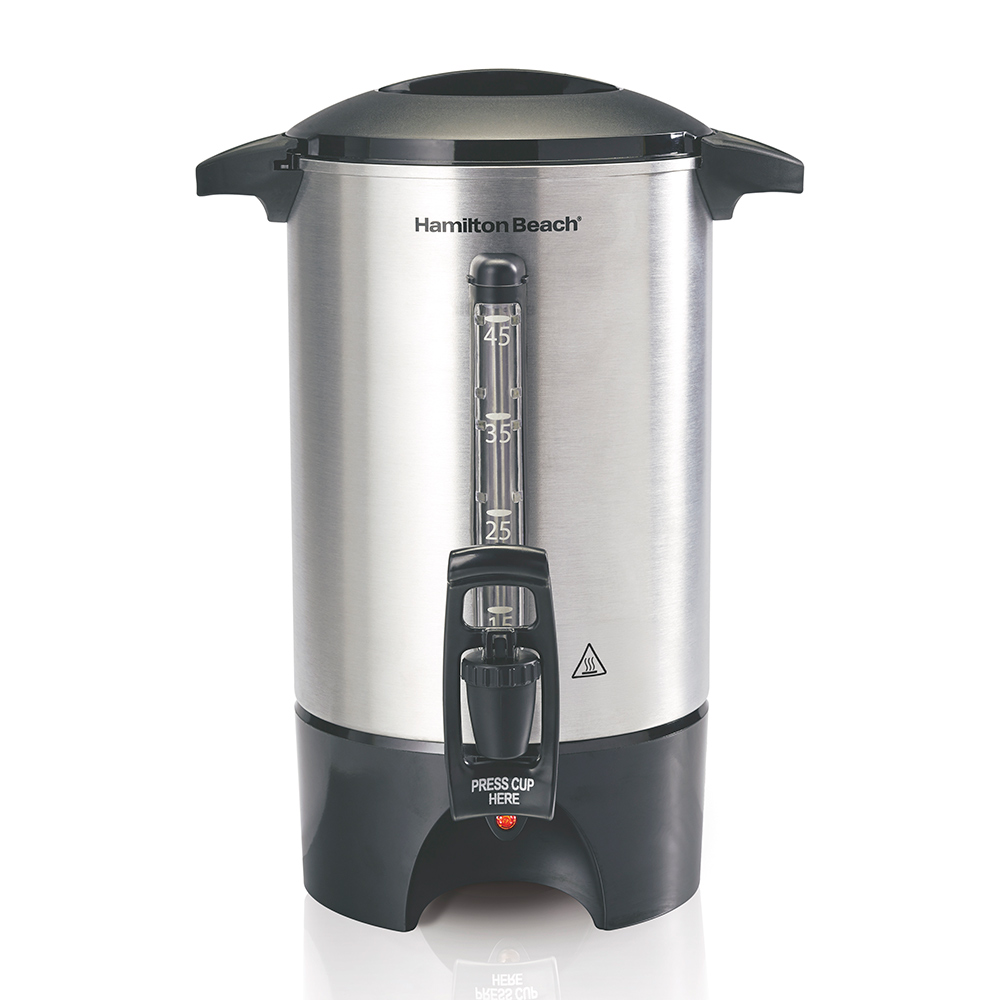
Skipping setup turns your crowd-pleasing appliance into a flavor disaster. Before adding a single coffee bean, ensure your Hamilton Beach urn is primed for peak performance. Place the unit on a stable, heat-resistant surface near an electrical outlet—never on countertops with loose items that could obstruct vents. Verify the removable drip tray is securely snapped into place and the glass carafe sits flush on the keep-warm plate. If the carafe isn’t properly seated, the urn won’t activate, wasting precious pre-event time.
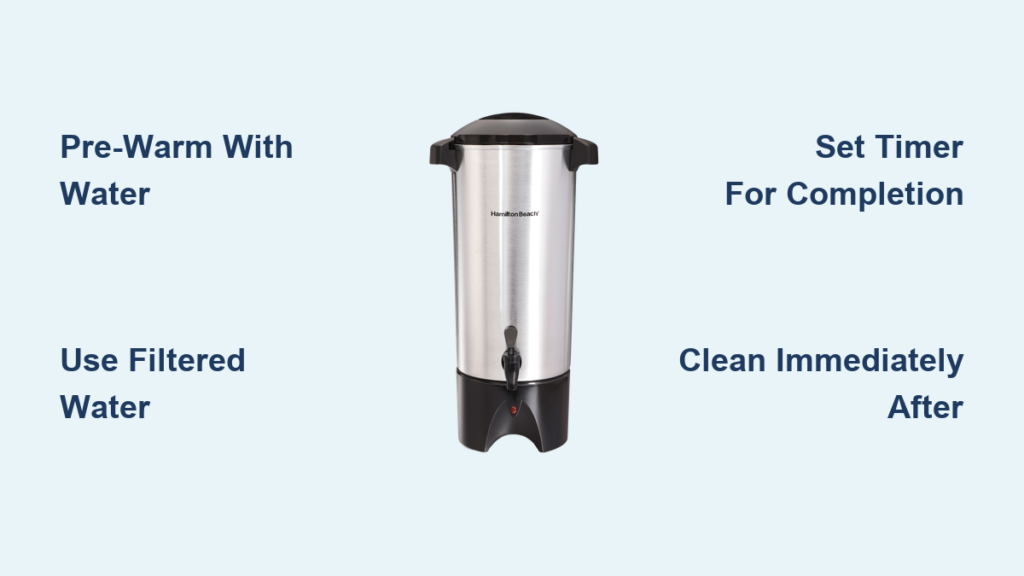
Critical pre-brew check: Run a hot water cycle without coffee to pre-warm internal components. Fill the reservoir to the “10 cups” line with hot tap water, select regular strength, and press start. Discard this water after brewing completes. This simple step prevents temperature shock when brewing your actual coffee, ensuring optimal extraction from the first drop. Skipping this causes lukewarm coffee that cools faster—especially critical for winter events or drafty venues.
Measure Coffee and Water for Flawless 45-Cup Batches

Guesswork with measurements creates bitter or watery coffee that ruins your reputation as a host. The Hamilton Beach urn’s internal water markings are your blueprint for perfection—each line represents 5 ounces, so fill precisely to the “45” indicator for maximum capacity. But water quality matters as much as quantity: Always use filtered or bottled water to bypass chlorine and minerals in tap water that amplify off-flavors across large batches.
For coffee, grind fresh beans immediately before brewing—this pro tip alone elevates flavor more than any expensive accessory. Use a medium grind (like sea salt) for balanced extraction; too fine causes bitterness, while too coarse yields weak coffee. Start with 1 tablespoon of grounds per 5-ounce cup (45 tablespoons total), adjusting based on your beans’ roast level. Dark roasts need slightly less coffee to avoid overpowering bitterness, while light roasts benefit from an extra tablespoon to highlight subtle notes. Never pre-measure grounds hours ahead—stale coffee guarantees flat, lifeless results.
Program the Digital Timer for Coffee Ready on Schedule
Waking up to brew coffee while guests arrive is a hosting nightmare the Hamilton Beach timer eliminates. This isn’t just a clock—it’s your automated barista. Press the “Hour” and “Minute” buttons until the display shows your target brew completion time (e.g., 7:45 AM for 8:00 AM arrivals). The urn calculates start time automatically based on batch size—full 45-cup batches take 20-25 minutes. Always set completion 15 minutes before guests arrive to account for brewing variance.
Pro mistake to avoid: Programming the start time instead of completion time. If brewing must finish at 9:00 AM, set the timer for 9:00 AM—not when you want brewing to begin. The urn handles the math, ensuring coffee isn’t sitting stale for 30 minutes. For overnight events, plug the urn into a surge protector and set completion for 6:30 AM. You’ll wake to the aroma of freshly brewed coffee without lifting a finger.
Select Bold, Regular, or Light Brew Strength Correctly
Your guests’ coffee preferences shouldn’t dictate your brewing process—Hamilton Beach’s strength selector handles it all. This isn’t marketing fluff; each setting alters water contact time with grounds to extract specific flavor compounds. Regular strength delivers balanced, crowd-pleasing coffee ideal for medium roasts and mixed groups. Bold strength extends extraction time by 15%, pulling deeper oils from dark roasts for intense, complex cups—perfect for coffee enthusiasts. Light strength shortens contact time, creating milder coffee that won’t overwhelm guests sensitive to caffeine or acidity.
Critical insight: Match strength settings to your beans, not just taste. Light roasts require bold settings to extract their delicate floral notes, while dark roasts turn acrid on bold—opt for regular or light instead. Run a test batch before big events: Brew identical coffee with each setting and note which maximizes your beans’ potential. This 10-minute investment prevents serving subpar coffee when it counts.
Start Brewing and Monitor the Extraction Process
With measurements set and strength selected, initiate brewing—but never walk away during the first 5 minutes. Press “Start” and watch for the crucial bloom phase: Within 30 seconds, hot water should saturate grounds, causing them to puff and release CO2. If bubbling is uneven, gently stir grounds with a wooden spoon to ensure full saturation. Skipping this step traps gases that create sour, under-extracted coffee.
During brewing, verify steady coffee flow into the carafe—no gurgling or pauses. Interruptions signal clogged filters or exhausted water filters. If flow stops, power off immediately (never remove the carafe mid-cycle) and check for:
– Coffee grounds packed too tightly in the basket
– Water filter needing replacement (change every 2 months)
– Mineral buildup in the reservoir (descale monthly with vinegar)
A full 45-cup batch should flow continuously for 20-25 minutes. Rushing the process by lifting the lid or adding cold water mid-brew shocks the extraction, creating uneven, bitter results.
Maintain Perfect Temperature for 2 Hours Post-Brew
The moment brewing completes, the keep-warm plate activates—a game-changer that prevents burnt, bitter coffee plaguing standard warmers. But never leave coffee on warm for over 2 hours. After this window, prolonged heat breaks down oils, creating stale, metallic flavors. For events longer than 2 hours, brew a second batch rather than risking ruined coffee.
When serving, keep the carafe lid twisted closed except during pouring. Each time the lid opens, heat escapes rapidly—after 10 pours, coffee can drop 20°F. Place creamers and sugars directly on the serving table so guests serve themselves, minimizing lid openings. If coffee cools faster than expected, pre-warm mugs with hot water first; cold ceramics suck heat from coffee instantly.
Clean Immediately After Serving to Prevent Residue Buildup
Spent coffee grounds harden into stubborn sludge within 30 minutes—clean while components are still warm. Discard grounds from the filter basket immediately (don’t let them dry!), then rinse both basket and carafe under hot water. For the carafe’s narrow neck, use a bottle brush to scrub the bottom where oils pool. Never use abrasive pads—they scratch glass, trapping residue that taints future batches.
Wipe the urn’s exterior with a damp microfiber cloth, focusing on the digital display and button edges where coffee splatters accumulate. Pay special attention to the drip tray groove; hardened drips here cause leaks during next use. For the water reservoir, run hot water through it while wiping interior walls with a soft sponge. Soap isn’t needed for daily cleaning—residue comes from coffee oils, not grease.
Descale Monthly with Vinegar to Prevent Performance Decline
Mineral deposits from water silently sabotage your Hamilton Beach urn, reducing heating efficiency and altering coffee taste. Descale every 30 days using equal parts white vinegar and water: Fill the reservoir to max capacity, run a full brew cycle (without coffee), then discard the solution. Follow with two full cycles of clean water to eliminate vinegar taste. For severe buildup, let the vinegar solution sit in the urn for 1 hour before brewing.
Warning sign: If brewing times increase or coffee develops a chalky aftertaste, scale has accumulated. Ignoring this causes permanent damage to heating elements. After descaling, replace the built-in water filter—it’s clogged from trapping minerals during the process. Fresh filters cost $8 but extend your urn’s life by years.
Final Verdict: Is the Hamilton Beach Urn Worth Your Counter Space?
For anyone regularly serving coffee to 10+ people, the Hamilton Beach 45-cup urn delivers unmatched value. Its programmable timer eliminates morning chaos, adjustable strength pleases diverse palates, and keep-warm technology maintains quality without burning. At under $100, it outperforms commercial units costing triple—just ensure your kitchen has space for its 15″ x 12″ footprint.
The bottom line: If you host office meetings, family gatherings, or community events, this urn pays for itself in stress saved and compliments earned. Stick to fresh beans, filtered water, and monthly descaling, and you’ll serve coffee that tastes like it came from a specialty café—not a giant urn. Master these steps, and “how to brew coffee Hamilton Beach” becomes your easiest hosting superpower.


