
Your morning coffee should be fast, not frustrating. Yet millions of us wonder how that tiny plastic pod transforms into a steaming cup before the toaster pops. The secret isn’t magic—it’s precision engineering that marries pressure, temperature, and filtration into a 45-second miracle. Unlike drip coffee relying on gravity or espresso demanding 9 bars of pressure, Keurig cups create a unique middle ground where hot water meets pre-measured grounds in a sealed environment.
This single-serve system eliminates guesswork: no scooping, no grinding, no cleanup. But to truly appreciate your daily cup, you need to understand what happens inside that unassuming K-Cup. From the moment you close the brew chamber, a choreographed sequence of punctures, pressure surges, and controlled flow extracts flavor faster than any traditional method. You’ll discover why your Keurig cup works so efficiently—and how to fix common issues when it doesn’t.
K-Cup Construction: The Hidden Engineering Inside
Plastic Cup Material Science
Your Keurig cup starts as an injection-molded fortress made from #7 polystyrene plastic. This food-safe material blocks light and moisture while withstanding 192°F water pressure without warping. While newer recyclable #5 polypropylene cups exist, most brands stick with polystyrene due to its superior heat resistance during brewing. The rigid walls maintain structural integrity when pressurized water floods the chamber, preventing leaks or deformation.
Aluminum Lid’s Critical Sealing Role
That shiny foil top isn’t just packaging—it’s a pressure-sensitive barrier. During manufacturing, nitrogen gas flushes oxygen from the cup before the aluminum lid gets heat-sealed to the rim. This airtight seal preserves freshness for months by preventing oxidation. Crucially, the lid must resist bursting during brewing, which is why coffee rests 14+ days post-roast to release natural CO₂ before packaging.
Built-In Paper Filter System
Forget separate filters—each K-Cup contains a circular paper disk bonded to the upper inner wall with FDA-approved adhesive. This micro-filter catches fine coffee particles while allowing brewed liquid to flow freely. When pressurized water hits the grounds, this integrated system eliminates sediment in your cup without requiring user assembly or cleanup steps.
Brewing Process: From Puncture to Perfect Cup

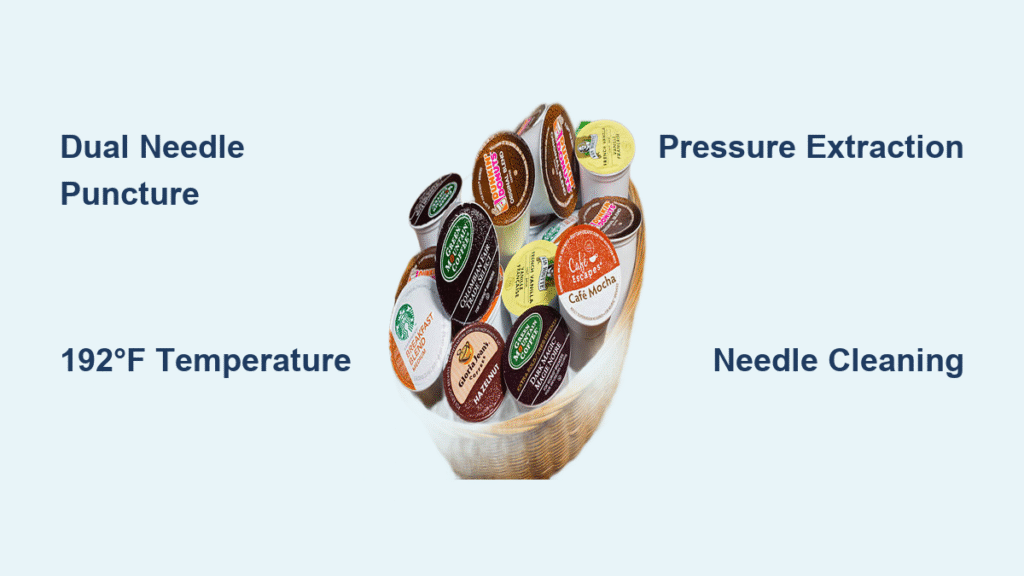
Dual Needle Puncture Mechanics
When you close the brew chamber, two hollow needle assemblies spring into action. Five tiny needles simultaneously pierce the foil lid, creating precise water entry points. Below, a single larger needle punctures the cup base, forming the exit channel. This dual-puncture design ensures even water distribution over the coffee bed while directing finished brew downward. Misalignment here causes weak coffee—always ensure your K-Cup sits flat before brewing.
Pre-Infusion Blooming Phase
Before full extraction begins, your Keurig dispenses exactly 10 mL of water to saturate the grounds. This critical 3-5 second “bloom” releases trapped carbon dioxide from the 8-12 grams of pre-ground coffee. Skipping this step (as some cheap knockoff brewers do) causes channeling—where water avoids compacted areas—resulting in bitter, uneven extraction. You’ll notice this phase as the initial gurgling sound before steady flow begins.
Pressure Extraction in 45 Seconds
A vibratory pump now pushes 192°F water through the coffee bed at 2-3 bar pressure (30-45 psi). This modest pressure—stronger than drip coffee but gentler than espresso—forces water through the fine grind in under a minute. Watch for consistent flow: if coffee dribbles slowly, clogged needles are likely restricting the 8-10 fl oz flow rate designed for optimal extraction.
Why Temperature and Pressure Define Your Coffee Taste

Fixed 192°F Brewing Temperature Explained
Keurig locks water temperature at 192°F, intentionally below the Specialty Coffee Association’s recommended 195-205°F range. This lower heat prevents scalding delicate coffee oils but sacrifices extraction of caramelized sugars. Result: lighter body and brighter acidity compared to pour-over coffee. You can’t override this setting—it’s engineered into the heating element for consistent speed.
Low Pressure’s Flavor Trade-Offs
The 2-3 bar pressure creates faster extraction than gravity-fed methods without expensive pumps. However, this pressure level can’t fully dissolve high-molecular-weight sugars, yielding thinner mouthfeel. Unlike espresso’s rich crema, Keurig cups produce a clean but lean brew. For stronger flavor, use 6-ounce settings—larger volumes dilute the already low coffee-to-water ratio (8-12g per 8 fl oz vs. SCA’s ideal 15-16g).
Flow Rate’s Impact on Bitterness
The calibrated flow rate delivers coffee in 45-60 seconds—too fast for full sweetness development but too slow to avoid over-extraction of bitter compounds. This explains why dark roast K-Cups often taste sharp: fine grounds and short contact time accentuate astringency. If your coffee tastes burnt, run a descaling cycle—mineral buildup alters flow rates and temperature accuracy.
Fixing Common Keurig Cup Brewing Failures
Weak Coffee: The Volume Trap
When 10-ounce brews taste watery, the culprit is physics, not faulty pods. Standard K-Cups contain enough coffee for 6-8 ounces; larger volumes create severe under-dosing. Solution: Stick to 8-ounce settings for balanced flavor, or use the “strong” button if available (it reduces water volume). Never assume bigger cups mean stronger coffee—they guarantee weaker results.
Bitter or Metallic Tastes: Needle Clogs
Rancid coffee oil buildup in needle assemblies causes 80% of off-flavors. Monthly descaling won’t fix this—you need quarterly deep needle cleaning. Remove the K-Cup holder, then insert a paperclip into both top and bottom needle ports to dislodge compacted grounds. A vinegar soak (1:1 water/vinegar) for 30 minutes dissolves stubborn oil residue.
Half-Full Cups: Flow Restriction Fixes
If coffee stops mid-brew, scale buildup or clogged needles restrict water flow. First, descale with Keurig solution. If unresolved, clean the bottom exit needle—this single puncture point is prone to blockage. Hold the K-Cup holder sideways under running water while poking the needle with an orange cleaning tool (included with most brewers).
Environmental Truths and Cost-Saving Hacks
Recycling Realities vs. Marketing Claims
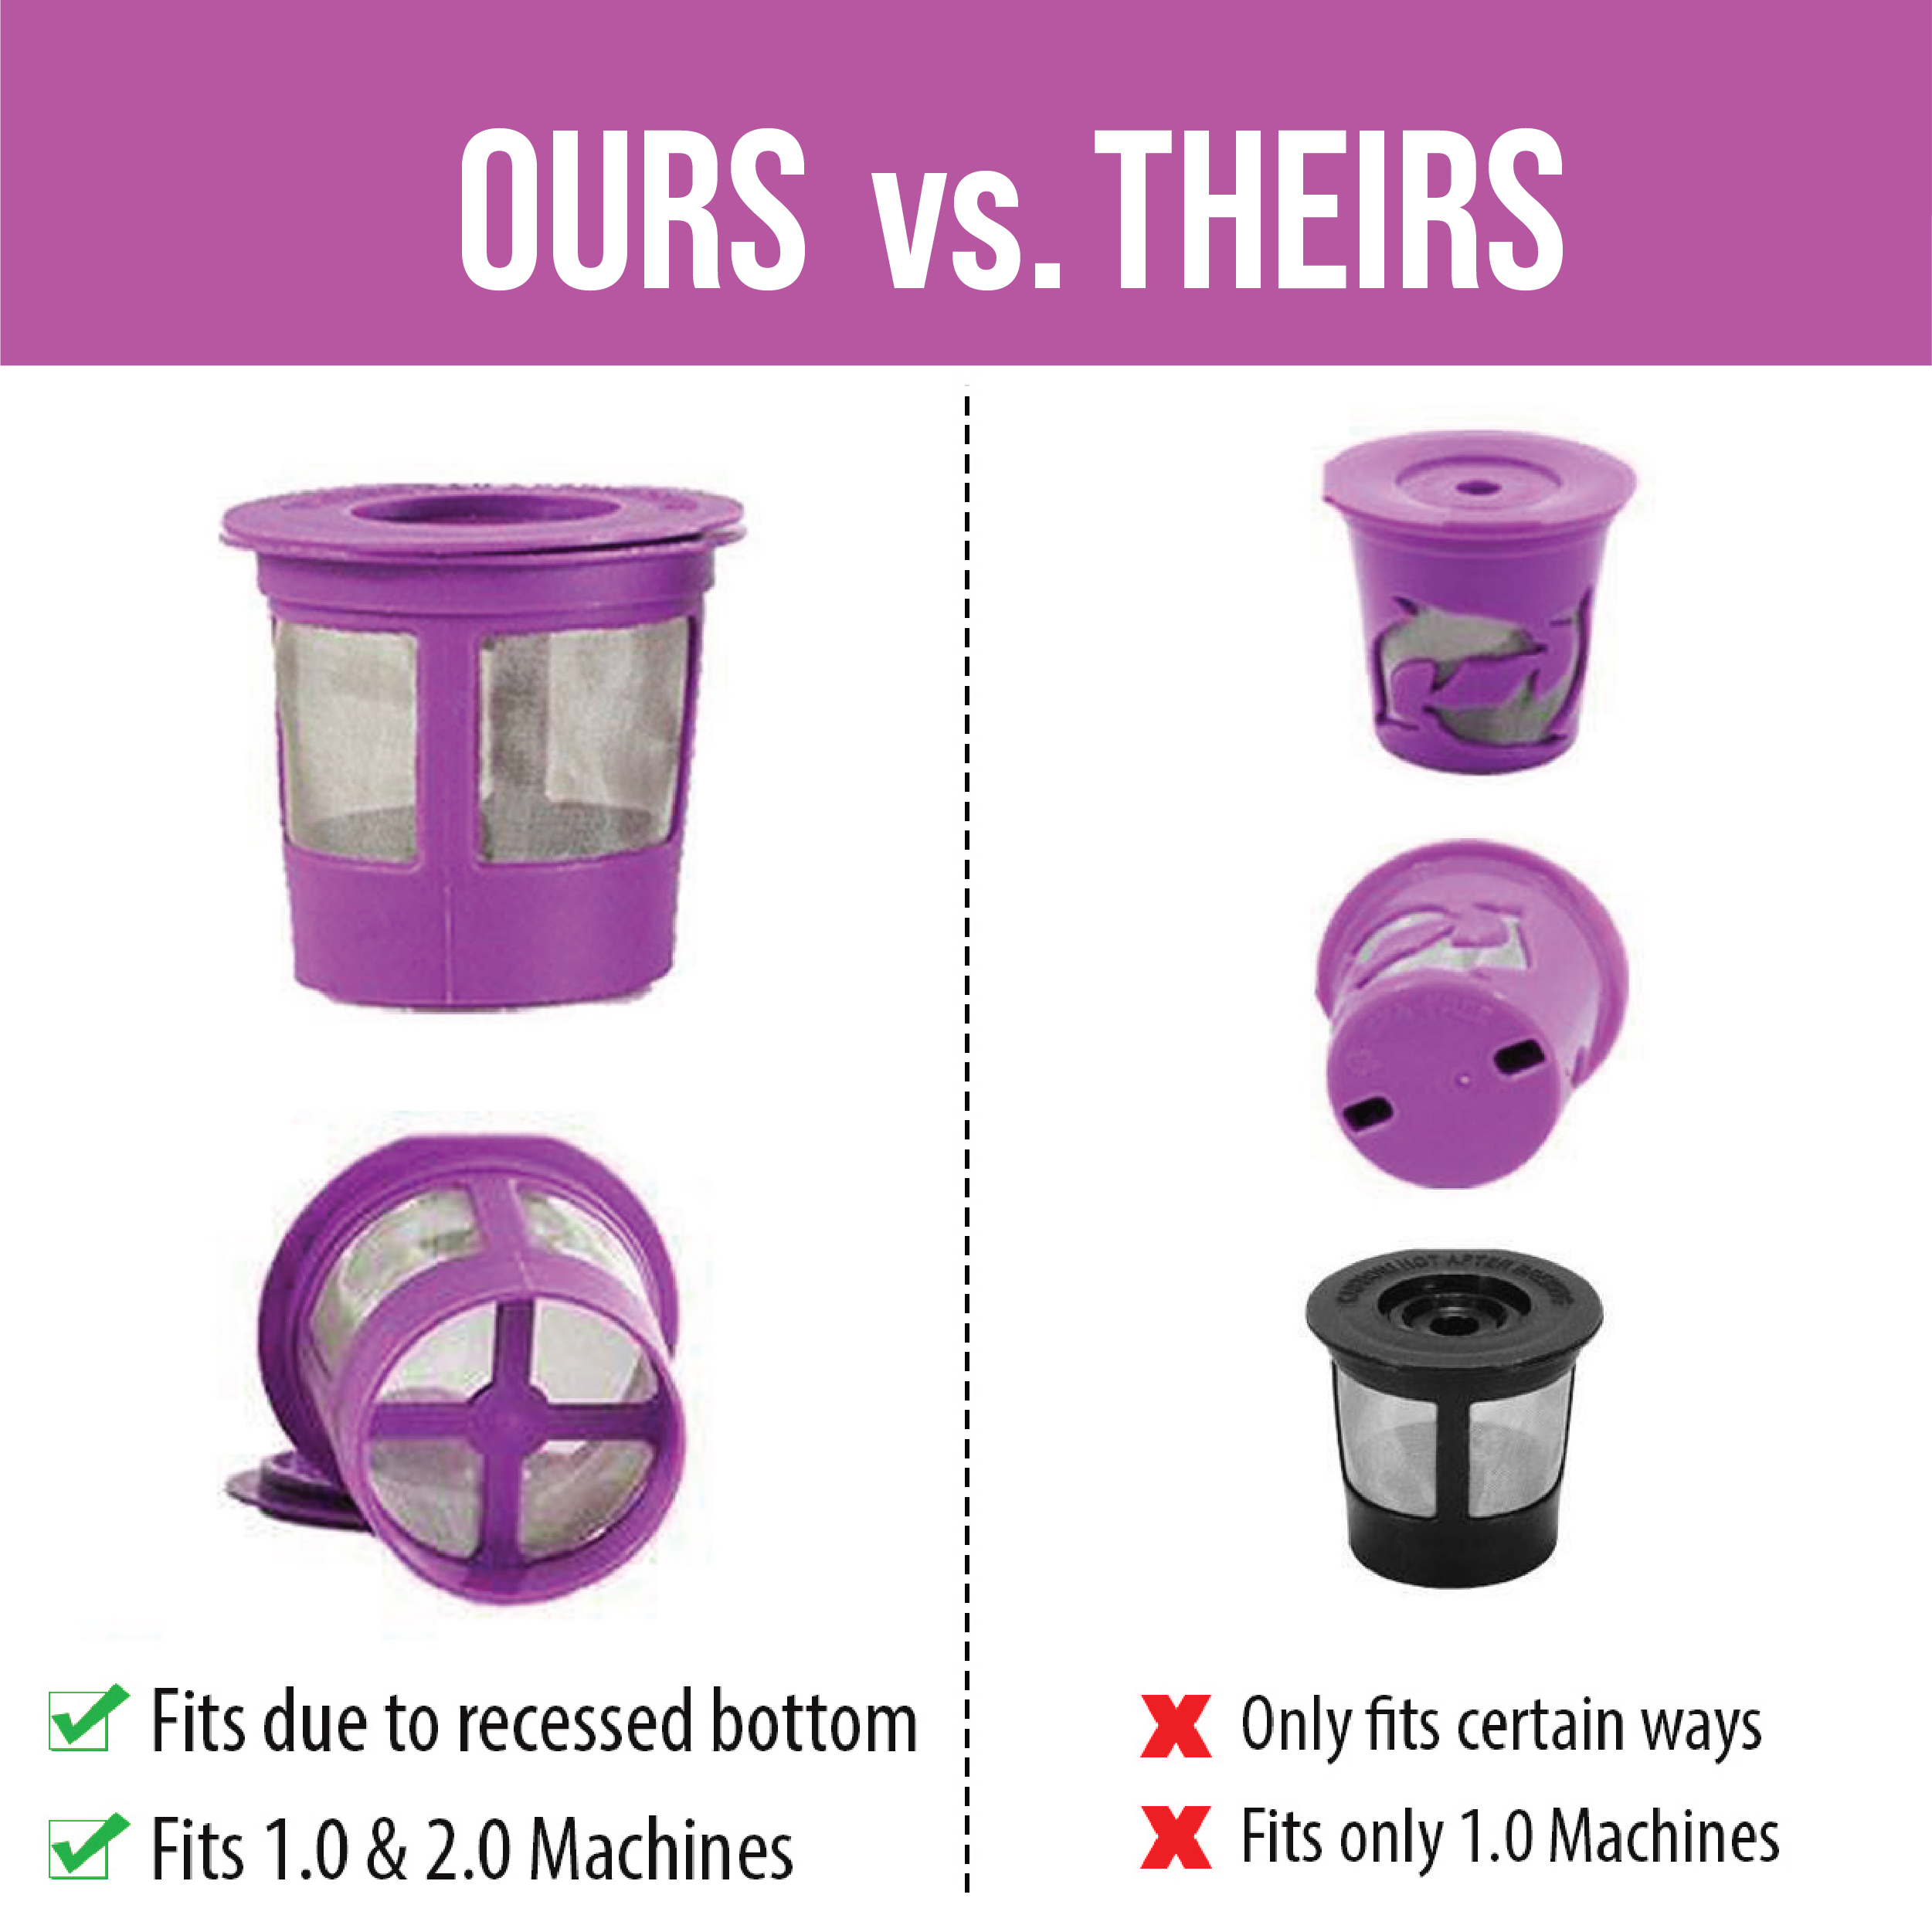
Despite “recyclable” labels, most K-Cups end in landfills due to separation complexity. You must manually remove foil, empty coffee grounds, and wash the plastic cup before recycling—steps 95% of users skip. Better solution: Use the $15 My K-Cup reusable filter with your favorite coffee. It eliminates waste entirely while cutting costs from $0.95/pod to $0.34 per cup.
Office and Healthcare Advantages
In shared spaces, Keurig cups shine where hygiene matters. Hospitals and offices avoid cross-contamination risks from communal pots—each sealed pod delivers individual portions without shared equipment. For low-volume households (under 1 cup daily), they prevent wasting half-pots of stale coffee sitting on warmers.
Maintenance Essentials for Lasting Performance
Daily 10-Second Rinse Protocol
After brewing, run a 6-ounce hot water cycle without a pod. This flushes residual oils from needle assemblies that turn rancid overnight. Critical for flavor: Skipping this causes musty tastes from mold growth in the K-Cup holder cavity—clean this component weekly with soapy water.
Monthly Descaling Non-Negotiables
Hard water users must descale every month with Keurig solution (or 50/50 white vinegar/water). Mineral deposits insulate heating elements, causing temperature drops that under-extract coffee. Signs you need descaling: longer brew times, lukewarm output, or error messages. Never use citric acid—it damages internal seals.
Your Keurig cup works through a brilliant fusion of engineering constraints: fixed temperature for speed, modest pressure for affordability, and sealed freshness for convenience. While it won’t replicate artisan pour-over complexity, understanding this system helps you maximize flavor within its parameters. Always use 8-ounce settings for balanced brews, descale monthly based on water hardness, and clean needles quarterly to prevent bitterness. The next time you hear that familiar gurgle, remember—you’re witnessing coffee science in action, delivering reliable caffeine in less time than it takes to find your keys. For deeper troubleshooting, explore Keurig’s official maintenance guides—they address model-specific quirks your manual might miss.


