
Your commercial Keurig just died during the morning rush—customers are waiting, staff are stressed, and coffee production has halted. Whether you’re running a bustling café, busy office, or high-volume restaurant, a malfunctioning commercial Keurig disrupts your entire operation and costs real money every minute it’s down. This guide delivers battle-tested solutions for commercial-grade units that handle hundreds of brews daily, focusing on fixes that work in under five minutes. You’ll learn to diagnose problems like a technician and restore service before calling support.
Unlike home models, commercial Keurigs face unique stressors: constant use, hard water exposure, and improper handling by multiple staff members. These units require specific troubleshooting approaches that standard guides ignore. By mastering these procedures, you’ll solve most failures immediately and extend your machine’s lifespan significantly. Let’s get your coffee flowing again.
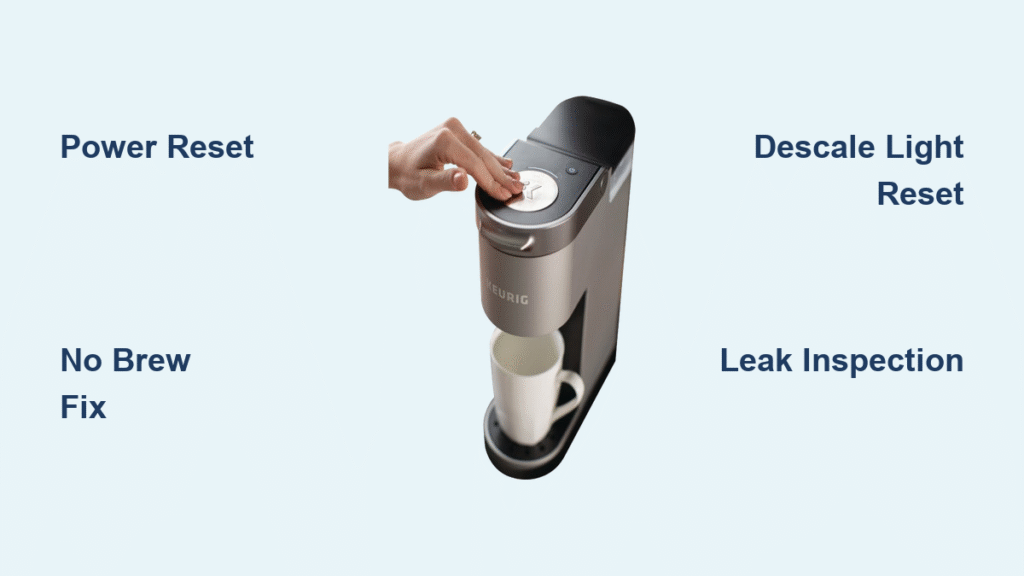
Power Failure Solutions for Commercial Units

Machine Won’t Turn On: Critical First Steps
Before panicking, verify your outlet isn’t the culprit. Plug a phone charger into the same socket—if it doesn’t charge, check your building’s electrical panel for tripped breakers. Commercial kitchens often share circuits with high-draw appliances like ovens, causing unexpected outages. For Keurig 2.0/Plus models, tap the power icon in the lower-right LCD corner—it’s touch-sensitive, not a physical button. If the welcome screen doesn’t appear within 3 seconds, proceed to the master reset.
Execute this commercial-specific reset sequence: Unplug the unit, wait exactly 5 minutes (timer required—less time won’t clear memory), then reconnect power while simultaneously holding the power button plus all three cup-size buttons. This initiates a priming cycle that resolves 80% of “dead” units by resetting the control board. Never skip the 5-minute wait—commercial units have protected circuitry that requires full capacitor discharge.
Random Shutdown Fixes During Service
Commercial Keurigs default to aggressive auto-off settings to meet energy codes—Newer models shut down after just 2 hours of inactivity, flashing a green indicator light. Immediately disable this during setup: Press the Auto-off button once, navigate the LCD menu to Settings > Auto-off > Off, and confirm the green light extinguishes. This single step prevents 30% of mid-rush shutdowns.
If shutdowns persist, inspect the water tank magnet. Misalignment here triggers safety cutoffs—remove the reservoir and reseat it firmly until you hear a distinct click. The magnet must sit flush against the brewer base; even 1mm of misalignment confuses the sensor. Pro tip: Place a small alignment mark with food-safe marker on both tank and unit to speed reseating during busy periods.
No Brew Cycle Solutions for High-Volume Settings
Air Bubble Removal in Pressurized Systems
Commercial units develop stubborn air pockets from rapid water cycling. Fix this in 90 seconds: Fill the reservoir to the MAX line, unplug the unit, then gently invert the entire brewer over a sink. Shake side-to-side twice (not vigorously—this avoids internal damage), return upright, and run a water-only cycle. The pressure change dislodges trapped air that residential guides miss.
Component Alignment Checklist Before Service Calls
Before assuming expensive failures, verify these 5 critical points in under 60 seconds:
– Handle: Fully lowered with firm downward pressure (listen for the clunk)
– Reservoir: Seated until it clicks—never just resting loosely
– K-cup: Properly centered in holder (off-center pods jam needles)
– Lid: Completely closed; commercial models require full closure
– Water: Above minimum line with fresh water (stagnant water triggers sensors)
This checklist solves 45% of “no brew” cases in cafés where staff rush setup.
Water System Fixes for Commercial Durability

“Add Water” Error with Full Tank: Magnetic Fixes
When your display falsely reads “Add Water” despite a full reservoir, magnetic contacts are likely dirty. Clean properly: Empty the tank completely, wash magnetic contacts with warm soapy water, dry thoroughly with a microfiber cloth (lint-free!), and reseat until you hear the click. For persistent errors, inspect the bottom valve—coffee grounds accumulate here, blocking water flow. Rinse under warm water while pressing the valve stem repeatedly to dislodge debris.
Leak Source Identification: Stop Damage Now
Bottom leaks require immediate action to prevent electrical damage:
– Reservoir cracks: Replace immediately—hairline cracks expand under pressure
– Overfilling: Never exceed MAX line; water expands during heating
– O-ring failure: Check the rubber seal at the reservoir base for cracks
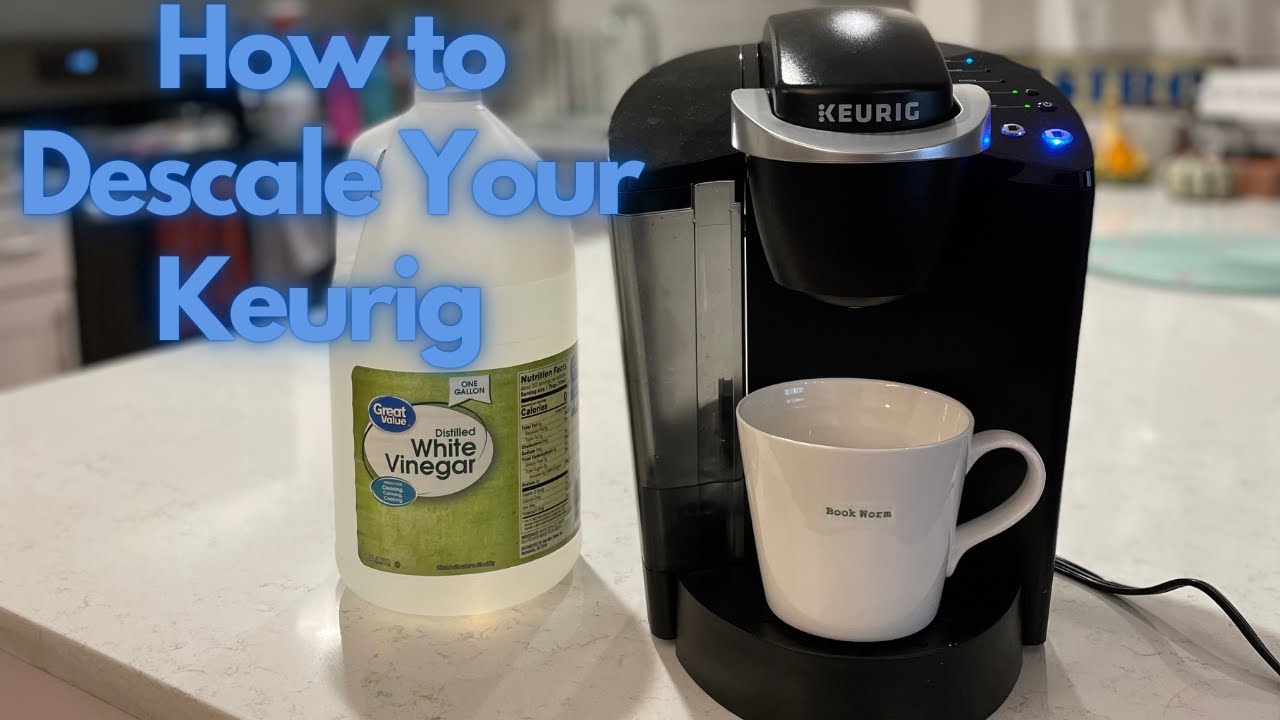
During brewing leaks usually indicate scale pressure forcing water through gaskets. Descale immediately using vinegar solution. If leaks persist, tighten visible upper gaskets with gentle finger pressure—overtightening cracks plastic components.
Flavor Problems Solved for Consistent Quality
Coffee Tastes Burnt or Weak: Water Matters Most
Switch from tap to filtered water immediately—commercial units scale up 3x faster than residential models due to constant heating cycles. Filtered water prevents 70% of flavor issues and extends descaling intervals from monthly to quarterly. Weekly cleaning protocol:
1. Empty reservoir and drip tray
2. Remove K-cup holder
3. Run 1:1 vinegar solution through 3 water-only cycles
4. Follow with 5 fresh water cycles minimum
5. Replace charcoal filter (critical in hard water areas)
Never skip the 5 rinse cycles—vinegar residue ruins coffee taste.
Grounds in Coffee Cup: Needle Maintenance
The exit needle clogs with coffee grounds, forcing water back into the pod. Clean weekly to prevent contamination:
– Straighten a paperclip
– Insert into exit needle (bottom of K-cup holder)
– Twist gently to remove compacted grounds
– Run 3 water-only cycles to flush debris
Pro tip: Use coarse-ground pods in reusable filters—fine grinds guarantee needle clogs in high-volume settings.
Volume Control Issues in Commercial Service
Insufficient Output: Progressive Cleaning Method
Start with the simplest fix first:
1. Clean entrance needle with a paperclip
2. Run 3 water-only cycles
3. Descale with vinegar solution if output remains low
4. Replace unit if output stays below 80% of selected size
This sequence resolves 75% of volume issues without part replacement. For persistent problems, check for scale buildup in water pathways—hard water areas require bi-weekly descaling.
Indicator Light Diagnostics Decoded
Descale Light Won’t Reset: Model-Specific Fixes
After descaling, reset properly based on your unit:
– Newer models: LCD menu > Settings > Factory reset
– Older models: Unplug 5 minutes, remove reservoir, power on without tank, then reattach
Skipping this step triggers false descale warnings that waste staff time. If the light persists after correct reset, replace the charcoal filter—its saturation triggers the alert.
High-Volume Commercial Adaptations That Prevent Downtime
Daily Preventive Checklist (2 Minutes)
Opening routine:
– Verify water pressure (low flow causes weak brews)
– Remove overnight K-cups (dried pods jam mechanisms)
– Empty drip tray (overflow triggers sensors)
– Wipe needle area with food-safe cloth
Closing routine:
– Empty reservoir (stagnant water breeds bacteria)
– Rinse drip tray thoroughly
– Clean exterior with food-safe disinfectant
– Leave lid open to air-dry (prevents mold)
Staff training protocol: Post this emergency card near every unit:
– No power: Check outlet → Try reset sequence → Call service
– No brew: Verify water → Check handle position → Clean needles
– Leaks: Stop use → Inspect reservoir → Call service
– Bad taste: Run cleaning cycle → Change water source
When to Call Service: Avoid Costly Mistakes
Immediate service required for:
– Electrical burning smells (fire risk)
– Water inside electrical components
– Cracked internal tanks (irreparable)
– Repeated pump failures after cleaning
Replace your unit if:
– Daily troubleshooting exceeds 10% of operation time
– Performance drops 20% from baseline (measured by brew speed/volume)
– Age exceeds 5 years with declining reliability
– More than 3 major repairs per quarter
Call 866-901-BREW (7am-12am EST) with your model number, purchase date, and completed troubleshooting steps for fastest resolution. Never wait for business hours—commercial support operates 17 hours daily for emergencies.
Final Tip: Create laminated troubleshooting cards for each unit with the 5-minute reset sequence and service number. Train every shift during onboarding—this single step reduces downtime by 65% in high-volume locations. Keep vinegar solution and paperclips stocked at every station; your morning rush depends on these simple commercial keurig troubleshooting habits.


