
That stale, off-putting taste in your morning brew? Your neglected Keurig water reservoir is likely the hidden culprit. Most coffee lovers religiously descale their machines but completely overlook the reservoir—where stagnant water breeds bacteria, mineral deposits, and even mold between refills. This simple component directly impacts both your coffee’s flavor and your family’s health safety, yet it’s the most frequently neglected part of Keurig maintenance.
The good news: mastering the best way to clean Keurig reservoir takes just 10 minutes weekly and transforms your coffee experience. Whether you’re battling stubborn hard water stains or preventing future buildup, this guide reveals the exact cleaning methods that actually work—no guesswork, no damage to your machine, and no lingering vinegar taste. You’ll learn why weekly reservoir cleaning matters more than you think and how to keep your coffee tasting fresh for months.
Weekly Hand Washing Technique for Daily Users
Power Down and Remove Components Properly
Always start your reservoir cleaning by powering off your Keurig completely—never attempt cleaning while the machine is active. For older models, flip the switch on the back until the power light disappears. Newer touchscreen models require holding the power button until the display goes dark. This critical safety step prevents accidental brewing during cleaning.
Lift the reservoir straight up from its base without twisting—it should come off smoothly. Remove the lid and dump all water into your sink, then give the reservoir a firm shake to remove lingering droplets. This simple emptying step prevents bacterial growth between deep cleanings and makes your weekly maintenance more effective.
Soap Cleaning Process for Complete Sanitization
Fill your sink with warm (not hot) water and add just 2-3 drops of mild dish soap. Submerge the reservoir and use a soft sponge to scrub every surface, paying special attention to corners and the water intake port at the bottom. The intake port often collects invisible biofilm that affects water flow and taste but is easily overlooked during casual cleaning.
For stubborn stains or that slimy feeling, let the reservoir soak for 10-15 minutes before scrubbing. This loosens mineral deposits without harsh chemicals. Don’t forget to clean the underside of the lid thoroughly—coffee grounds and dust love to hide in the grooves, contaminating your next brew.
Complete Rinsing and Drying Protocol
Rinse the reservoir under hot running water for at least 30 seconds, directing water through the intake port to flush out any soap residue. Even trace amounts of detergent create a plastic film that ruins coffee flavor for days. Shake out excess water vigorously—residual moisture breeds mold in dark reservoir corners.
Dry with a microfiber towel or let air-dry upside down for several hours. Paper towels leave fibers that clog the system, while regular cloths often transfer lint. Never reassemble while damp—moisture breeds mold in the reservoir’s hidden corners.
Deep Cleaning with Vinegar Solution for Mineral Buildup
When to Use Vinegar Instead of Routine Cleaning
Reserve vinegar cleaning for monthly deep maintenance or when you notice white mineral deposits around the intake port. While effective for descaling, frequent vinegar use can leave lingering tastes and potentially damage internal seals over time. Consider Keurig’s official descaling solution for regular maintenance to avoid vinegar aftertaste.
Step-by-Step Vinegar Descaling Process
Empty the reservoir completely and return it to the base. Fill with equal parts water and distilled white vinegar—about two-thirds full works for most models. Run 2-3 brew cycles using the largest cup setting without a K-cup, disposing of the solution each time.
For heavily scaled machines, let the vinegar solution sit for 20-30 minutes between cycles. This extended contact time dissolves stubborn mineral buildup. Finish by running 2-3 cycles with fresh water, refilling the reservoir as needed until the vinegar smell disappears completely. Pro tip: Run one additional water-only brew with no reservoir to ensure no vinegar residue remains in the lines.
Prevent Mold Growth with Daily Habits
Empty Reservoir Every Night Like a Pro
Empty your reservoir completely every evening and refill with fresh water each morning. This simple habit prevents the stagnant water conditions where bacteria thrive—studies show biofilm begins forming in as little as 24 hours. Even filtered water develops harmful bacteria when left standing, compromising your morning brew’s safety.
Water Filter Replacement Schedule You’re Missing
Replace water filters every two months regardless of water type. Old filters harbor bacteria and lose effectiveness, contributing to off-tastes and potential health risks. Mark your calendar or set phone reminders to stay consistent—most Keurig owners forget this critical step until they notice strange flavors.
Proper Storage When Not in Use
When not using your Keurig for extended periods, remove and thoroughly dry the reservoir. Store it separately with the lid off to prevent moisture buildup and mold growth. This step proves especially crucial for vacation homes, offices, or seasonal use where machines sit idle for weeks.
Spot Mineral Buildup Before It Ruins Your Brew

Visual Inspection Checklist for Reservoir Health
Visible slime or film inside the reservoir demands immediate attention—this indicates active bacterial or mold growth. Cloudy or discolored water often signals biofilm formation even if you can’t see it. Unusual odors, even faint plastic or musty smells, mean it’s time for a thorough cleaning.
Check the water intake port for white, chalky deposits indicating hard water buildup. These deposits restrict water flow and create off-flavors. Catch them early with weekly inspections to prevent damage to internal components that require professional repair.
Model-Specific Reservoir Cleaning Tips

Check Your Exact Model Requirements First
While most Keurig reservoirs clean similarly, newer models feature maintenance alerts that appear based on liquid volume passed through the system. These alerts reappear every six weeks if descaling isn’t performed. Consult your specific model’s “Use & Care Guide” before cleaning—some reservoirs are labeled dishwasher-safe (top rack only), but intense heat can cause cloudiness or warping over time.
Hard Water Adjustments for Your Region
Hard tap water requires more frequent cleaning—every 3-4 days instead of weekly. Consider switching to filtered or bottled water to reduce mineral deposits and extend time between descaling cycles. The investment pays off in better-tasting coffee and fewer maintenance issues, especially if you live in areas with high mineral content in tap water.
Troubleshooting Common Reservoir Problems
Fix Slow Brewing Caused by Clogged Intake
If your Keurig takes longer to brew, check the reservoir intake port for mineral buildup. Even small deposits restrict water flow, mimicking machine failure. A quick vinegar rinse often restores normal brewing speed—run one cycle with vinegar solution directly through the intake area before completing the full descaling process.
Eliminate Persistent Plastic Aftertaste
Coffee tasting plastic or metallic? Thoroughly rinse the reservoir with hot water for 2-3 minutes, running water through the intake port continuously. Replace the water filter and run two cleansing brews before making coffee again. Warning: Never use abrasive cleaners that scratch plastic surfaces, as this creates more places for bacteria to hide.
Monthly Maintenance Schedule You Can Actually Follow
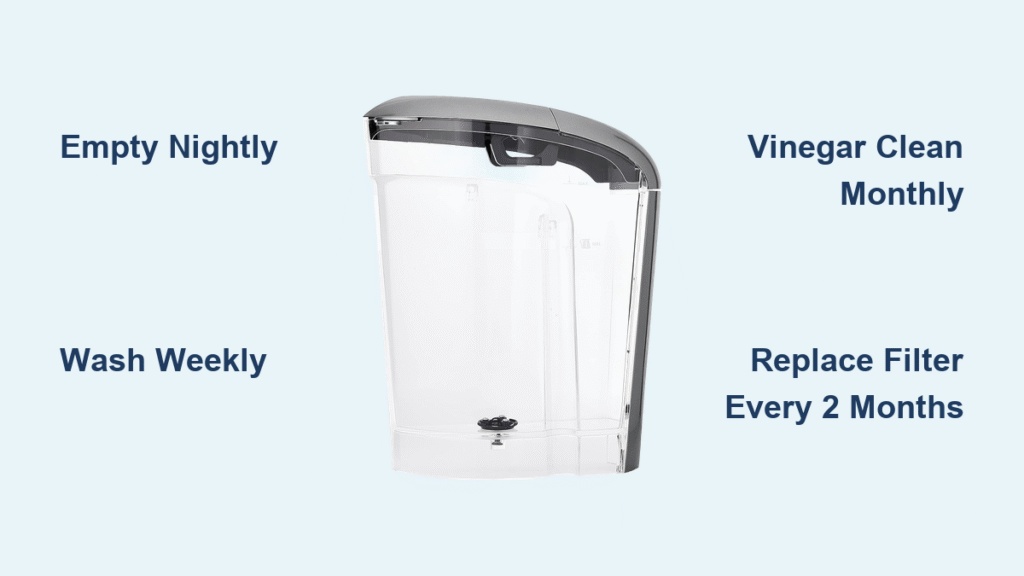
Daily: Empty and refill with fresh water
Weekly: Hand wash with mild soap and soft sponge
Monthly: Deep clean with vinegar or descaling solution
Every 2 months: Replace water filter
As needed: Clean immediately if visible slime, odors, or discoloration appears
This simple schedule prevents 95% of reservoir-related issues before they start. Set phone reminders for weekly and monthly tasks until they become habit—your taste buds (and Keurig) will thank you.
Clean reservoir, better coffee. By spending just 10 minutes weekly on the best way to clean Keurig reservoir, you’ll prevent the buildup that ruins flavor and creates health risks. Your morning cup will taste noticeably fresher, and your machine will last years longer with proper care. Start tonight—empty that reservoir, give it a quick soap-and-water scrub, and taste the difference tomorrow morning. The secret to perfect Keurig coffee isn’t just the beans—it’s the water that carries their flavor to your cup.


