
Your morning cup of coffee should be a moment of pure enjoyment, not a bitter disappointment caused by a neglected machine. When your Cuisinart Keurig starts delivering inconsistent brews, leaves grounds in your cup, or worse—suddenly stops working—you’re facing the direct consequences of skipped cleaning sessions. Coffee oils turn rancid within days, mineral deposits from hard water silently clog internal pathways, and mold finds perfect breeding grounds in warm, moist crevices you can’t even see.
The solution isn’t complicated or time-consuming. With just 30 seconds of daily maintenance and a few strategic deep cleaning sessions, you’ll restore your Cuisinart Keurig to peak performance. This guide delivers the exact cleaning procedures you need, tailored specifically for Cuisinart Keurig models, so every cup tastes as fresh as it should—without the guesswork or frustration of generic cleaning advice.
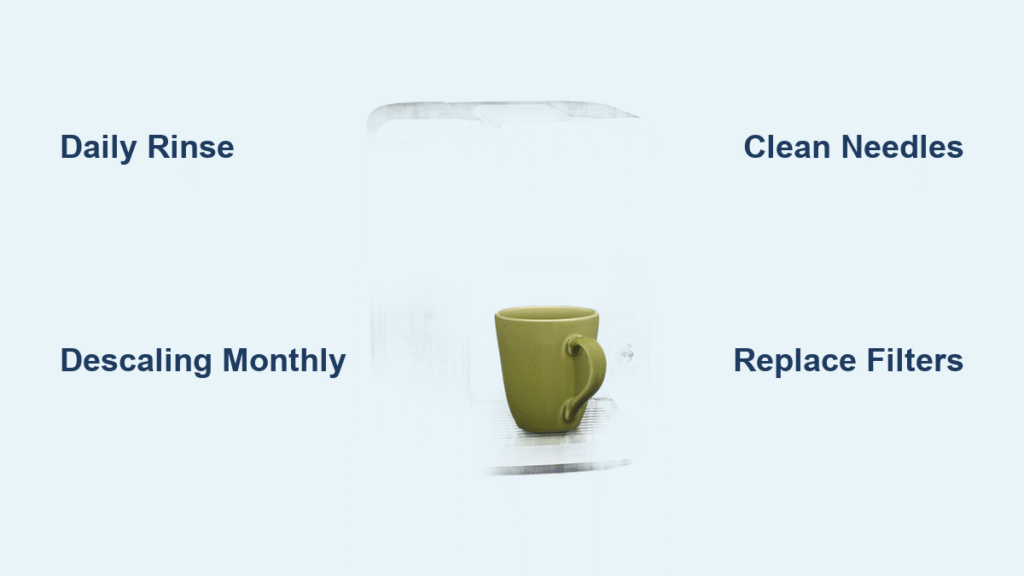
Why Your Cuisinart Keurig Needs Regular Cleaning
Coffee taste suffers first when your machine gets dirty. Rancid coffee oils coat internal components within days of regular use, creating bitter flavors that mask your premium coffee’s nuanced notes. These microscopic oil residues accumulate in water lines and brewing chambers, turning your carefully selected beans into an unpleasant, acrid brew that no amount of cream or sugar can fix.
Mineral deposits from hard water create a different problem. Scale buildup alters water temperature regulation and flow rates, leading to under-extracted coffee that tastes weak and sour. Your Cuisinart Keurig requires precise water temperatures between 195-205°F for optimal extraction—mineral deposits disrupt this critical range, resulting in consistently disappointing cups that lack depth and complexity.
Health concerns make cleaning non-negotiable. The warm, moist environment inside your coffee maker provides perfect breeding conditions for mold and bacteria. Left unchecked, these microorganisms multiply rapidly in hidden reservoirs and crevices, potentially causing illness while creating persistent off-flavors in your coffee. Regular cleaning eliminates these biological hazards while extending your machine’s lifespan significantly.
Essential Cleaning Supplies for Cuisinart Keurig Maintenance
Primary cleaning agents you must have:
– White vinegar (1:1 ratio with water for descaling)
– Mild dish soap specifically for removable parts
– Commercial descaling solution as a vinegar alternative
– Clean, filtered water for all rinsing processes
Required tools for complete cleaning:
– Soft cloth or sponge that won’t scratch surfaces
– Soft-bristled brush for accessing crevices and filter basket
– Microfiber towel for streak-free drying of all components
– Paper clip or needle cleaning tool for puncture mechanisms
Additional items for optimal results:
– Fresh paper filters if your model uses them
– Replacement charcoal water filters on schedule
– Timer to track descaling solution dwell time
Daily Post-Brew Cleaning Routine That Prevents Major Issues
30-second rinse cycle prevents oil buildup. Immediately after brewing, remove and rinse your carafe, filter basket, and lid with warm water. This simple habit prevents bitter compounds from affecting tomorrow’s coffee and takes less time than waiting for your brew to finish. Always air dry components completely before reassembly to prevent mold growth.
K-Cup holder maintenance solves spitting issues. Remove the holder assembly and rinse under warm water, using your finger to dislodge grounds from puncture needles. Pay special attention to the sealing gasket area where residue commonly hides—this prevents the most common cause of coffee grounds appearing in your cup.
Exterior wipe-down maintains machine integrity. Use a damp microfiber cloth to remove coffee spills before they harden into sticky residue around buttons and displays. Focus on the K-Cup insertion area where coffee oils accumulate fastest—this daily step prevents the sticky buildup that makes future deep cleaning much harder.
Weekly Deep Cleaning Process for Optimal Performance
Component disassembly starts with safety. Unplug your machine and allow it to cool completely before removing the water reservoir, drip tray, K-Cup holder, and carafe. Each component should be washed individually in warm, soapy water using a soft sponge—never use abrasive cleaners that could damage plastic surfaces.
Interior surface cleaning requires attention to detail. Wipe the entire exterior with a damp microfiber cloth, focusing on the K-Cup insertion area where residue commonly accumulates. Use your soft-bristled brush to gently clean around the needle mechanisms and along any visible seams where coffee oils collect.
Water reservoir deep clean prevents off-flavors. Empty the reservoir completely, wash with mild soap, and rinse thoroughly until water runs completely clear. Any soap residue creates noticeable off-flavors, so rinse each corner meticulously. Never put the reservoir back until it’s completely dry to prevent mold growth.
Monthly Descaling Instructions for Hard Water Areas

Solution preparation couldn’t be simpler. Mix equal parts white vinegar and water, or use commercial descaling solution per package directions. Fill your reservoir to maximum capacity—this ensures complete circulation through all internal pathways where mineral deposits hide.
Descaling cycle execution requires precision:
1. Empty reservoir completely and fill with descaling solution
2. Run a brew cycle without K-Cup (discard solution)
3. Let machine sit 30 minutes with power on
4. Run 2-3 full reservoirs of clean water to flush system
5. Taste final rinse water to verify complete solution removal
Pro tip: For extremely hard water areas, descale every 4-6 weeks instead of monthly. Consider using filtered water to extend intervals between descaling sessions while improving coffee flavor.
Quarterly Deep Clean Protocol for Hidden Buildup
Complete disassembly accesses trouble spots. Every 3-4 months, remove all detachable components and disassemble the K-Cup holder to reach internal residue buildup. This deeper cleaning prevents the hidden accumulation that causes long-term performance issues.
Needle cleaning prevents brewing failures. Use a paper clip to gently clear both top and bottom puncture needles. Insert and move the tool in and out to dislodge accumulated grounds or mineral deposits—this is the single most effective step for preventing coffee ground spitting issues.
Hidden area inspection reveals overlooked problems. Remove the drip tray and check beneath where coffee residue often hides. Use a soft brush to clean these areas thoroughly—this prevents the mold growth that causes persistent off-flavors even after surface cleaning.
Fix Coffee Ground Spitting Issues in 5 Minutes
When grounds appear in your cup, follow this targeted approach:
- Power cycle: Unplug for 30 seconds to reset internal mechanisms
- Activate descaling mode: Hold 8oz and 12oz buttons while plugging in
- Run descaling solution: Process two full reservoirs through system
- Physical cleaning: Tap machine firmly over garbage to dislodge debris
- Thorough needle cleaning: Use paper clip on both top and bottom needles
Critical warning: Never insert sharp objects deeper than 1/4 inch into needles—this can cause permanent damage to the puncture mechanism.
Filter Replacement Schedule to Maintain Flavor Quality
Charcoal water filters need replacement every 60 days or 60 tank refills. Hard water areas may require 45-day intervals to maintain optimal taste. A spent filter allows chlorine and impurities to affect your coffee’s flavor profile.
Reusable K-Cup filters should be cleaned after each use and replaced every 6-12 months. Replace sooner if you notice metallic tastes or reduced water flow—these indicate filter degradation that affects extraction quality.
Paper filters must be discarded after each brew. Never reuse paper filters—the retained oils turn rancid quickly, creating bitter compounds that ruin subsequent cups.
Performance Optimization Tips for Better Coffee

Filtered water improves results dramatically. Switching to filtered water extends descaling intervals from monthly to every 6-8 weeks while noticeably improving coffee flavor. This simple change removes chlorine and impurities that affect taste.
Pre-heating technique boosts extraction quality. Run one hot water cycle before brewing to ensure optimal temperature from the first cup. This preheats internal components for consistent 195-205°F brewing temperature.
Storage best practices prevent mold growth. When storing long-term, empty the reservoir completely and leave the lid open to air dry. This prevents the stagnant water conditions that cause biological contamination.
Capacity awareness protects your investment. Never overfill beyond maximum lines—excess water can enter internal components and create electrical hazards or hidden mold growth.
Clean your Cuisinart Keurig consistently, and every cup will taste as fresh as your first. The 30-second daily routine prevents major issues, while monthly descaling keeps internal components pristine. By following these precise cleaning protocols, you’ll extend your machine’s lifespan significantly while enjoying consistently excellent coffee—proving that proper maintenance isn’t just about machine care, but about protecting your daily coffee experience. Your investment in regular cleaning pays dividends in every perfect cup you brew.


