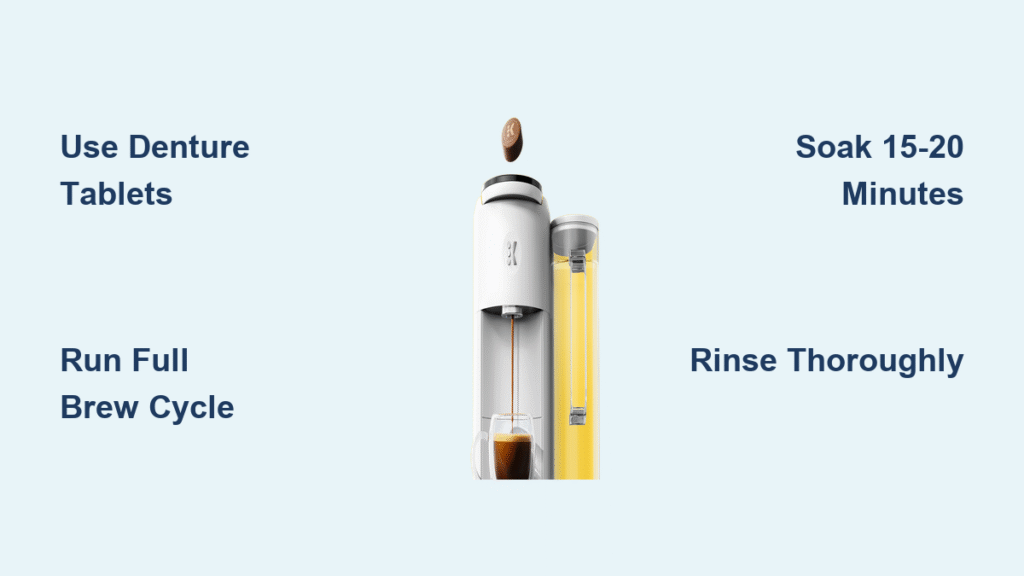
Your morning coffee tastes stale, drips slower than molasses, and leaves a faint film in your cup. These aren’t random quirks—they’re your Keurig screaming for a deep clean. While vinegar dominates descaling guides, lemon juice delivers equal power without the lingering pickle odor that ruins your next brew. This method dissolves stubborn mineral buildup using natural citric acid, leaving zero aftertaste. You’ll restore full water flow, precise cup volumes, and coffee that tastes like it should—fresh and clean.
Skip the chemical cleaners and follow this proven process to descale your Keurig with lemon juice in under 30 minutes. I’ll show you exactly how to mix the solution, target hidden scale traps, and rinse thoroughly so your coffee never tastes citrusy again.
Why Lemon Juice Outperforms Vinegar for Keurig Descaling
Lemon juice’s citric acid dismantles limescale faster than you’d expect—without ghosting your coffee with vinegar’s stubborn funk. When hard water heats inside your Keurig, calcium and magnesium solidify into chalky deposits that choke water lines and skew brewing temperatures. Citric acid molecules bind to these minerals, lifting them away during brewing cycles.
Vinegar’s acetic acid works similarly but leaves trace odors trapped in plastic components. Lemon juice rinses completely clean because its lighter molecular structure doesn’t cling to internal surfaces. The result? Your next K-Cup tastes purely like coffee—not a salad dressing.
Assemble These 7 Supplies Before Starting
Gather everything now to avoid mid-process scrambling:
- 12–24 oz bottled lemon juice (8–10 fresh lemons = same volume but costs 3x more)
- Large mug (12+ oz capacity)
- Paperclip (straightened for needle unclogging)
- Soft-bristle toothbrush (for scrubbing crevices)
- Dish soap and non-abrasive sponge
- Fresh water (filtered preferred for rinsing)
- Microfiber towel (to catch drips)
Pro Tip: Generic store-brand lemon juice works identically to premium brands for descaling—save your money.
Spot Scale Buildup in 90 Seconds

Unplug your Keurig and inspect these trouble zones before mixing solution:
Water Reservoir Red Flags
– Chalky white rings along the bottom or sides
– Slimy film (biofilm from stagnant water)
– Cloudy residue that won’t scrub off
K-Cup Chamber Warning Signs
– Coffee grounds cemented around the exit needle
– Reduced water flow during brewing
– Visible mineral crust on the chamber walls
Drip Tray Blockages
– Clogged drainage holes under the tray
– Sticky residue from dried coffee spills
– Mineral deposits caking the tray rails
Disassemble and Pre-Clean Critical Parts
Unplug the machine—this is non-negotiable for safety.
Water Reservoir Deep Clean
Wash with warm, soapy water and a soft sponge. Focus on corners where scale hides. For stubborn residue, soak 10 minutes in 1:1 lemon juice/water solution before scrubbing. Rinse until water runs clear.
K-Cup Holder Breakdown
1. Press side buttons to release the holder
2. Separate the funnel from the base
3. Scrub both pieces with toothbrush + dish soap
4. Use a paperclip to clear coffee grounds from exit needle holes
Exterior Refresh
Wipe the entire machine with a damp microfiber cloth. Pay special attention to the lid hinge and brew head area where coffee oils accumulate.
Mix the Perfect Lemon Descaling Solution
Use this ratio: 1 part lemon juice to 1 part water. No guesswork.
- For 48-oz reservoirs: 12 oz lemon juice + 12 oz water (fill to halfway mark)
- For 32-oz reservoirs: 8 oz lemon juice + 8 oz water
Critical note: Bottled juice is ideal—squeezing 8–10 lemons wastes time and money. Fresh lemon’s pulp can clog needles; bottled juice is pulp-free and consistent.
Execute the Descale Cycle Like a Pro
Do not insert a K-Cup. Place your large mug under the spout.
- First brew cycle: Run until the reservoir empties halfway
- Pause 15 minutes: Lets solution dissolve scale (skip if impatient—but it works better)
- Complete cycle: Brew until reservoir is fully empty
- Check flow rate: If dripping slows, lift the handle and re-poke needles with your paperclip
Time Saver: Run cycles back-to-back without pausing if you’re short on time—but expect slightly less scale removal. Heavy buildup requires a second full tank of solution.
Unclog Exit Needles in 60 Seconds

Clogged needles cause 70% of “slow brew” issues. Fix them now:
Top Needle (in lid)
– Insert straightened paperclip into the center hole
– Gently twist 3 times while applying light pressure
– Flush with water to eject debris
Bottom Needle (in K-Cup holder)
– Locate the dual holes flanking the needle
– Poke paperclip through each hole at 45-degree angles
– Rinse holder under tap until water flows freely
Warning: Needles are razor-sharp. Never point them toward your skin.
Rinse Until Water Runs Truly Clear
This step makes or breaks your coffee’s taste. Do not skip:
- Empty and wipe the reservoir clean
- Fill completely with fresh water
- Run brew cycles until:
– Water tastes neutral (no citrus hint)
– At least 2 full reservoirs have flushed through
– Final mug shows zero yellow tint
Pro Test: Brew a plain water cycle and sip it. If lemon lingers, run 3 more cycles. Your coffee’s purity depends on this.
Fix 3 Common Post-Clean Problems
Problem: Flow still slower than pre-clean
– Re-poke needles with paperclip
– Run one more lemon solution cycle if scale flecks appear
– Switch to filtered water permanently (hard water = recurring scale)
Problem: Sour aftertaste in coffee
– Continue flushing with fresh water reservoirs
– Brew a sacrificial “cleaner” K-Cup (cheap dark roast)
– Replace charcoal filter if your model uses one (every 2 months)
Problem: Machine beeps but won’t brew
– Unplug for 60 seconds to reset internal sensors
– Ensure reservoir is clicked fully into place
– Check for error codes in your manual (e.g., “CLEAN” light flashing)
Prevent Scale Return for 4+ Months
Adopt these habits:
– Empty reservoir nightly (stagnant water breeds biofilm)
– Use filtered water exclusively (reduces scale by 80%)
– Wipe K-Cup chamber with damp cloth after every brew
– Replace charcoal filters every 60 days (if equipped)
Hard water alert: If you see white residue within 2 months, descale every 5 weeks. Install an under-sink filter for permanent relief.
Lemon Juice vs. Other Descalers: Real Results

| Method | Scale Removal | Aftertaste Risk | Time Required | Best For |
|---|---|---|---|---|
| Lemon Juice | ★★★☆☆ | None | 25 min | Monthly maintenance |
| White Vinegar | ★★★★☆ | High (lingers 3+ brews) | 20 min | Heavy buildup emergencies |
| Commercial Descaler | ★★★★★ | None | 15 min | Severe scale; frequent use |
| Baking Soda | ★☆☆☆☆ | None | 10 min | Surface grime only |
Your move: Lemon juice wins for routine cleaning. Reserve vinegar for neglected machines.
Schedule Your Next Clean Before Scale Returns
Mark these dates on your calendar:
– Weekly: Rinse reservoir with soapy water
– Monthly: Quick needle check + exterior wipe
– Every 3 months: Full lemon descale (every 6 weeks in hard water areas)
Pro Tip: Set phone reminders labeled “Keurig Lemon Day.” Your future self will thank you when coffee flows fast and tastes pristine.
Final Rinse Reality Check: If your last mug of rinse water tastes purely neutral, you’ve nailed it. Your Keurig now runs like new—faster brewing, accurate cup sizes, and coffee that tastes only like coffee. Stick to filtered water and quarterly lemon cleans, and you’ll dodge vinegar’s stink forever. Grab that K-Cup you’ve been avoiding and brew with confidence.