Your Keurig sputters out weak, lukewarm coffee that tastes like stale pond water. You peek inside the reservoir and spot dark, slimy buildup clinging to the sides. In a moment of desperation, you reach for the bleach under your sink, convinced it’s the only way to obliterate that gunk. Don’t. Cleaning your Keurig with bleach isn’t a solution—it’s a fast track to poisoning your next cup and destroying your machine. Keurig explicitly forbids bleach use for critical reasons, and health experts warn it leaves toxic residues you can’t see or fully remove.
This dangerous myth persists because bleach seems like the ultimate disinfectant. But your coffee maker’s intricate internal tubing, hidden valves, and heating elements create perfect traps for sodium hypochlorite—the active ingredient in bleach. Even after aggressive rinsing, trace amounts linger and leach into your coffee for weeks. One accidental sip could trigger vomiting, eye damage, or respiratory issues. The good news? Safer, equally effective alternatives exist. In this guide, you’ll learn exactly why bleach ruins Keurigs, what to do if you’ve already used it, and foolproof cleaning methods that protect your health and machine.
Bleach’s Hidden Threats to Your Keurig and Health
Why Keurig’s Manual Forbids Bleach Absolutely
Keurig’s warranty voids instantly if bleach enters your machine—not to protect their profits, but your safety. Sodium hypochlorite corrodes stainless-steel boilers and silicone gaskets within hours, releasing metallic ions that alter coffee flavor and create permanent damage. Unlike your kitchen sink, you can’t scrub Keurig’s internal 3-foot tubing maze. Bleach seeps into microscopic cracks in plastic reservoirs and heating elements, where it reacts with heat during brewing to form toxic fumes. Harvard research confirms weekly bleach exposure increases lung disease risk by 32%, making this far more than a “machine warranty” issue.
Three Unavoidable Dangers in Every Bleach “Clean”
- Chemical burns from invisible residue: A single droplet trapped in the exit needle can cause eye damage requiring weeks of antibiotic drops.
- Long-term respiratory harm: Inhaling bleach vapors released during brewing aggravates asthma and damages lung tissue over time.
- Gastrointestinal poisoning: Residual bleach in water lines triggers severe vomiting and diarrhea—symptoms mimicking food poisoning.
Critical Weak Points Where Bleach Lurks
Your Keurig’s design guarantees incomplete bleach removal. The entrance and exit needles (prone to clogs) have hairline channels too narrow for thorough rinsing. The heating element’s porous surface absorbs bleach, while one-way check valves trap liquid in “dead zones” inaccessible to flushing. Even Keurig’s engineers admit these areas can’t be fully disassembled for manual cleaning. After “rinsing,” bleach continues leaching into coffee at concentrations high enough to fail EPA safety standards for 15+ brew cycles.
Emergency Bleach Neutralization: Salvage Your Machine Safely

Immediate 5-Step Rescue Protocol
If bleach touched your Keurig, act within 24 hours to minimize damage:
- Unplug and cool: Wait 30 minutes—never handle hot components.
- Disassemble completely: Remove reservoir, drip tray, K-cup holder, and filter assembly. Rinse each under warm running water for 5+ minutes.
- Neutralize with Vitamin C: Mix ¼ tsp ascorbic acid powder per gallon of cool water. Soak removable parts for 60 seconds, then flush the machine with this solution for 3 brew cycles.
- Verify safety: Use chlorine test strips on the final rinse cup. 0 ppm chlorine is mandatory—any detectable level means bleach remains.
- Repeat if needed: Persistent chlorine? Repeat steps 2–4. Never skip testing.
When Replacement Beats Repair
Replace your Keurig immediately if:
– It’s older than 3 years (internal corrosion is likely advanced)
– Chlorine tests positive after two neutralization attempts
– You lack chlorine test strips (guessing isn’t safe)
Ignoring these signs risks chronic low-level bleach exposure. A $99 machine isn’t worth your health.
Safe Keurig Cleaning Alternatives That Actually Work
Weekly Maintenance: 5 Minutes to Prevent Buildup
Skip bleach and stop mold before it starts:
– Hand-wash the reservoir, lid, and drip tray with mild soap
– Clear clogs by poking the entrance/exit needles with a paper clip
– Wipe the K-cup holder with a vinegar-dampened cloth
– Pro tip: Leave the reservoir lid open overnight to dry internal surfaces
Deep Descaling That Removes Scale Without Damage
White Vinegar Method (Most Effective)
Use this ratio: 1 part distilled white vinegar to 1 part water (e.g., 12 oz each for most models).
1. Fill the reservoir completely with the solution.
2. Brew until empty—expect 8–15 cycles depending on your model.
3. Let the machine sit for 30 minutes (no longer—vinegar won’t damage components at this duration).
4. Rinse thoroughly: Run 3 full tanks of fresh water.
5. Confirm completion: Add ½ tsp baking soda to the final cup—if it fizzes, repeat rinsing.
Commercial Descaler Shortcut
Citric-acid-based solutions like Keurig’s official descaler work 30% faster than vinegar. They require only 2 rinse cycles instead of 3–4, making them ideal for Keurig 2.0+ models with mineral sensors. Never substitute citric acid powder—improper dilution can etch metal parts.
Baking Soda Rinse for Lingering Odors
For mild coffee residue or stale smells: Dissolve ¼ cup baking soda in 1 liter warm water. Run one brew cycle, then flush with two tanks of plain water. Avoid using this after vinegar—it creates excess foam that triggers error messages.
Fix Common Post-Cleaning Problems in 60 Seconds

| Problem | Why It Happens | Instant Fix |
|---|---|---|
| Slow brewing | Scale remnants in needles | Re-clean needles; run vinegar descale again |
| Vinegar aftertaste | Incomplete rinsing | Brew 2 more tanks; add pinch of baking soda |
| “Add Water” error | Distilled water in Keurig 2.0+ | Switch to filtered tap water |
| Mold reappearing | Parts stored damp | Air-dry all components separately overnight |
Prevention Habits for Flawless Coffee Every Time
Daily non-negotiables:
– Empty the drip tray nightly—stagnant water breeds mold in 48 hours
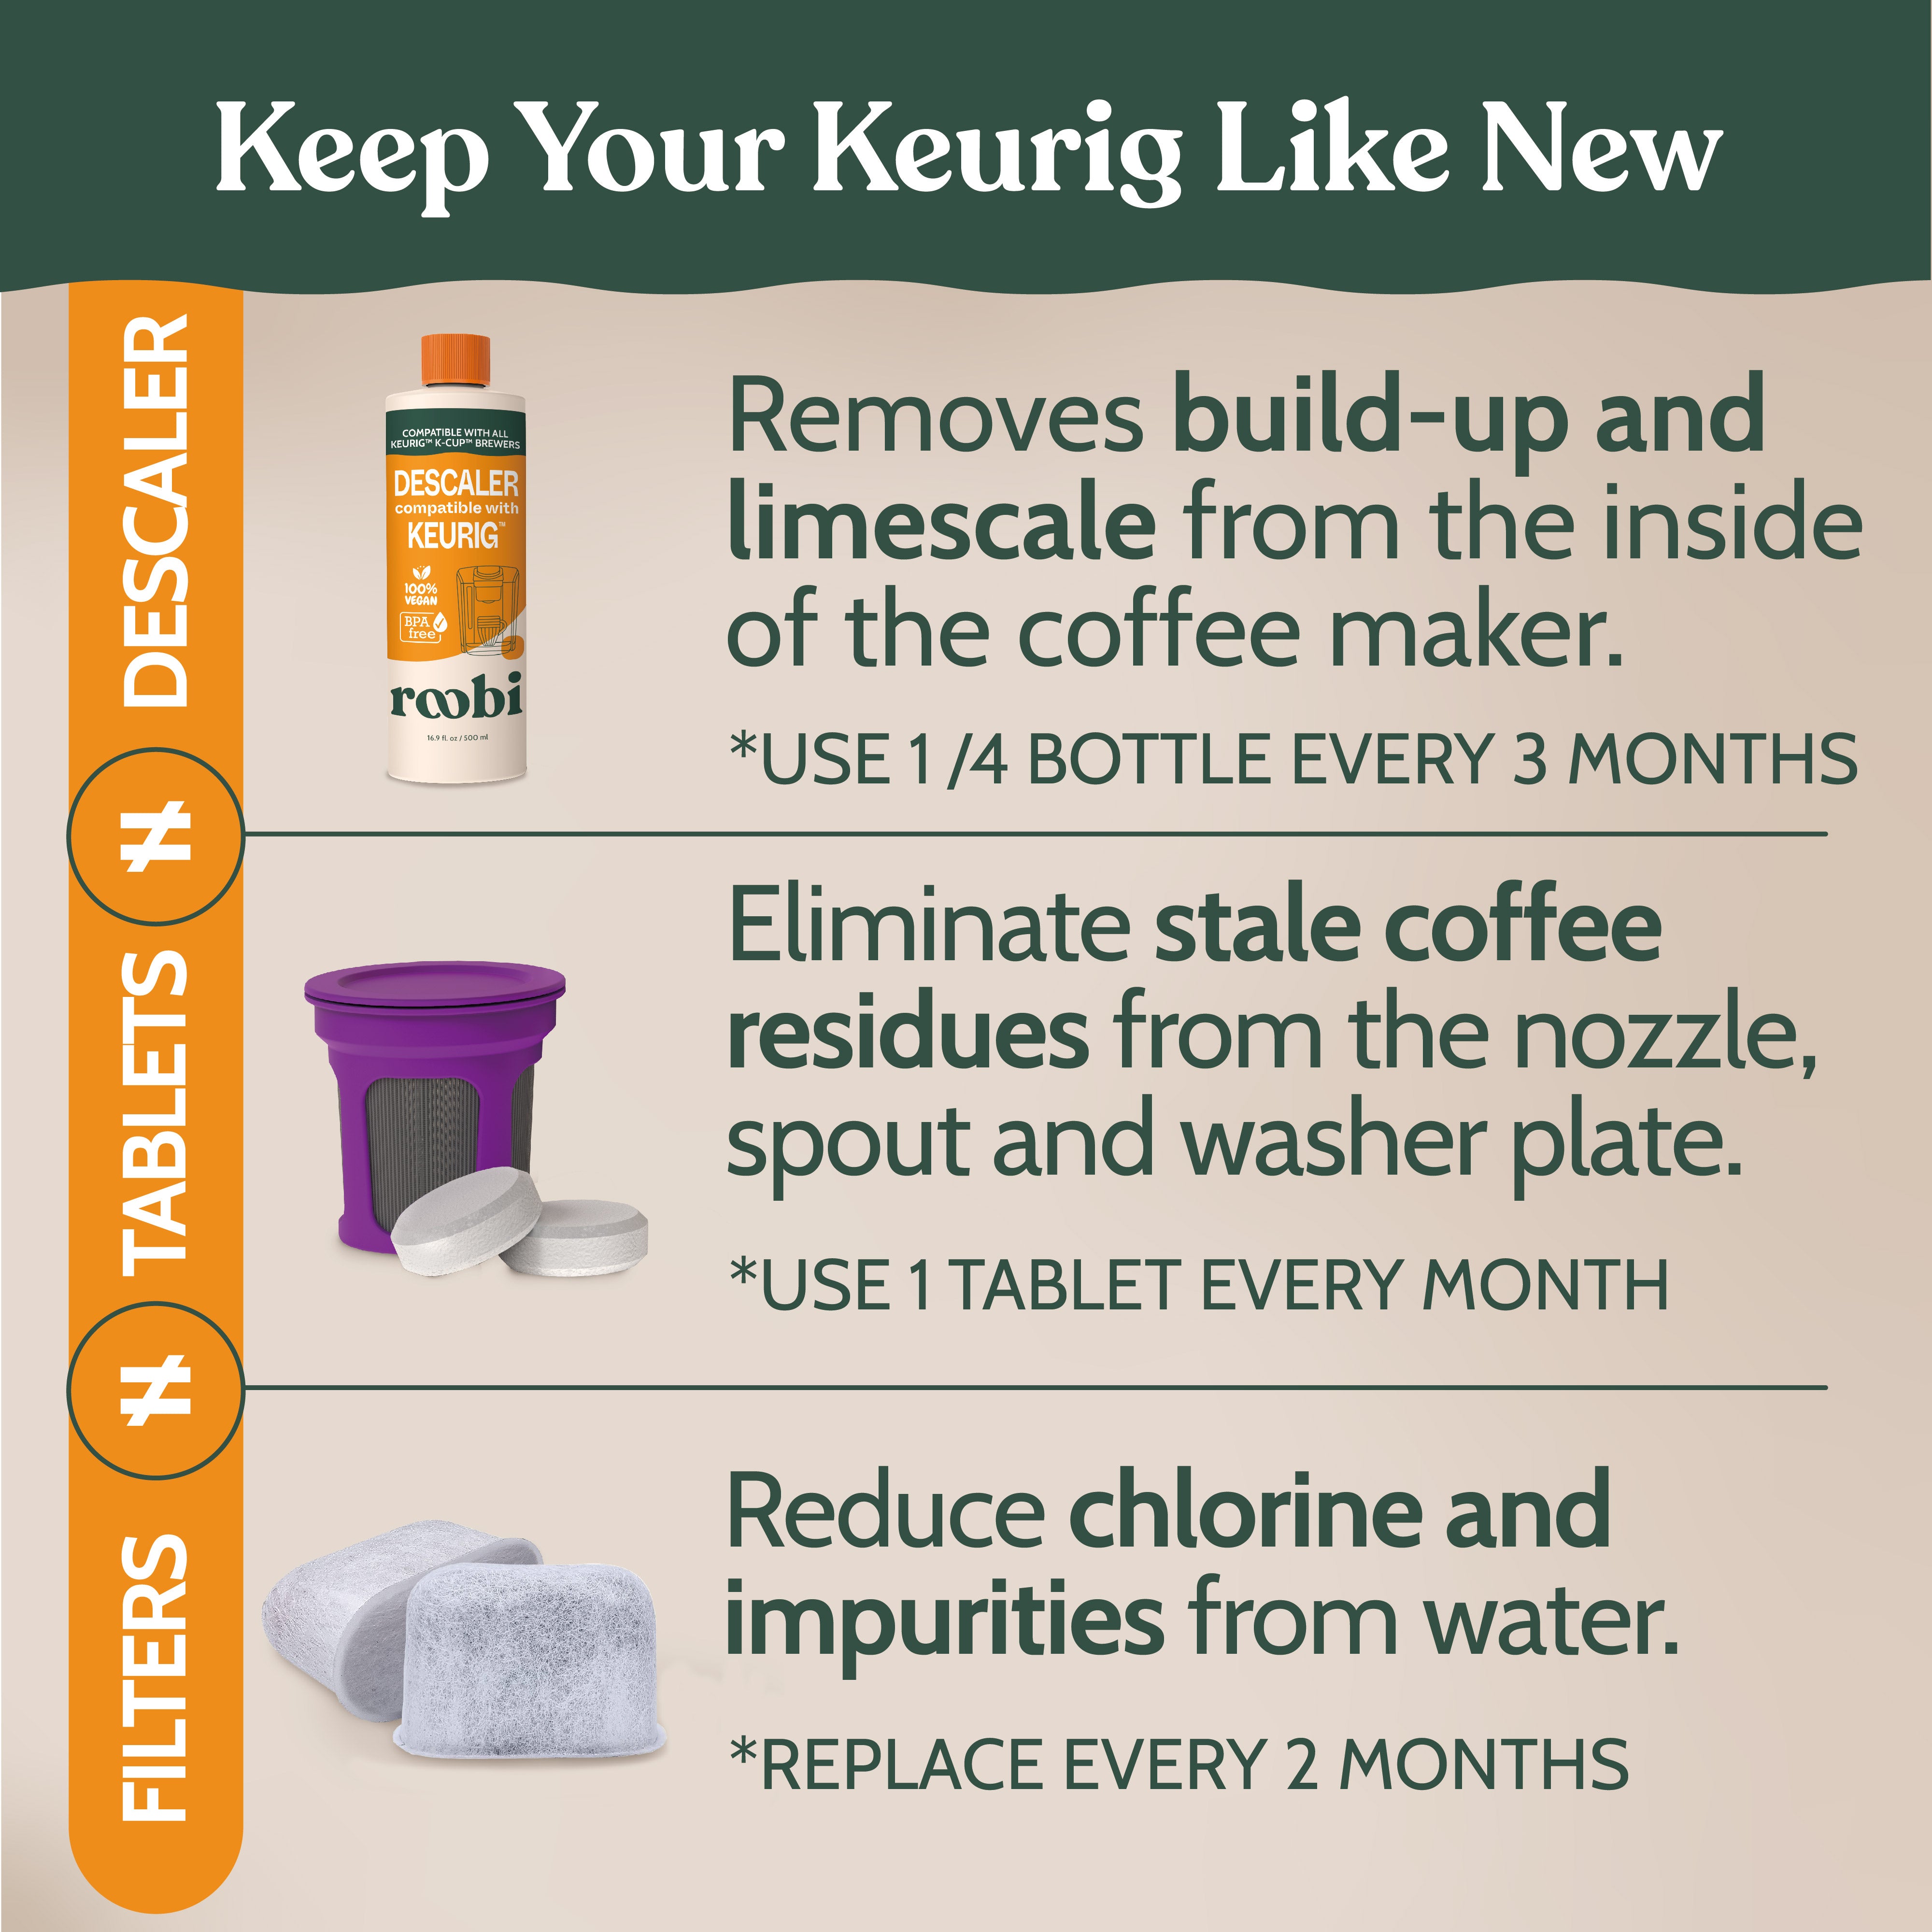
– Replace water filters every 2 months (or 40 tank refills)
– Use filtered tap water in Keurig 2.0+ models (distilled water triggers sensors)
Monthly pro moves:
– Descale if you have hard water—even “mild” tap water leaves scale
– Store with the reservoir lid ajar to prevent musty odors
– Run a blank water cycle before your first morning brew to clear overnight residue
When to Call It Quits on Your Keurig
Bleach exposure isn’t the only death sentence for your machine. Replace your Keurig if:
– Descaling fails to fix slow brewing (indicates irreversible scale damage)
– The heating element sputters or takes >3 minutes to heat
– You notice plastic cracking around the reservoir—this signals chemical degradation
Bottom line: Bleach has zero place in Keurig maintenance. That “deep clean” fantasy risks your health and guarantees machine failure. Stick to vinegar descaling every 3–6 months, perform 5-minute weekly wipe-downs, and you’ll enjoy clean, great-tasting coffee for years. Your morning ritual depends on it—protect it with the right methods, not dangerous shortcuts.