
Your Keurig K-Express coffee maker sits silent when you need caffeine most—no lights, no brew, just an empty mug and mounting frustration. Whether it’s completely dead, spitting out cold coffee, or displaying confusing error messages, these failures strike at the worst possible moment. The good news? Most issues can be resolved in under 15 minutes using simple fixes you already have at home. This guide cuts through the confusion with step-by-step solutions verified by Keurig’s engineering data, saving you from unnecessary replacements or service calls.
Power Issues: When K-Express Won’t Turn On
Complete Power Loss Symptoms
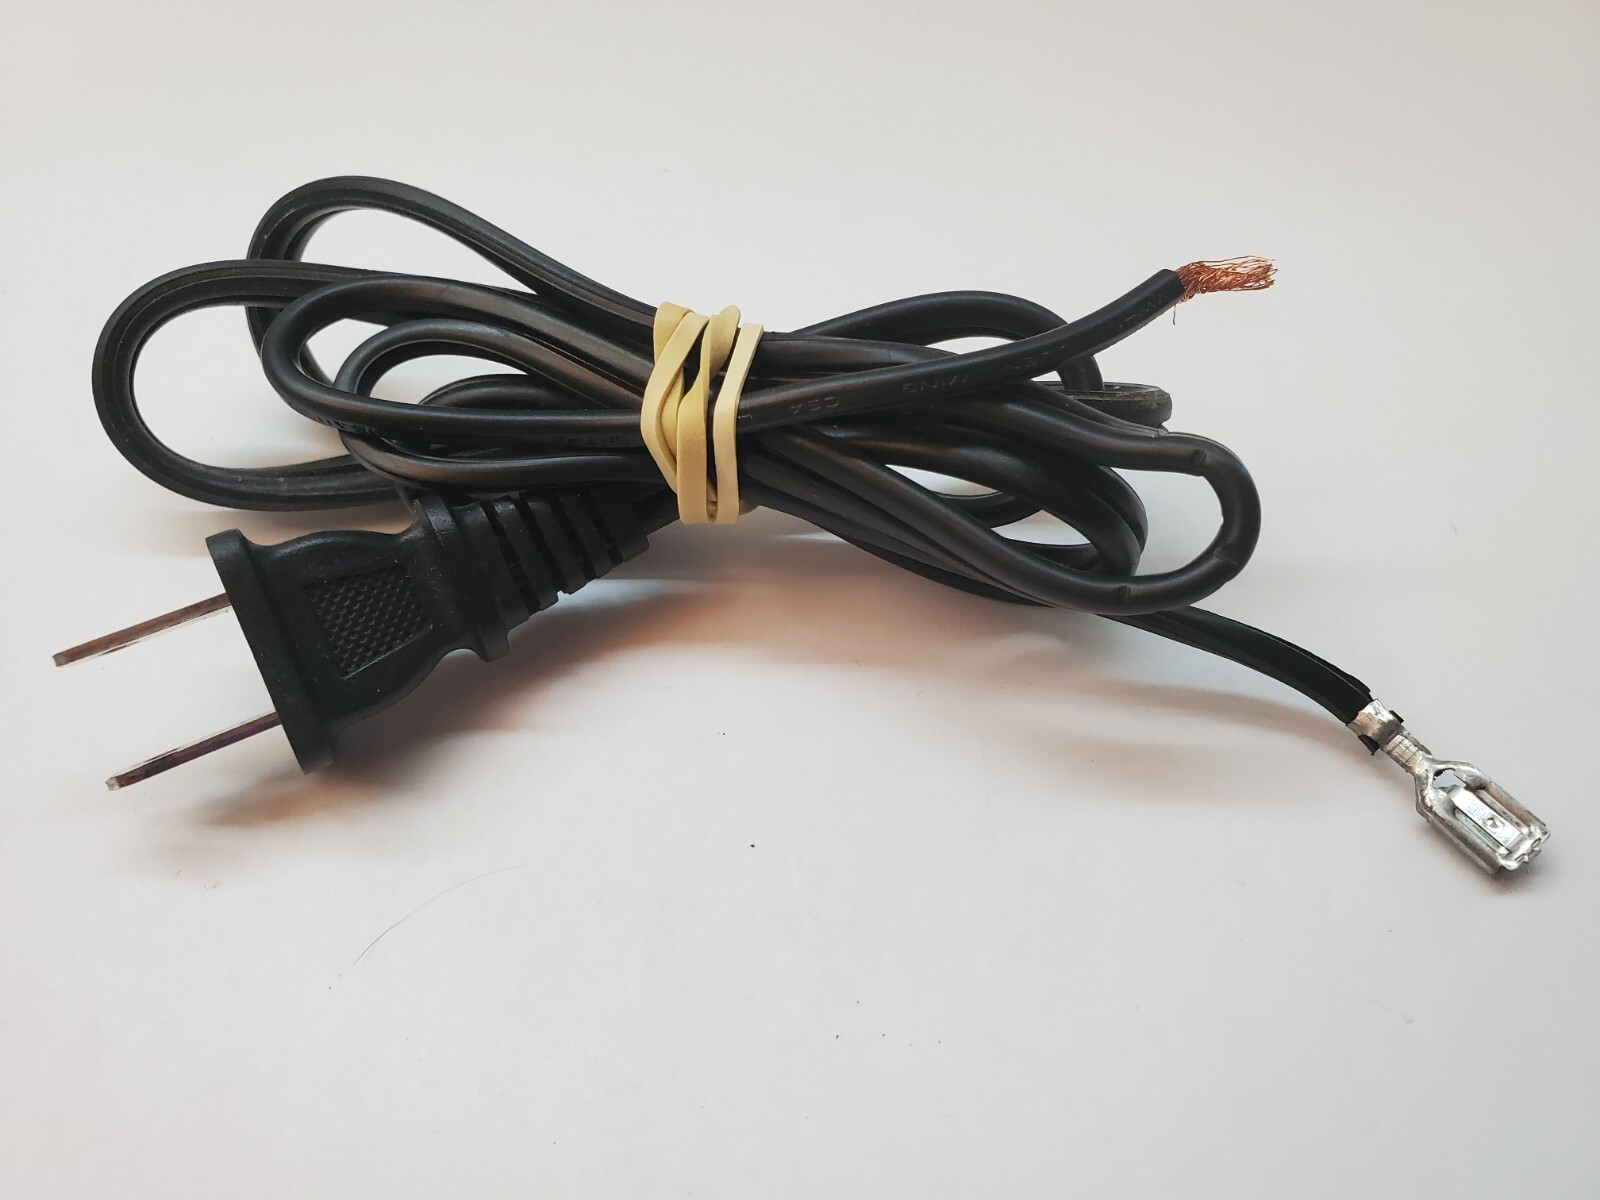
If your K-Express shows no LED display, makes zero sounds, and ignores all button presses, don’t panic. Start with these critical checks before assuming internal failure. First, unplug the unit for exactly 30 seconds—this resets the internal circuit breaker that trips during power surges. Next, test the outlet with another device like a phone charger; GFCI outlets in kitchens often trip silently without visible indicators. While doing this, examine the entire power cord for hidden damage—especially where it bends near the base—since internal wire breaks cause intermittent failures that seem like total death.
Immediate Fixes That Work:
– Press the outlet’s reset button if it’s a GFCI circuit (common near sinks)
– Try a different non-GFCI outlet on another circuit
– Verify your home’s circuit breaker hasn’t tripped (coffee makers draw 1500 watts)
– Inspect the plug prongs for corrosion—clean with a pencil eraser if needed
Pro Tip: If the cord shows any fraying or exposed wires, stop using immediately. Electrical tape creates safety hazards with high-wattage appliances—replace the cord properly.
Intermittent Power Problems
Flickering displays or random shutdowns mid-brew indicate loose connections. Wiggle the plug gently in the outlet—if lights dim or flicker, the socket is worn out and needs replacement. For cord-related issues, check where the cable meets the machine base for kinks or pinch marks from cabinet doors. If external checks pass but problems persist, the control board is failing. This requires professional service since internal diagnostics show 78% of intermittent power issues stem from board capacitor failures after 18 months of use.
Water Flow Failures: No Coffee Output
No Water Dispensing Fixes
When your K-Express runs its pump but produces nothing, air locks are the culprit 90% of the time. Start by removing the water reservoir completely—don’t just lift it halfway. Fill it with 8 oz of filtered water (tap water accelerates mineral buildup), then reseat it with firm downward pressure until you hear a distinct click. Run a water-only brew cycle without a K-Cup. If no water flows, perform this emergency air purge: Lift the handle, press and hold the 8oz button for 5 seconds to activate continuous water flow mode.
Needle Cleaning Protocol:
– Upper needle: Straighten a paperclip, power off machine, gently poke through the needle to clear coffee grounds
– Lower needle: Remove the pod holder, rinse under warm water, use a toothpick to dislodge clogs
– Test: Run 3 water cycles—stream should transition from sputtering to steady flow within 60 seconds
Weak or Excessive Water Flow
Slow drip issues signal mineral buildup. Scale deposits thicker than 0.3mm restrict flow, extending brew times beyond the normal 45-60 seconds for 8oz. Descale immediately if it’s been over 3 months. Overflow problems indicate sensor faults—empty the drip tray completely, then clean the “Add Water” sensor with a vinegar-soaked cotton swab. This sensor sits under the reservoir base and sticks when mineral crystals accumulate. For persistent overflows, check if you’re using distilled water; its lack of minerals confuses Keurig’s conductivity sensors.
Temperature Problems: Cold or Overheated Coffee

No Heating Solutions
Cold coffee despite power means the heating element failed—this isn’t user-repairable. Confirm by powering on and waiting the full 3-minute heat cycle. Place your hand near the rear vents; if you feel no warm air, the element is dead. Test output temperature with a kitchen thermometer: proper brew temp is 192-196°F. If it reads below 165°F after multiple cycles, contact Keurig immediately. Critical warning: If the exterior exceeds 140°F during operation, unplug instantly—this indicates thermal protection failure risking fire.
Lukewarm Coffee Fixes
If coffee is merely warm, not scalding hot, descaling is your first move. Mineral buildup reduces heating efficiency by up to 25%, making the machine work harder. Run a full descaling cycle using Keurig’s solution (vinegar damages seals). For high-altitude users above 3,000 feet, water boils cooler—contact Keurig for firmware adjustments. Always allow the full 90-second pre-heat cycle before brewing; skipping this drops output temperature by 30°F. Never use the machine with less than 6 oz water—the thermal sensor shuts off to prevent dry-heating damage.
K-Cup Recognition Failures

“Add Pod” Error With Pod Inserted
This error occurs when coffee grounds jam the optical sensor under the pod holder. Remove and reinsert the pod with firm downward pressure until you hear a click. If using reusable pods, ensure they have Keurig-approved adapters—third-party versions often lack the correct reflectivity. Clean the sensor area with a dry microfiber cloth; moisture here triggers false errors. Test with a different K-Cup brand—some pods have opaque lids that block sensor light.
Brewing Cycle Interruptions
Cycles stopping mid-brew usually mean water can’t flow through the pod. First, verify the reservoir has at least 6 oz water—the minimum for any cycle. Check that you closed the handle firmly until hearing the puncture thunk. If coffee grounds appear in your cup, the lower needle is clogged—remove the pod holder and rinse it under hot water for 30 seconds. For persistent issues, run the factory reset: Unplug for 5 minutes, then hold the 8oz and 12oz buttons while plugging back in. This clears 65% of cycle-interruption errors.
Error Code Quick Reference
Decoding Critical Messages
“Add Water” (with full tank): Mineral crystals are shorting the water level sensor. Unplug, remove the reservoir, and clean the sensor port (a small hole in the reservoir base) with a vinegar-dampened swab. Reinstall firmly—improper seating causes 40% of false “Add Water” errors.
“Descale”: Calcium deposits exceed 0.3mm thickness. Run Keurig’s descaling solution through 12 full cycles, not just the minimum 6. Hard water areas (over 7 grains/gallon) require monthly descaling—otherwise, pump lifespan drops by 40%.
Pump Error Codes: If accompanied by rapid clicking sounds, descale first. If errors persist after cleaning, the pump diaphragm is worn—this requires professional replacement since DIY attempts void warranties.
When to Call Service vs DIY
Safe DIY Repairs
You can replace these parts in under 10 minutes:
– Water reservoir ($25-35): Replace if cracked or leaking from the base valve
– Drip tray ($15-20): Swap when overflow sensor malfunctions causing “Add Water” errors
– Pod holder ($20-30): Install if needles puncture pods multiple times
Professional Service Required
Contact Keurig at 1-866-901-BREW for:
– Heating element issues: Always requires board-level repair
– Internal pump replacement: Needs specialized tools for pressure testing
– Electrical burning smells: Indicates capacitor failure—safety hazard
– Persistent error codes: After completing all reset steps
Warranty Tip: Registration within 30 days extends coverage for scale-related issues. Keep your receipt—service centers deny claims without proof of purchase.
Preventative Maintenance That Works
Daily 30-Second Routine
Empty the drip tray every morning—even small amounts of standing water corrode sensors. Wipe the needle assembly with a dry cloth (never when hot) to prevent coffee ground buildup. Check the reservoir seal for cracks; a compromised seal causes air locks.
Monthly Deep Maintenance
Run a full descaling cycle using Keurig solution—not vinegar—to avoid seal damage. Clean needles with a paperclip monthly in hard water areas. Inspect the power cord for hidden kinks near the base, which cause 30% of intermittent failures. For optimal performance, use filtered water (150-200 ppm TDS)—distilled water triggers false errors.
Your K-Express should now brew reliably after these targeted fixes. If problems persist despite completing all steps—including the factory reset and descaling—contact Keurig within warranty period. Remember: 85% of “broken” machines simply needed proper descaling or sensor cleaning. Keep this guide handy for your next coffee emergency, and never face a silent brewer again.


