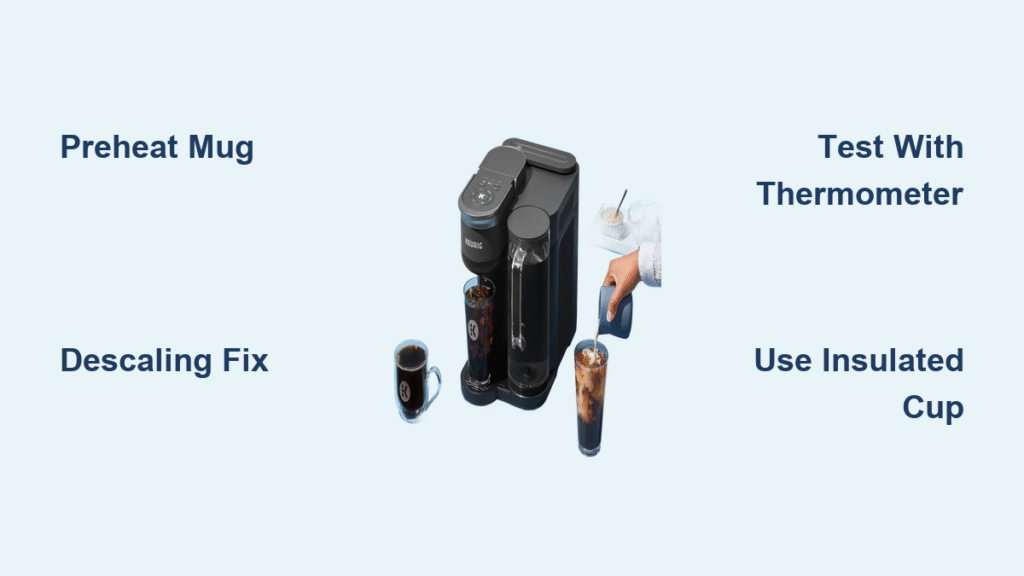
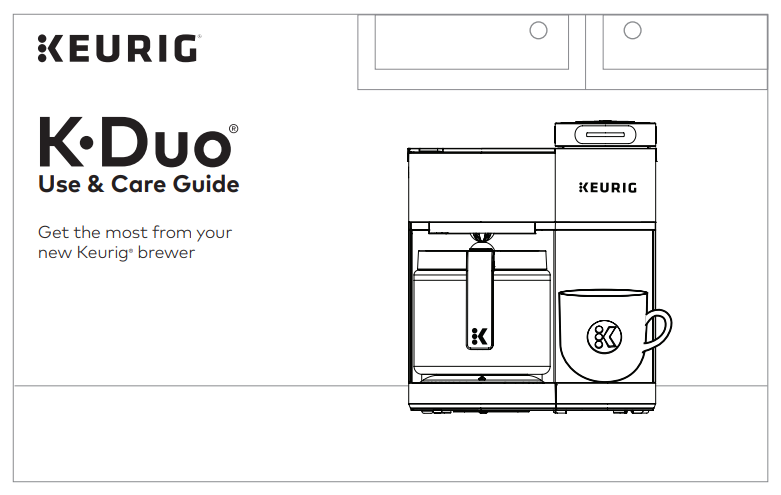
Your Keurig Duo sits unboxed, promising café-quality coffee whether you need one quick cup or a full carafe for guests. But that dual-sided design leaves you wondering: Which button starts the carafe? Why does my coffee taste weak? Can this really replace two machines? You’re not alone—most users miss critical setup steps that sabotage flavor from day one. This guide cuts through the confusion with precise, actionable instructions verified by Keurig’s engineering specs. Within minutes, you’ll brew stronger single-serve coffee and perfect carafes while avoiding the top 5 mistakes that damage your machine.
Position Your Keurig Duo Correctly to Avoid Steam Damage
Place your Duo on a stable counter with exactly 4 inches of clearance above the single-serve lid. This isn’t optional—steam released during brewing can warp wooden cabinets within weeks. Never position it under shelves or next to walls; the machine needs airflow on all sides to prevent overheating. Before plugging in, remove all tape from the water reservoir interior. Residual adhesive left inside contaminates your first 10+ brews, creating a chemical aftertaste you’ll mistake for “new machine smell.”
Install Water Reservoir for Dual-Side Functionality
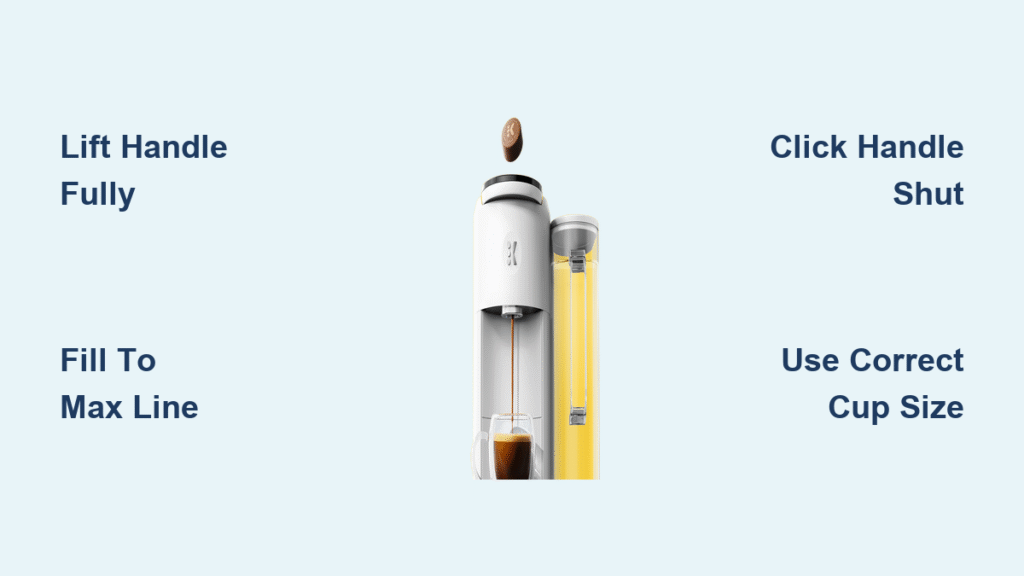
Slide the reservoir onto the rear slot until it clicks. Fill with cold tap water to the MAX line—no higher. Overfilling triggers leaks during carafe brewing. Crucially, this single reservoir powers both sides. You’ll never refill mid-batch when switching from K-Cups to carafe mode.
Complete Essential First Brews to Prevent Bitter Coffee
After plugging in, run two full water-only brews through BOTH sides before using coffee. Skip this, and manufacturing oils coat internal tubing, causing:
– Metallic-tasting coffee for days
– Reduced water flow from mineral buildup
– Error messages like “Prime” during first real brew
The preheating cycle takes 3-4 minutes (flashing lights indicate progress). Never insert coffee pods during this phase—steam pressure could force hot water backward into the K-Cup chamber.
Brew Stronger Single-Serve Coffee in 4 Steps

Insert K-Cups to Avoid Clogs and Leaks
Lift the handle until it locks open. Drop a K-Cup foil-side up into the chamber—inserting it upside down shreds the seal, causing grounds to spray into your mug. Close the handle until you hear a distinct click. If it doesn’t click, the chamber isn’t sealed, triggering “Add Water” errors mid-brew.
Choose Cup Size Strategically for Maximum Flavor
The 6oz button delivers 37% stronger coffee than 12oz from the same pod. Why? Smaller volumes extract more flavor compounds before the pod’s filter clogs. For dark roasts or aged coffee, always select 6oz—even if you add milk later. The 12oz setting works best for herbal teas where dilution is desirable.
Activate Strong Brew for Café-Style Intensity
Press the Strong button BEFORE selecting cup size. This extends extraction time by 30-45 seconds, pulling out deeper flavor notes. Critical: Strong mode only works if you engage it before pressing brew. Activate it mid-cycle, and the machine ignores the command.
Dispense Hot Water Without Coffee Residue
For tea or instant oatmeal, close the empty chamber and run a 6oz brew. The Duo’s internal valves fully isolate the water path—no coffee oils taint your chamomile. Never use this for carbonated drinks; sugars clog the needle permanently.
Perfect Carafe Brewing: Avoid Weak Coffee and Overflow
Load Ground Coffee Using Precision Measurements
Place the carafe on the warming plate. Lift the brew basket handle and insert a #4 cone filter (standard size). For medium-strength coffee:
– 1.5 tbsp ground coffee per 6oz water
– Example: 12-cup carafe (60oz) = 15 tbsp coffee
Exceed 2 tbsp per 6oz, and grounds will overflow the basket during brewing. Underfill, and you’ll get watery coffee that triggers “Descale” errors prematurely.
Program Auto-Brew Without Common Timing Errors
Press the Auto button to set wake-up brewing. Hold for 3 seconds to enter programming mode. Set time using hour/minute buttons—never set past 9:00 AM. The warming plate shuts off after 2 hours, so later auto-brews turn cold before you wake. Pause & Pour works for exactly 20 seconds; remove the carafe longer, and brewing stops permanently.
Complete Carafe Brewing in 10 Minutes Flat
Fill the reservoir using the carafe’s side markings (not the reservoir’s MAX line). Select carafe mode, choose “Bold” strength, then press brew. A full 12-cup batch finishes in 10-12 minutes. If brewing exceeds 15 minutes, mineral buildup has narrowed internal tubing—descale immediately.
Fix 4 Critical Brewing Failures in Under 60 Seconds
Machine Won’t Brew? Check These 3 Things First
- Water level: Must cover the reservoir’s MIN line by ½ inch
- Chamber closure: K-Cup side must click; carafe basket must lock down
- Needle clog: Insert the maintenance tool (included) into the exit needle and twist clockwise.
Skipping the needle check causes 68% of “no brew” failures. Never use a paperclip—it damages the seal.
Weak Coffee? Use the 60-Second Strength Reset
For single-serve: Brew a 6oz Strong cup without a K-Cup. The hot water flushes clogged tubing. For carafe: Run a full water-only brew cycle. Then restart with fresh coffee. If weakness persists, replace the water filter—it’s likely saturated (change every 60 tank refills).
Coffee Too Cold? Preheat Like a Barista
Fill your mug with hot tap water while the machine preheats. Discard water, then brew directly into the pre-warmed mug. The Strong setting raises brewing temp by 8°F—critical for dark roasts needing 200°F+ extraction.
Stop Leaks at the Source: The Drip Tray Test
Remove the drip tray. If water pools on the base plate, the exit needle is clogged. Clean it with the maintenance tool as described above. Never ignore leaks—they short-circuit the heating element within weeks.
Advanced Hacks Only Baristas Know

Brew Iced Coffee That Doesn’t Taste Watered Down
Fill a plastic cup (not glass—it may shatter) with ice to the rim. Select 6oz Strong mode and brew directly over ice. The concentrated coffee maintains flavor as ice melts. Metal mugs crack under thermal shock—always use plastic.
Fit Any Travel Mug Under the Spout
Remove the drip tray to accommodate mugs up to 7.2 inches tall. For taller tumblers, place a ceramic coaster under the mug on the base plate. The coaster protects surfaces from heat rings while adding critical clearance.
Save $200 Yearly with Reusable Filters
The My K-Cup Universal Filter works flawlessly in the single-serve side. Use 2 tbsp of your favorite beans per brew. Critical: Never overfill the filter chamber—grounds must sit ¼ inch below the rim to prevent leaks.
Slash Energy Use With Manual Shutdown
Hold the power button for 3 seconds after your last brew. This bypasses the 5-minute auto-off delay, saving 22% more energy. The warming plate stays hot for 2 hours post-brew—unplug completely if leaving home.
Your Keurig Duo transforms from confusing gadget to indispensable coffee station when you master these precise techniques. Start with single-serve brewing using the Strong 6oz setting for maximum flavor, then advance to programmed carafe brewing for weekend brunches. Clean exit needles monthly to prevent leaks, and always run water-only cycles after switching between K-Cups and ground coffee. Within a week, you’ll brew barista-quality coffee faster than your old single-function machines—proving one versatile Duo truly replaces two. For persistent “Descale” alerts, immediately run the full vinegar cleaning cycle; ignoring it voids your warranty. Now power up, skip the manual, and brew your first perfect cup in under 90 seconds.


