
You reach for your morning cup only to find your Keurig spitting out cold water or refusing to power on entirely. These Keurig coffee pot problems disrupt your entire routine and leave you frustrated before your day even begins. Whether you own a Keurig K-Classic, K-Elite, or any other model, these common issues have immediate fixes that take less time than waiting for customer service. This guide delivers precise solutions to the most frequent Keurig malfunctions—no technical expertise required.
Most Keurig issues stem from simple causes like trapped air bubbles, mineral buildup, or minor component misalignment. With the right troubleshooting sequence, you can resolve 90% of problems in under 15 minutes. Skip the replacement costs and wasted coffee pods—let’s get your machine brewing perfect cups again.
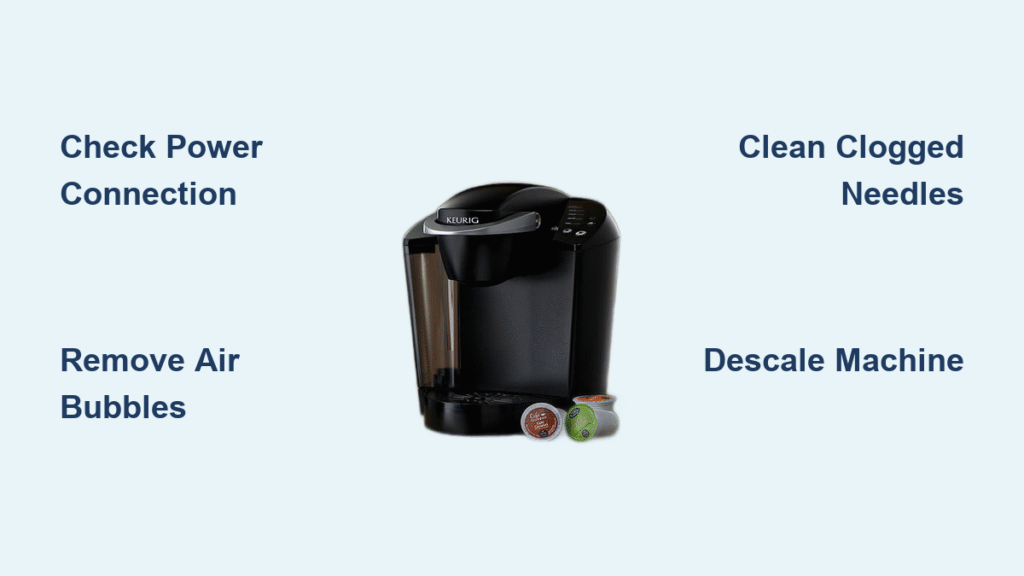
Machine Won’t Power On Despite Plugged In
Check Power Connection Before Assuming Electrical Failure
Your Keurig’s refusal to power on usually has a simpler explanation than a dead machine. Start by unplugging the unit completely and firmly reinserting the cord into the wall outlet. Test the outlet’s functionality using your phone charger—if that doesn’t work, the problem lies with your electrical source, not your coffee maker.
For Keurig 2.0 or Plus series models, locate the subtle power icon in the lower right corner of the LCD screen. Many owners miss this critical step, repeatedly pressing regular buttons instead. Tap this specific icon firmly until the welcome message appears. Older models require more deliberate button presses—worn contacts often need stronger activation than you’d expect.
Critical mistake to avoid: Never attempt to open the casing to access electrical components. Keurig’s internal wiring requires professional handling—contact Keurig support directly for electrical failures.
When Support Becomes Your Only Option
If your Keurig remains completely unresponsive after testing multiple outlets and proper activation techniques, internal electrical failure is likely. This typically indicates a failed power supply board or damaged internal wiring. Newer models under warranty should be evaluated by Keurig’s technical team—attempting DIY repairs voids coverage and creates safety hazards.
Keurig Not Brewing Coffee Properly
Remove Air Bubbles Blocking Water Flow

Air trapped in your Keurig’s internal tubing prevents proper water circulation, causing complete brewing failure. Fill your reservoir to maximum capacity, then unplug the machine. Gently shake the entire unit back and forth for 15-20 seconds to dislodge trapped air pockets. After plugging back in, run a water-only cycle without a K-cup.
Look for these success indicators: You’ll hear consistent water flowing through the system and see a steady stream output from the dispenser. If you still hear gurgling or see intermittent flow, repeat the process with more vigorous shaking.
Clear Hidden Coffee Grounds Causing Clogs
Coffee grounds and mineral deposits accumulate in water lines over time, especially if you use hard water. Run your Keurig without a K-cup to flush the system, then complete a descaling cycle using equal parts white vinegar and water. Finish with 3-4 clean water cycles to eliminate vinegar taste.
Pro tip: For stubborn clogs, remove the water tank and check the valve assembly beneath it. Rinse this component under warm water while gently scrubbing with a soft brush—this often resolves persistent flow issues.
Fix Wrong Coffee Volumes Immediately
Stop Overfilling Caused by Clogged Needles
Excessive coffee dispensing usually indicates a blocked puncture needle. Straighten a paper clip and carefully insert it into the needle to remove built-up coffee grounds. Then perform a complete system clearing:
- Unplug machine completely
- Remove water tank and set aside
- Invert machine over sink
- Gently tap base to dislodge debris
- Reassemble and run water-only cycle
Restore Standard Cup Sizes
When your Keurig dispenses too little coffee, focus on both entrance and exit needles. Clean both thoroughly with a paper clip, then run 4-5 water-only brew cycles. If volume remains insufficient after cleaning, descale the entire machine—mineral buildup in internal tubing restricts proper flow.
Visual cue: If coffee pours extremely slowly or stops mid-brew, calcium deposits are likely narrowing internal channels. Monthly descaling prevents this chronic issue.
Cold Coffee Output Solutions That Work
Clean Heat System Components Thoroughly
Cold coffee indicates heat system failure, but cleaning often resolves the issue. Remove and scrub the bottom of your water tank thoroughly. Rinse the tank valve under warm water while gently twisting to dislodge debris. Wipe the tank seating area with a damp cloth to ensure proper contact.
After cleaning, press and hold the brew button for 8-10 seconds to force a system restart. This often resets the heating element without requiring professional service.
When Professional Service Becomes Necessary
If coffee remains cold after thorough cleaning and reset attempts, your water pump likely needs replacement. This requires professional service—contact Keurig support immediately. Continuing to use a machine with heating issues risks electrical damage and creates safety hazards.
Stop False “Add Water” Alerts
Reposition Water Reservoir for Proper Magnetic Contact
The “Add Water” light often triggers from improper reservoir positioning. Remove the tank completely, then reseat it ensuring magnetic contacts align perfectly. You’ll feel a slight click when positioned correctly.
Quick test: Wiggle the reservoir gently—if it moves easily, reposition until it feels completely secure. Keurig’s magnetic sensors require precise alignment to register water levels accurately.
Clean Filter and Valve System Components
Remove and wash your water filter with warm, soapy water. Rinse thoroughly before reinstalling. Check the valve beneath your machine for coffee grounds or debris buildup. Use a damp cloth to wipe the valve area clean—this often resolves false alerts.
Prevent Leaks From Under Your Keurig
Address Bottom Leaks From Overfilling
Bottom leaks typically stem from overfilling or damaged components. Always fill your reservoir below the maximum line using cold water. If leaks persist, inspect the O-ring around the reservoir base for cracks or damage.
Warning signs: Visible cracks in the water reservoir or a loose O-ring that no longer creates a tight seal require immediate replacement—continuing to use damaged parts risks electrical damage.
Eliminate Bad Coffee Taste and Grounds
Switch Water Sources Immediately for Better Flavor
Tap water contains minerals and chemicals that affect coffee flavor. Switch to filtered or bottled water immediately. Run 3-4 water-only cycles to flush the system of tap water residue.
Remove Coffee Grounds From Your Cup
The exit needle clogs easily with coffee grounds. Insert a straightened paper clip into the needle, moving it in circular motions to dislodge debris. Run a water-only cycle to flush loosened particles.
For reusable filters, always use coarsely ground coffee. Fine grinds clog needles and create grounds in your cup. Consult your manual for specific grind size recommendations—most reusable filters require a medium-coarse grind.
Master Reset Procedures That Fix Software Glitches
Factory Reset Newer Models Through LCD Menu
Navigate your LCD menu to find the factory reset option. This restores all settings to default and often resolves persistent software issues. For Keurig K-Elite and K-Select models, this process clears memory glitches without losing custom brew settings.
Reset Entry-Level Models Completely
For K-Slim or K-Mini models:
1. Turn off and unplug machine completely
2. Remove water tank
3. Leave unplugged for 2+ hours
4. Plug in, turn on, reattach reservoir
This extended power interruption clears memory glitches and restores normal function—often solving mysterious shutdowns and indicator light problems.
Prevent Future Keurig Coffee Pot Problems
Establish Weekly Maintenance Routine
Every Sunday:
– Clean entrance and exit needles with paper clip
– Rinse water reservoir with warm water
– Run water-only cycle to flush system
Monthly deep clean:
– Descale entire machine with vinegar solution
– Replace water filter
– Deep clean all removable parts
Pro tip: Keep a small bottle of white vinegar and paper clips near your Keurig—this makes weekly maintenance quick and convenient.
Use Quality Water Sources Consistently
Always use filtered water and avoid distilled varieties. Distilled water actually causes coffee grounds to appear in your cup due to improper extraction. Keep your reservoir filled with fresh water—stale water creates buildup and affects taste quality. Replace water filters every two months to maintain optimal performance.
Final tip: When troubleshooting exceeds your coffee enjoyment time, consider replacement. Contact Keurig support to evaluate warranty coverage—most issues resolve with proper cleaning, saving you from unnecessary replacements. Regular maintenance prevents 80% of common Keurig coffee pot problems before they start.


