
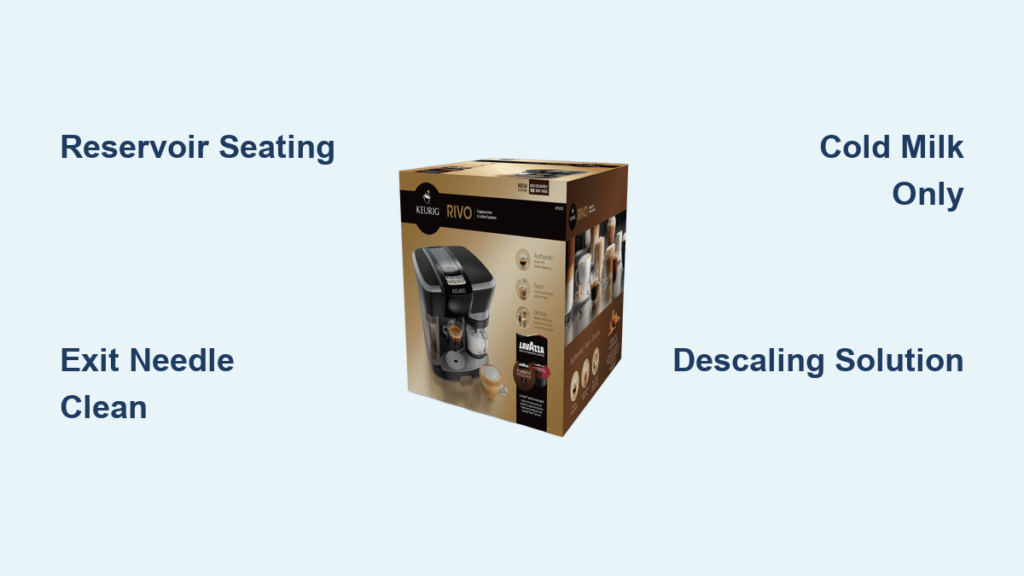
Your Keurig Rivo suddenly won’t power on, the espresso dribbles like a leaky faucet, or the frother scalds milk instead of creating silky foam. Before you toss it in the closet or call customer support, know this: 90% of Keurig Rivo troubleshooting requires zero tools and takes under five minutes. The Rivo’s flashing lights and quirky behaviors aren’t random—they’re precise diagnostic signals telling you exactly what’s wrong.
Unlike standard Keurig brewers, the Rivo combines espresso and milk frothing in one compact unit, creating unique failure points. But its design also means most issues stem from just three culprits: improper water quality, reservoir seating errors, or neglected maintenance. This guide cuts through the confusion with fixes verified against Keurig’s official specifications. You’ll learn to decode blinking patterns, clean critical components with a paperclip, and prevent future headaches—no technical skills needed. Let’s transform your frustrating Rivo into a barista-quality machine again.
Fix No Power or No Lights
When your Rivo shows zero lights after pressing power, don’t panic—this usually indicates a simple reservoir misalignment, not electrical failure. The Rivo lacks an internal water tank, so an improperly seated reservoir instantly cuts power as a safety measure.
Quick Power Reset Steps
1. Unplug the machine for 30 seconds to reset the control board
2. Remove the water reservoir and inspect the rubber gasket for cracks
3. Re-seat the reservoir with firm downward pressure until it clicks
4. Plug into a different outlet (test the outlet with a lamp first)
5. Press power and wait 60 seconds for the startup beep
Critical note: Never fill the reservoir above the grooved notch—overfilling causes leaks that trigger automatic shutdowns. If lights remain dead after this sequence, contact Keurig immediately; internal electrical faults are covered under warranty.
Decode Button Flashing Patterns
Your Rivo’s blinking lights are a diagnostic code, not a glitch. Each pattern corresponds to a specific issue documented in Keurig’s technical manuals, letting you skip guesswork.
Circular Flashing Pattern
What it means: Water reservoir is empty or incorrectly seated
How to fix: Fill to the grooved notch (not the max line), then press your last-selected brew mode within 2 minutes. If ignored, the machine resets and requires a fresh Rivo pack.
All Buttons Flash Together
What it means: The system is ready for your next command—this is normal operation, not an error. Proceed with espresso brewing or milk frothing immediately.
No Lights After Power-On
Follow the power reset sequence above. If unresolved, check for water leaks around the base—spills into internal components force shutdowns.
Solve Espresso Brewing Problems

Weak espresso or no pour typically stems from clogged components or scaling, not pump failure. The Rivo’s fixed 167–176°F brew temperature means inconsistent extraction points directly to blockages.
Fix Short or No Pour
Check these in order:
– Reservoir seated with audible click (re-seat firmly)
– Exit needle cleared of coffee grounds (use paperclip in side opening)
– Descale cycle completed if last descaling was over 3 months ago
Pro tip: A “short pour” (under 1.4 oz for espresso) often means scale buildup restricting water flow. Run a full descale before disassembling parts.
Handle Stuck During Brewing
Never force the handle upward mid-cycle. If accidentally lifted, the Rivo pack ejects into the dump bin while water continues flowing into the waste area for 30–60 seconds. Wait for the cycle to complete, then lift normally—forcing it risks permanent damage to the ejection mechanism.
Fix Frothing Failures
Milk frothing issues almost always trace back to milk temperature or fill levels. The Rivo’s shared internal mechanism for brewing and frothing means incorrect setup here disrupts the entire system.
No Froth Troubleshooting
Verify these non-negotiables:
– Milk is cold (34–40°F straight from the refrigerator)
– Fill level is between MIN and MAX lines in the supplied pitcher only
– Whisk spring is fully attached to the frother (re-seat if loose)
Critical mistake: Using room-temperature milk or substitute containers causes instant scalding and weak foam. The Rivo’s sensors detect pitcher material—glass or metal cups won’t trigger proper heating.
Prevent Milk Overflow
Exceeding the MAX line floods the heating element, while filling below MIN overheats milk. Always use the supplied pitcher: MIN line = 4 oz (for cappuccino), MAX line = 6 oz (for latte). Rinse the pitcher between batches to prevent milk residue buildup.
Descale Your Rivo Correctly
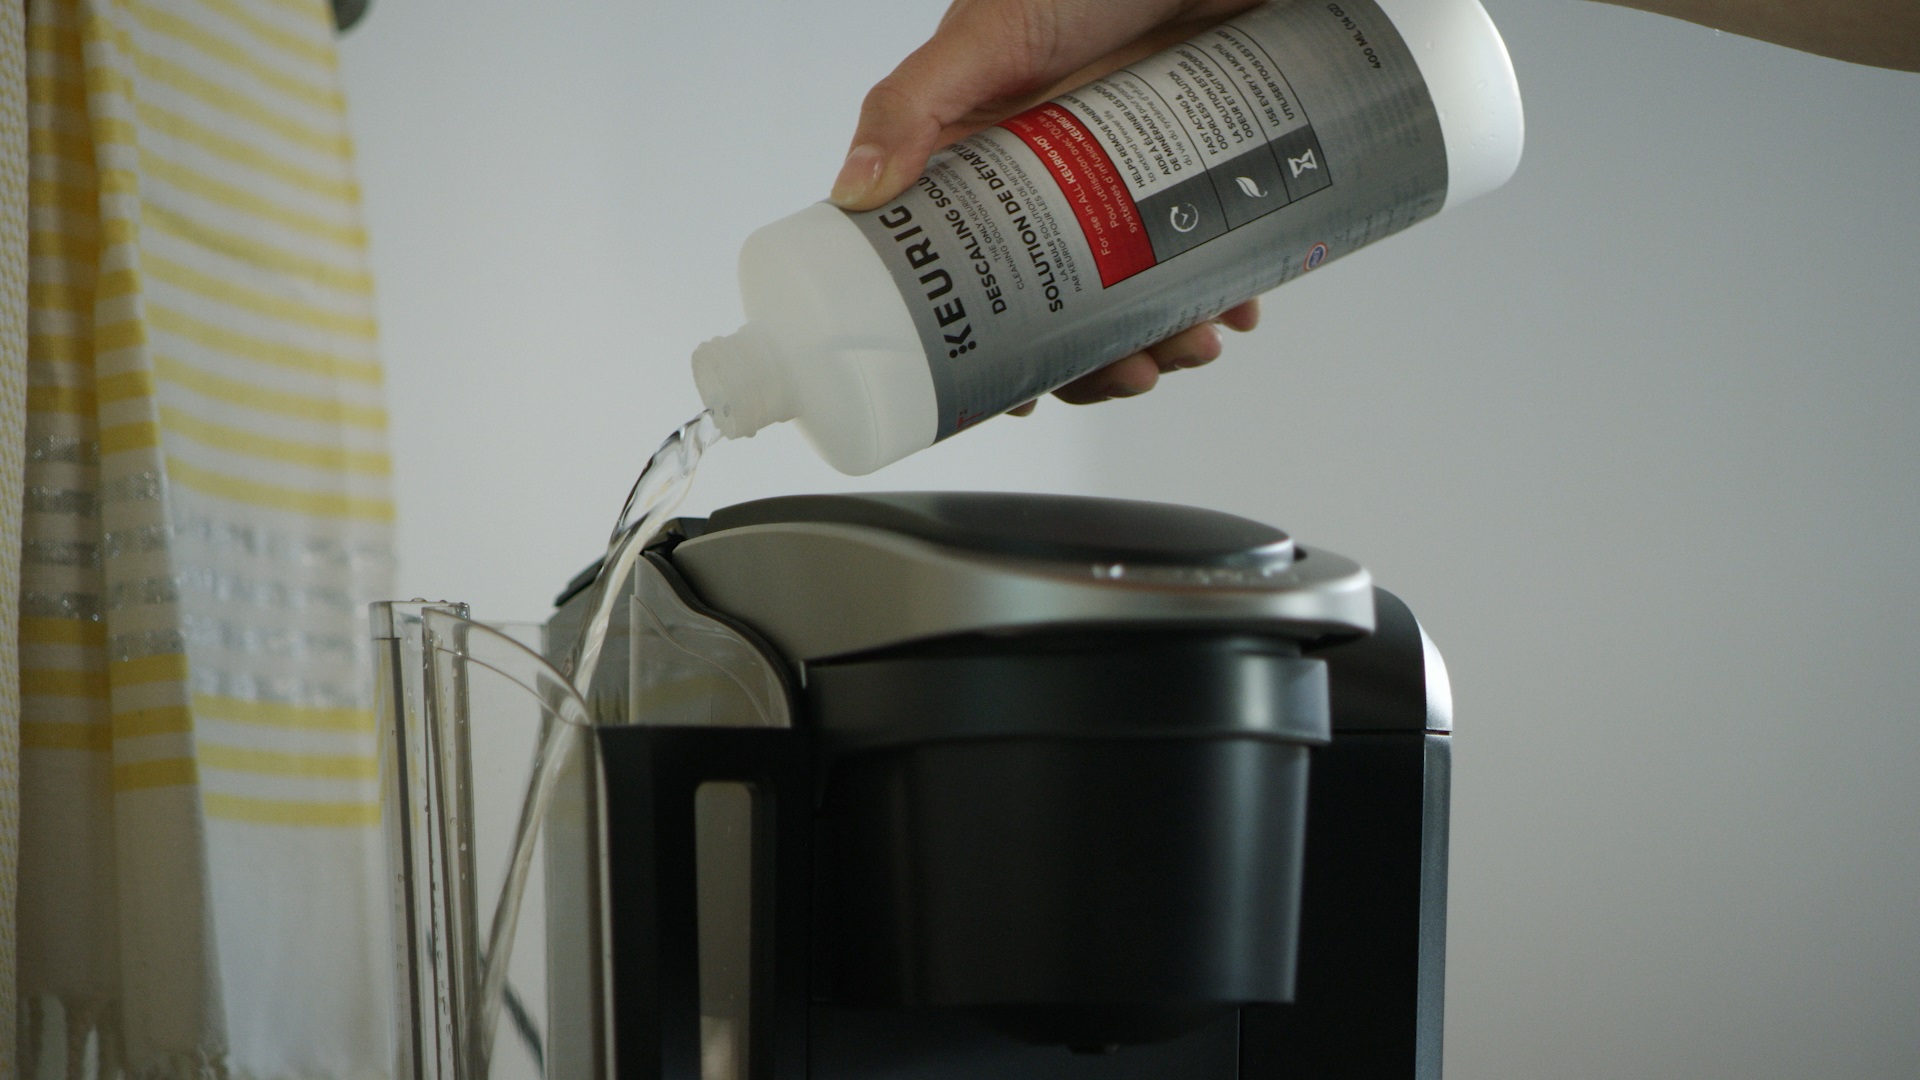
Using vinegar voids your warranty and corrodes internal valves. Keurig’s specifications strictly require their branded descaling solution due to the Rivo’s sensitive espresso-grade components.
Approved Descaling Process
1. Mix Keurig Descaling Solution with water per bottle instructions
2. Fill reservoir to grooved notch and run full descale cycle (follow manual prompts)
3. Rinse with three full reservoirs of fresh water before brewing again
4. Wipe exterior with damp cloth to remove solution residue
Warning: Vinegar or citric acid leaves mineral deposits that permanently damage heating elements. Hard water users must descale every 3 months; filtered water users every 6 months.
Clean Exit Needle in 30 Seconds
Coffee grounds clogging the side-mounted exit needle cause 70% of weak espresso issues. This is easily fixed without disassembly—no need for costly service calls.
Needle Cleaning Steps
1. Lift the handle and remove the pack holder
2. Insert a paperclip into the side opening (not the tip) of the exit needle
3. Twist gently to dislodge grounds—never force it
4. Rinse holder under tap water before reinstalling
Do this monthly or when noticing slower extraction. The funnel and holder are top-rack dishwasher safe, but hand-washing prevents warping.
Water Quality Fixes
Your tap water’s mineral content directly impacts Rivo longevity and espresso taste. Unlike standard Keurigs, the Rivo has no filter cartridge compatibility—making water choice critical.
Acceptable Water Sources
- ✅ Bottled spring water (optimal flavor extraction)
- ✅ Refrigerator-filtered water (e.g., Brita)
- ❌ Distilled water (causes poor extraction and machine errors)
- ❌ Softened water (sodium damages internal seals)
- ❌ Hard tap water (causes rapid scaling—test with $5 water hardness strips)
Pro tip: Fill the reservoir daily—stagnant water breeds bacteria that clog micro-channels. Never use the Rivo with distilled or softened water, even in emergencies.
Prevent Future Problems
Daily habits prevent 80% of Rivo failures. These aren’t optional extras—they’re baked into Keurig’s engineering requirements for the machine’s espresso-grade components.
Daily Must-Dos
- Empty drip tray after every 8 brews (12 oz capacity overflows silently)
- Hand-wash frothing pitcher immediately after use (dried milk clogs sensors)
- Use minimum 12 oz mugs to catch froth overflow during latte preparation
Monthly Non-Negotiables
- Descale on schedule (not when problems appear)
- Clean exit needle and pack holder assembly
- Check reservoir gasket for cracks or warping
Critical reminder: Never immerse the brewer in water—moisture in control panels causes permanent shorts. Wipe only with a damp cloth.
Warranty & Support Guide
Knowing Keurig’s warranty rules saves weeks of repair delays. The Rivo’s 1-year coverage has strict protocols most users unknowingly violate.
Warranty Coverage
- Serial number location: Side panel behind water reservoir (removing it voids warranty)
- Contact within 30 days of issue discovery for fastest replacement
- Never use vinegar—this instantly voids coverage per Keurig’s technical bulletin
Return Process
After 30 days:
1. Call Keurig Customer Service (toll-free number in warranty booklet only)
2. Obtain Authorization to Return (ATR) number before shipping
3. Return only the brewer—never include accessories
Units shipped without ATR are automatically refused.
Quick Reference Matrix
| Problem | First Check | Solution |
|---|---|---|
| Won’t turn on | Reservoir seating | Re-seat firmly until click |
| Buttons circle-flash | Water level | Refill to grooved notch |
| Weak espresso | Exit needle blockage | Clean with paperclip in 30 sec |
| Scalded milk | Fill below MIN line | Add cold milk between lines |
| No froth | Milk temperature | Use refrigerator-cold milk only |
Your Keurig Rivo delivers café-quality drinks for years when you honor its precision engineering. The secret? Treat it like the espresso machine it is—not a standard coffee brewer. Descale religiously with Keurig solution, always use cold milk in the supplied pitcher, and reset the reservoir at the first sign of trouble. Remember: those blinking lights are your ally, not an annoyance. When in doubt, consult the Quick Reference Matrix—most fixes take less time than your morning espresso shot. Keep this guide handy, and you’ll never face a silent Rivo again.


