

Your morning coffee ritual shatters when those frustrating blinking lights hijack your Keurig frother. One moment you’re craving velvety foam for your latte, the next you’re staring at flashing indicators cycling uselessly through programs. These aren’t random glitches—they’re your machine’s precise distress signals. The good news? Nearly every blinking pattern stems from simple user errors that take under 60 seconds to fix. By decoding what your Keurig Cold Brew Series or Elite frother is trying to tell you, you’ll rescue your morning routine without waiting for customer service.
Decode Your Keurig Frother’s Blinking Light Language
Your frother communicates exclusively through specific light patterns. Each sequence pinpoints exactly what’s wrong—no guesswork required. Recognizing these signals transforms confusing blinking into actionable solutions before your coffee gets cold.
Rapid Continuous Blinking: The Empty Jug Emergency
When lights flash nonstop like a frantic alarm, your Keurig frother detects zero liquid in the jug. Its safety sensor instantly halts operation to prevent motor burnout—a critical failsafe that requires immediate attention.
Fix it now:
– Pour cold milk strictly between the MIN and MAX lines inside the jug (eye-level check essential)
– Press any program button to restart the cycle
– Never exceed the MAX line—overflow protection triggers separate errors
Pro Tip: The MIN line isn’t arbitrary. Too little milk prevents proper whisk submersion, causing weak foam or complete shutdown. Whole milk expands 15% when heated—always fill to the exact MAX line for perfect results.
Three-Flash Pause Sequence: The Lid Safety Switch Alert
A repeating pattern of three quick flashes followed by a 2-second pause means your lid isn’t fully engaged. This safety feature prevents scalding milk splatter by ensuring proper pressure buildup for foam creation.
Secure your lid in 15 seconds:
1. Place the silicone-ringed lid centered on the jug opening
2. Press down firmly with palm until you hear a distinct CLICK
3. Verify no gaps exist between lid and jug rim
4. Check the silicone ring for cracks or displacement
Critical Mistake: 70% of users think “mostly closed” is sufficient. Your Keurig requires full engagement—always listen for that click. A loose lid creates dangerous steam leaks.
Pulsing In-and-Out Blink: The Simultaneous Operation Trap
Gentle lights that gradually fade in and out signal you’re overloading the machine. Attempting to brew coffee while frothing milk trips the overload protection—a common error when rushing mornings.
Correct sequence to prevent blinking:
1. Complete your K-Cup brew cycle first (wait for all sounds to stop)
2. Only then add milk to the frother jug
3. Press your desired program button (latte/cappuccino/cold)
4. Never touch frother controls during active brewing
Time-Saving Hack: Start brewing your coffee first. While it runs, prepare your frother jug with milk. This creates seamless back-to-back operation without triggering errors.
Fix Whisk Detection Failures in 2 Minutes
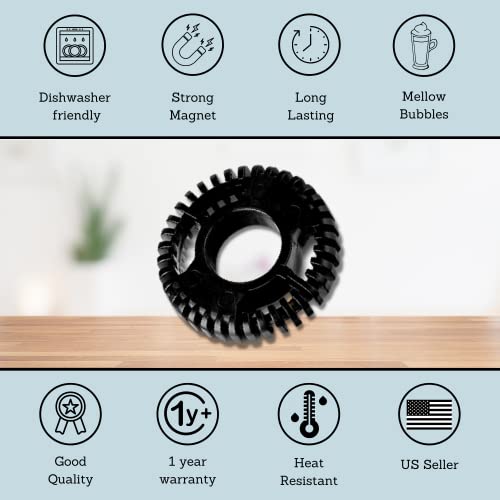
Your Keurig’s magnetic hall sensor constantly monitors whisk alignment. If it can’t detect proper placement, the cycle starts briefly then stops with blinking lights—a frequent culprit behind “sudden” frother failures.
Check Whisk Seating in 10 Seconds
Remove the jug and examine the black magnetic whisk. It must sit perfectly flush against the center post with zero gaps. Perform the wiggle test: properly seated whisks won’t lift off when gently tugged. If it moves freely, reinstall it firmly until resistance is felt.
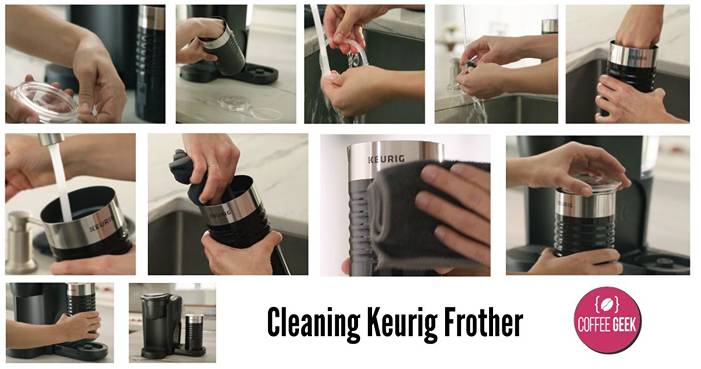
Clean Clogged Whisk Magnets
Dried milk residue on the magnet disrupts sensor communication. Notice brief motor humming followed by immediate shutdown? That’s your cue.
Deep clean procedure:
– Remove whisk completely from jug base
– Soak in hot, soapy water for 10 minutes
– Scrub magnet area with soft toothbrush (no metal scourers)
– Rinse under running water until completely residue-free
– Air-dry fully before reinstalling
Warning: Skipping this step causes recurring blinking. Milk proteins bake onto magnets during heating cycles—weekly cleaning prevents 80% of sensor errors.
Solve Milk Level Nightmares
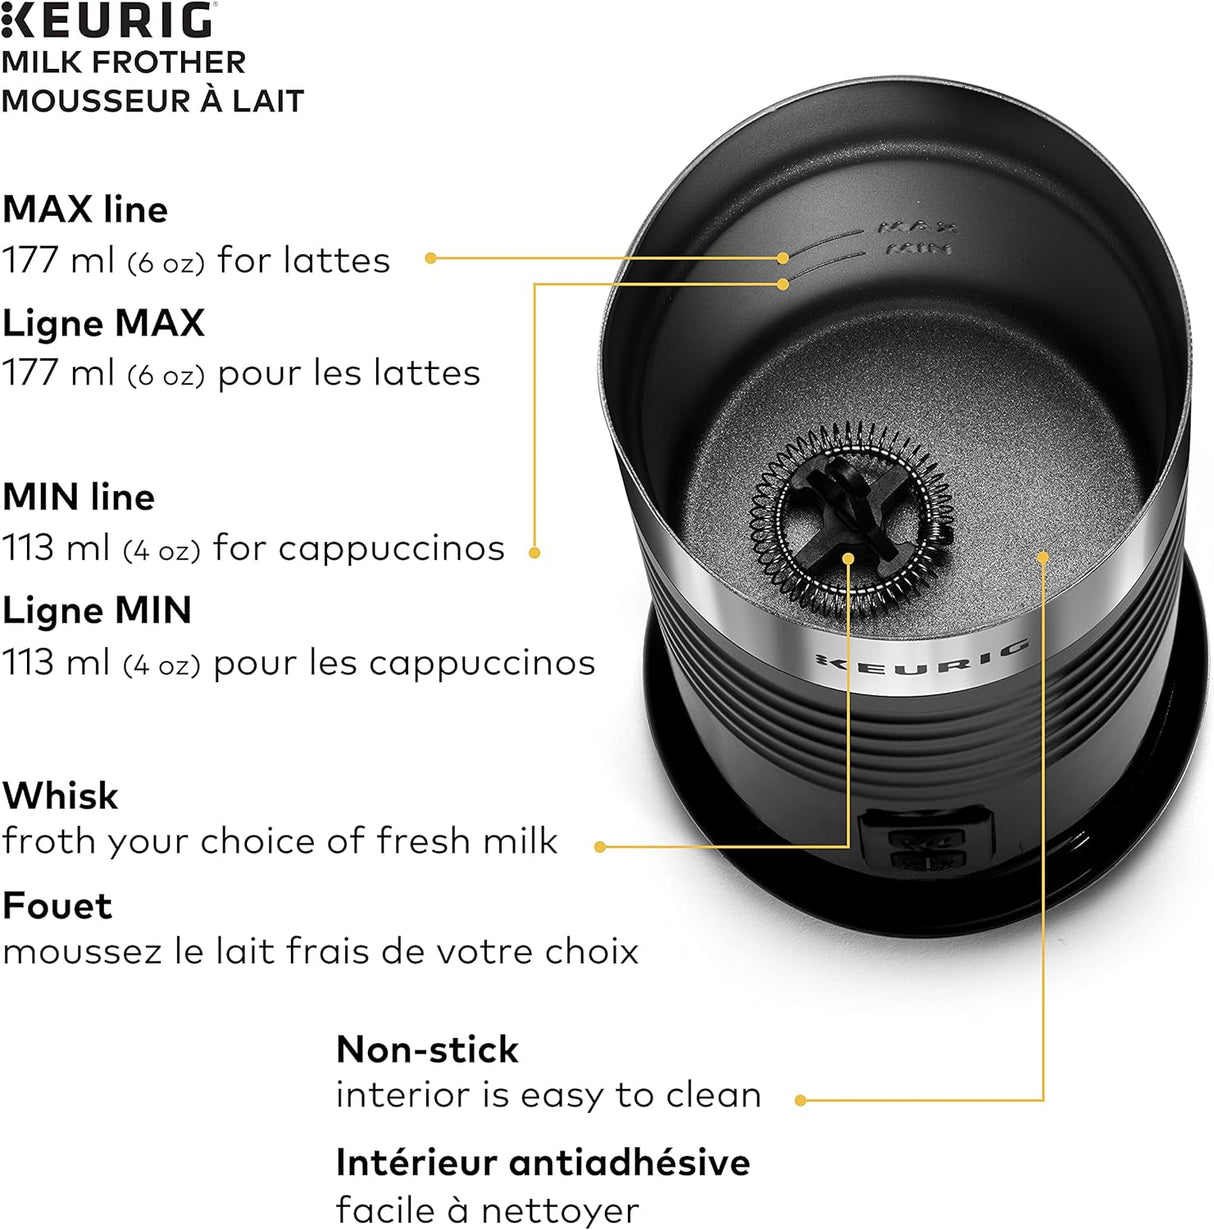
Both underfilling and overfilling trigger protective shutdowns. The MAX line exists for a reason—exceeding it activates overflow protection with pulsing blinks that halt operation mid-cycle.
Precision fill technique:
– Hold jug at eye level against a light source
– Pour cold milk to exactly touch the MAX line
– For smaller portions, stay ¼ inch above MIN line
– Never fill beyond MAX—even 2mm excess triggers errors
Quick Rescue: Overfilled? Pour off excess milk immediately into a measuring cup. Restart the cycle without removing the jug—takes 20 seconds versus 5 minutes for full troubleshooting.
Eliminate Base Connection Failures
Continuous blinking with three short beeps every 5 seconds means the jug isn’t properly seated. Dried milk on electrical contacts blocks communication between jug and base—a fixable issue in under 60 seconds.
Connection restoration steps:
1. Unplug the base (safety first!)
2. Lift jug straight up—no twisting
3. Wipe metal contacts on base and jug bottom with damp microfiber cloth
4. Dry thoroughly with clean towel
5. Re-seat jug with firm downward pressure until level and stable
Visual Check: The jug must sit perfectly flat with no wobbling. If it rocks, debris remains in the contact ring—repeat cleaning.
Prevent Thermal Cut-Off Shutdowns
After consecutive cycles, your Keurig frother shuts down after just 2 seconds of operation with lights cutting off abruptly. This thermal protection prevents overheating—a common issue when making multiple drinks.
Rapid cooldown method:
– Rinse jug interior under cold tap water for 15 seconds
– Dry exterior completely with towel
– Wait 90 seconds before retrying
– For back-to-back drinks, keep a second jug ready
Prevention Strategy: Allow 3 minutes between cycles for natural cooling. Never start a new frothing cycle while the base still feels warm to the touch.
Fix Milk Type Compatibility Issues
Lights operate normally but milk only heats without foaming? You’re battling milk chemistry—not machine failure. Skim milk and most non-dairy alternatives lack the fat/protein ratio needed for stable foam.
Optimal milk choices:
– Whole dairy milk: Creates richest, longest-lasting foam
– 2% dairy milk: Best balance for lower calories with good foam
– Barista oat milk: Top non-dairy performer (standard oat milk fails)
– Avoid: Skim milk, almond milk, coconut milk—they rarely foam
Diagnostic Test: Run one cycle with whole milk. If foam forms perfectly, your machine works—just needs milk adjustment. Always use refrigerated milk below 40°F.
When Keurig Frother Blinking Lights Mean Professional Help
After addressing all common causes, persistent blinking indicates internal failure. Before calling Keurig, complete this final verification:
Last-resort checklist:
– Soak whisk in vinegar solution for mineral deposits
– Test outlet with another appliance (e.g., phone charger)
– Try different milk types at precise temperatures
– Confirm no physical damage to jug or base
Contact Keurig immediately if:
– No lights or sounds appear when plugged in
– Burning smell during operation
– Continuous blinking persists after 3 full cleanings
– Serial number shows warranty coverage (check base bottom)
Keurig Customer Service: 1-866-901-BREW (2739)
Have your serial number ready—warranty covers 1 year from purchase date.
Critical Takeaway: Keurig frother blinking lights are your machine’s lifeline—not a death sentence. By matching light patterns to these precise fixes, you’ll resolve 95% of issues before your coffee cools. Implement the weekly maintenance ritual: quick-rinse after use, full whisk soak weekly, and monthly vinegar descaling. Within 30 days, those blinking lights will transform from morning panic triggers into rare, easily solvable hiccups. Your perfect foam is just one correctly seated whisk away—no service calls required.


