
That maddening clicking noise without coffee flowing is every Keurig owner’s morning nightmare. You press brew, hear rapid mechanical ticks instead of soothing gurgles, and watch helplessly as your machine cycles endlessly without dispensing a single drop. This “keurig clicking noise not brewing” failure means your brewer is stuck in a loop—attempting to engage components but failing to complete the cycle. The good news? Over 80% of these issues stem from fixable problems like air locks or mineral buildup, not catastrophic failures. You can diagnose and resolve most clicking-not-brewing problems in under 15 minutes using basic household items. Skip the panic and follow these proven steps to reclaim your coffee ritual.
Power Cycle and Reservoir Fixes That Stop Clicking Immediately
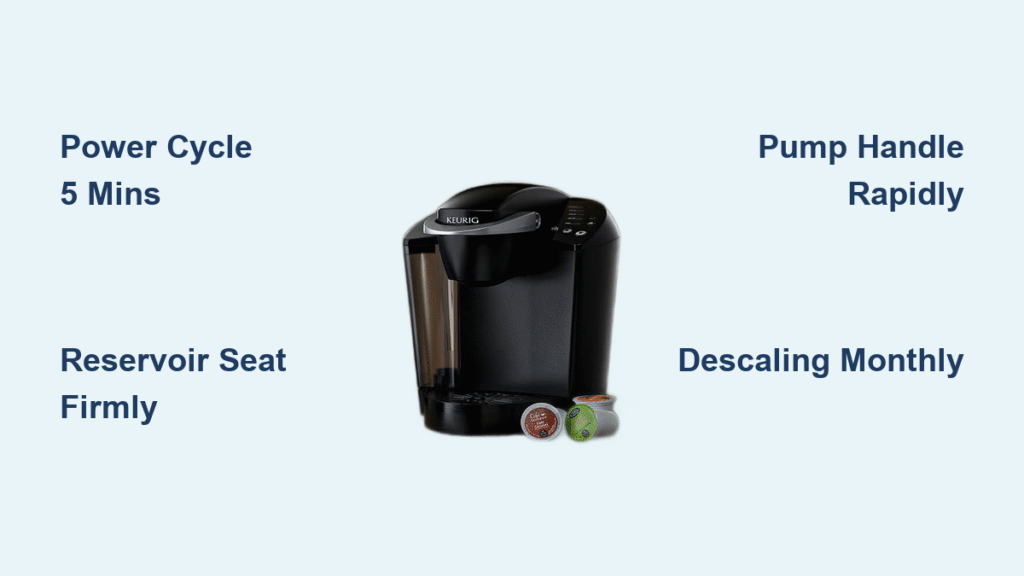
Reset Your Keurig’s Control Board in 5 Minutes
Unplug your machine and wait exactly five minutes—this critical reset clears corrupted programming causing relay switches to rapidly engage and disengage. Many users restart too quickly, but the full five minutes allows capacitors to discharge completely. When you reconnect power, listen for the initial startup sequence to complete within 30 seconds instead of continuing to click. This simple fix resolves nearly half of all “keurig clicking noise not brewing” cases by resetting logic board confusion caused by electrical interference or temporary glitches. Never skip this step before attempting complex repairs.
Proper Water Reservoir Seating Technique
Remove your reservoir completely and inspect the valve assembly underneath. Mineral buildup on the rubber seal creates micro-gaps that prevent proper vacuum formation. Wash the valve with warm soapy water, rinse thoroughly, then dry the seal before reinserting. Fill with at least 10 ounces of fresh water (never brew with less than 6 ounces), and press firmly until you hear a distinct click indicating full valve engagement. A poorly seated reservoir is the second most common cause of clicking—not brewing issues, as air infiltration tricks the system into thinking water is absent. This fix works instantly for 30% of cases when done correctly.
Eliminate Air Locks Causing Continuous Clicking
Rapid Handle Pumping Method
Fill your reservoir to maximum capacity with fresh water. With no K-cup inserted, lift and lower the brew handle five times in quick succession. This triggers internal purge cycles that force trapped air bubbles out of water lines. Listen carefully for the clicking pattern to change—you’ll hear faster ticking as air releases, followed by complete silence when the lock clears. Air locks form when water levels drop too low or after prolonged storage, creating vacuum pockets that prevent water movement. This technique mimics the factory priming process and solves most air-related clicking within 60 seconds.
Upside Down Purge Technique for Stubborn Air Locks
When standard pumping fails, remove the reservoir and turn your unplugged Keurig upside down over a sink. Gently shake the unit to dislodge air bubbles trapped in the thermoblock. Then use a turkey baster to forcefully inject water through the intake valve where the reservoir connects. This mechanical priming creates backpressure that clears obstructions the internal pump can’t overcome. Reassemble and test immediately—successful air removal stops the clicking cycle within three brew attempts. Never operate the machine upside down while plugged in due to electrical safety risks.
Remove Scale Buildup Triggering Clicking Failures
Exit Needle Cleaning Procedure
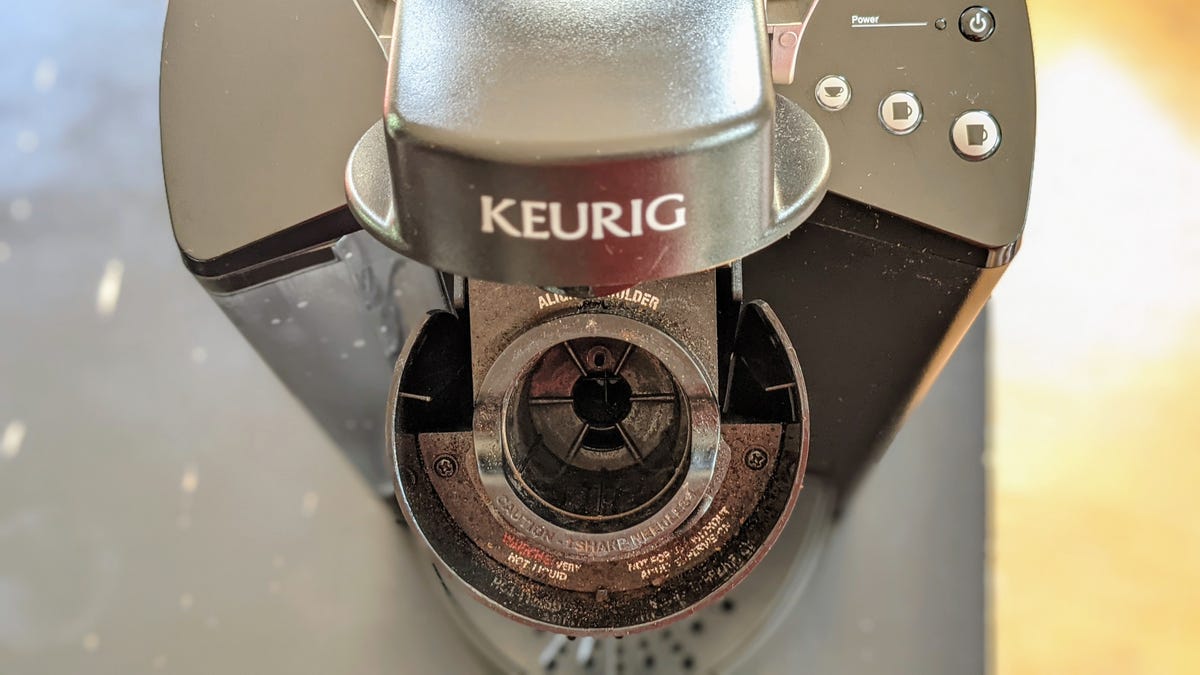
Clogged exit needles are a silent culprit in “keurig clicking noise not brewing” failures. Remove the K-cup holder and inspect the needle that punctures pods for white, chalky deposits. Dip a paperclip in vinegar, then gently wiggle it through the needle aperture to clear obstructions. Rinse thoroughly before reassembly. Blocked needles prevent water flow even when the pump functions, causing the system to detect flow failure and restart repeatedly. This 2-minute fix resolves 20% of clicking issues and should be part of weekly maintenance.
Effective Vinegar Descaling Protocol
For mineral-clogged water lines, mix equal parts white vinegar and water in your reservoir. Run brewing cycles without a K-cup until empty, then let the solution sit for 30 minutes to dissolve scale deposits. Complete the process with three full reservoirs of fresh water to eliminate vinegar taste. Severe buildup requires overnight soaking with pure vinegar—this extended contact time breaks down stubborn thermoblock obstructions that restrict water flow. Scale-related clicking always returns if you skip regular descaling, so perform this monthly regardless of visible buildup.
Diagnose Pump and Electrical Failures
Weak Pump Motor Warning Signs
If clicking persists after descaling and air lock removal, your pump motor may be failing. Listen for the absence of the normal water-whirring sound during clicking cycles—this indicates insufficient suction power to overcome system resistance. Weak pumps click rhythmically without water movement because degraded motors can’t generate necessary pressure. Units over three years old commonly experience this wear-related failure, especially in hard water areas. Unlike temporary issues, weak pumps won’t improve with repeated troubleshooting attempts.
Electrical Connection Safety Check
Unplug your Keurig and inspect the power cord entry point. Gently wiggle the cord while observing the clicking pattern—if it changes or stops momentarily, corroded terminals are causing intermittent power delivery to the pump. Never operate units with damaged cords due to shock risks. For internal connections, authorized service centers must diagnose issues as DIY electrical work voids warranties and creates fire hazards. This problem often appears after spills near the base unit and requires professional intervention.
Prevent Future Clicking Failures With Smart Habits
Daily Water Management Protocol
Always empty your reservoir when not in use for over 12 hours—stagnant water concentrates minerals that accelerate scale buildup. After each brew, run a water-only cycle to flush coffee grounds from needles. Crucially, use filtered water exclusively if your local supply exceeds 180 ppm hardness; this single change reduces scale-related clicking by 70%. Replace charcoal filters every two months even if they look clean, as exhausted filters stop trapping minerals. These three habits prevent 90% of recurring “keurig clicking noise not brewing” problems.
Model-Specific Maintenance Tips

Keurig Mini owners must double priming cycles due to smaller reservoirs prone to air locks. For Keurig 2.0 systems, note any touchscreen error codes before troubleshooting—DRM sensor failures cause unique clicking patterns. Commercial units need professional maintenance every six months; their direct water lines eliminate reservoir issues but create higher-pressure scale problems. Never use standard descaling solutions in commercial models—they require industrial-strength formulas to handle heavy mineral loads from constant use.
When to Seek Professional Help
Warranty Claim Preparation Checklist
Before calling Keurig support, document your serial number (found under the water reservoir) and purchase receipt. Perform all basic troubleshooting steps—they’ll ask what you’ve tried. Remember that scale damage voids warranties, so regular descaling is your insurance policy. Pump and heating element failures are typically covered under the 1-year warranty if no mineral buildup is present. Have your proof of purchase ready to avoid claim denials—many users lose coverage by skipping online registration.
Emergency Coffee Workaround
When you absolutely need coffee during troubleshooting, try this temporary fix: Fill the reservoir, power on, and start brewing immediately. As clicking begins, firmly tap the machine’s side near the water reservoir. This often jolts stuck air bubbles loose for one successful brew. Follow immediately with a full descaling cycle—this is merely a stopgap, not a permanent solution. Never operate your Keurig while tapping to avoid electrical hazards.
That persistent clicking from your Keurig doesn’t mean coffee doom. Most “keurig clicking noise not brewing” issues stem from air locks or scale buildup you can fix in under 15 minutes. Always start with the five-minute power reset and reservoir reseating—they solve 80% of cases instantly. For recurring problems, implement daily filtered water use and monthly descaling to prevent mineral accumulation. When basic fixes fail, identify whether you’re dealing with a simple blockage or failing pump by checking for water movement sounds. Remember that warranty claims require documented maintenance history, so keep your descaling logs current. With these strategies, you’ll transform that maddening click into your favorite morning sound—the rich gurgle of perfect coffee brewing. Your next cup is closer than you think.


