
That first cup of coffee should be effortless—not a frustrating puzzle of buttons and settings. When your Keurig sits on the counter promising instant coffee but delivers confusing results instead, it defeats the whole purpose of single-serve convenience. Whether you just unboxed your first Keurig or have struggled with inconsistent results for months, you’re about to discover exactly how to use Keurig K-Cup systems to brew flawless coffee in under 90 seconds.
Most users never realize their Keurig has hidden features that dramatically improve coffee quality, nor do they understand why their machine behaves differently than their friend’s model. This guide cuts through the confusion with model-specific instructions, troubleshooting for common issues, and professional tips that transform your daily brew from mediocre to exceptional. By the end, you’ll know precisely how to use Keurig K-Cup systems to match your exact coffee preferences.
Standard Keurig Models: Your Daily Brewing Routine
K-Classic and K-Select Operation Steps
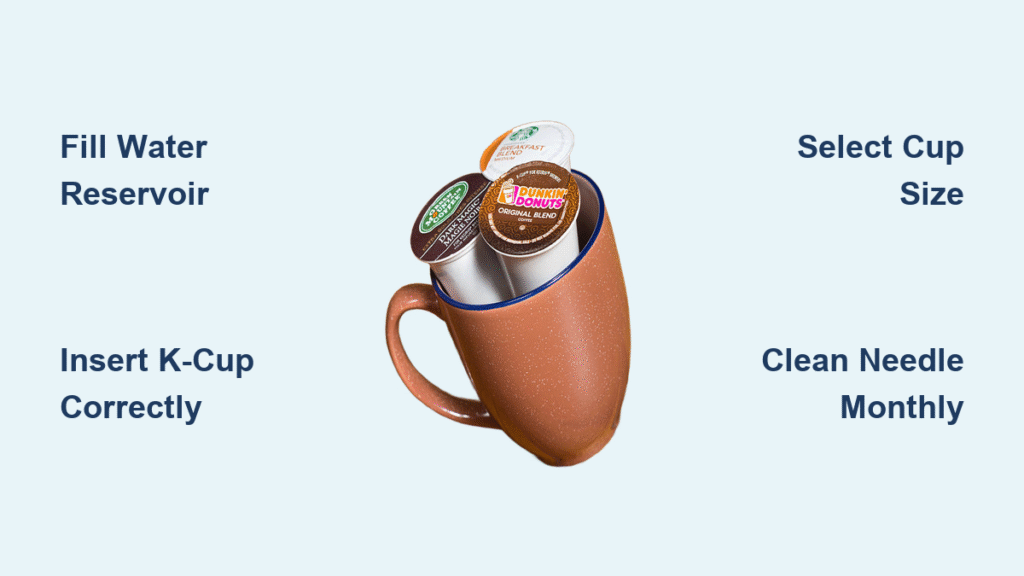
Your morning coffee should take less time than brewing with traditional methods. Start by filling the water reservoir to the MAX line with fresh, cold water—never hot tap water which affects taste. Power on your machine and wait for the blue indicator light, signaling it’s fully heated. Lift the handle completely until it clicks, insert your K-Cup with the foil side up (don’t remove the seal!), then firmly close the handle until you feel resistance. Select your desired cup size—6, 8, 10, or 12 ounces—based on your mug size, and press brew.
Critical mistake to avoid: Forcing the handle closed when it doesn’t seat properly creates leaks and brewing failures. If it won’t close smoothly, remove the K-Cup and reinsert it. Listen for the distinctive hissing sound during brewing—this indicates proper water pressure. After brewing completes in 60-90 seconds, immediately remove the used K-Cup to prevent mold buildup.
Why Your First Cup Should Be Water-Only
Before brewing your first actual coffee, run a water-only cycle to flush manufacturing residues and heat internal components. This simple step prevents that initial “plastic” taste many new users experience. Fill the reservoir, select the largest cup size, and press brew with no K-Cup inserted. Discard this water, then proceed with your first coffee pod.
Mini and Slim Models: Water-Per-Brew Systems Simplified
K-Mini and K-Slim Measurement Guide
These compact models operate differently than standard Keurigs—they require water measurement for each individual brew. Pour cold water directly into the water well up to the line matching your desired cup size: 6 oz for small coffee mugs, 8 oz for standard mugs, 10 oz for large mugs, and 12 oz for travel mugs. Never exceed the 12 oz mark as this causes overflow and weak coffee.
Pro tip: Use a measuring cup the first few times to calibrate your eye—most users accidentally pour too little water, resulting in overly strong coffee. Place your K-Cup in the holder, close the handle firmly, position your mug, and press brew. The machine automatically uses all water added to the well, so precise measurement is crucial.
K-Duo Plus Dual System Mastery

Single-Serve vs. Carafe Mode Switching
The K-Duo Plus gives you the best of both worlds but requires understanding its dual functionality. For single-serve K-Cup brewing, follow standard model instructions. For carafe brewing, pull the filter drawer completely out, add 1 tablespoon of ground coffee per cup desired, push the drawer back until it clicks, select the carafe icon, choose your cup amount (6-12 cups), and press brew.
Key insight: The STRONG button works for both brewing modes, extending extraction time by 30-45 seconds for bolder flavor without bitterness. Press this before starting your brew cycle. During carafe brewing, the pause-and-pour feature lets you remove the carafe for up to 20 seconds to pour a quick cup—the machine automatically resumes brewing when replaced.
Fix These 3 Common Brewing Problems Immediately
Machine Won’t Power On? Check These First
Before assuming your Keurig is broken, verify the power connection—unplug and firmly reconnect the cord. Test the outlet with another appliance to confirm it’s working. Look for the blue indicator light; no light means power isn’t reaching the machine. If the circuit breaker tripped, reset it before trying again. Many users overlook that some models require holding the power button for 3 seconds to activate.
Weak Coffee? Adjust These Settings
Weak, watery coffee usually stems from incorrect settings rather than bad K-Cups. Always use the STRONG setting on compatible models for better extraction. Choose a smaller cup size than your mug can hold—selecting 6 oz instead of 10 oz for the same mug creates stronger coffee. Check your K-Cup expiration date as flavor degrades over time. For best results, run a hot water cycle first to ensure proper brewing temperature.
Coffee Grounds in Your Cup? Clean This Component
Finding coffee grounds in your cup means the puncture needle isn’t functioning properly. Remove and reinsert the K-Cup to ensure proper seating. Clean the needle monthly by lifting the handle, inserting a paper clip into the top and bottom needle holes, and gently clearing any coffee grounds. Never reuse K-Cups—even single use damages the internal filter. Check for visible damage to the K-Cup foil seal before brewing.
Monthly Maintenance That Prevents Costly Repairs

Descaling Schedule Based on Water Hardness
Hard water areas require descaling every 2-3 months, while soft water regions can stretch to 6 months. Signs you need descaling now include slow brewing times, strange noises during operation, coffee tasting off, or visible mineral buildup. Never use vinegar—Keurig recommends only their descaling solution to avoid damaging internal components.
Step-by-step descaling: Empty the reservoir completely, add the entire descaling solution packet, fill to MAX line with water, run brew cycles until reservoir empties, then rinse thoroughly with 3-4 fresh water cycles. Skipping this maintenance causes permanent damage to heating elements.
K-Cup Selection and Storage Secrets
Flavor Optimization Strategy
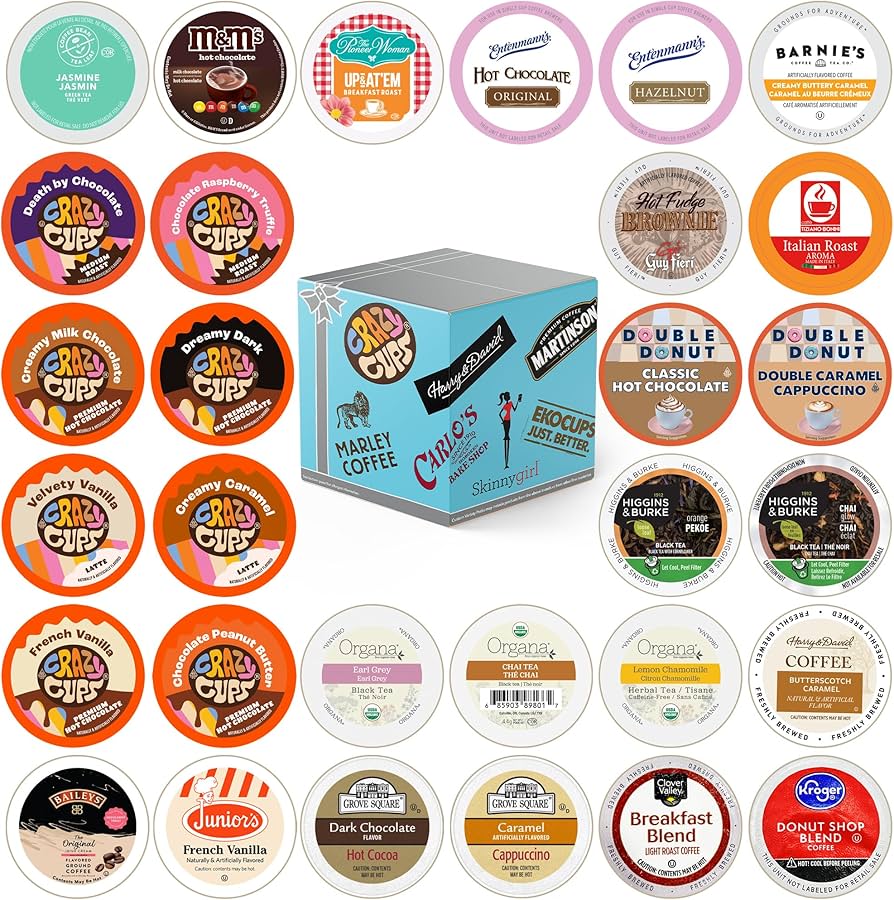
Start with variety packs to discover your preferences: light roasts for breakfast blends, medium roasts for balanced flavor, dark roasts for bold coffee, and specialty pods for tea or hot chocolate. Store variety packs vertically in their original boxes for easy identification and to prevent crushing. Check roast dates rather than just expiration dates—coffee flavor degrades significantly after 6 months.
Eco-friendly alternative: The reusable My K-Cup filter lets you use your favorite ground coffee while reducing waste. Fill the filter with 1 tablespoon of medium-ground coffee, place it in the holder, and brew as usual. Requires thorough cleaning after each use but saves money long-term.
Pro-Level Brewing Techniques You’re Missing
Temperature Control for Perfectly Hot Coffee
Pre-heat your mug by running a hot water cycle before brewing—this prevents lukewarm coffee when using cold ceramic mugs. For travel mugs, remove the drip tray on compatible models to accommodate taller cups. Most travel mugs require the 10-12 oz setting to fill properly without overflow.
Flavor hack: Add a pinch of cinnamon, nutmeg, or a drop of vanilla extract directly to your cup before brewing—the hot water extracts these flavors perfectly without extra equipment. This works especially well with medium roast K-Cups.
Your Keurig becomes effortless after mastering these model-specific techniques. Start with the correct water measurement for your machine type, use the STRONG setting when needed, and maintain your machine with regular cleaning. Within days, you’ll navigate your Keurig with confidence, consistently brewing café-quality coffee that perfectly matches your taste preferences—no more weak, watery cups or confusing button combinations. The secret isn’t just knowing how to use Keurig K-Cup systems, but understanding how to optimize them for your specific coffee preferences.


