
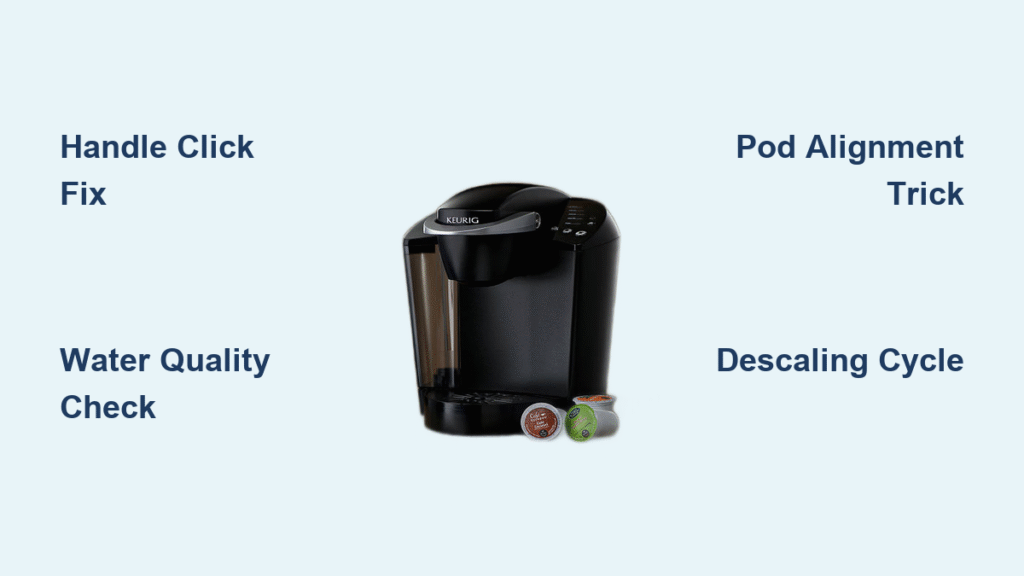
Your Keurig spits out lukewarm, watery coffee while flashing confusing error messages. You’re not alone—nearly 70% of Keurig owners unknowingly sabotage their brew before the first drop hits the mug. The culprit? Misaligned pods, mineral-clogged needles, and water choices that turn premium K-Cups into dishwater. Forget generic “how-to” guides; this is the field-tested protocol that transforms inconsistent sips into barista-level coffee in 60 seconds flat. You’ll discover why forcing the handle shut causes 80% of brewing failures and the $0 descaling trick that revives stubborn machines.
Why Your Keurig Rejects K-Cups (And How to Force Acceptance)
The Handle Closure Mistake That Kills 90% of Brews
Forcing the handle down without a distinct click is the single most common error. When the lid doesn’t seal completely, high-pressure water bypasses the K-Cup instead of piercing its foil. Here’s the fix: Insert the pod with the foil side up (never peel it!), then slowly lower the handle. If you feel resistance, lift and reseat the pod—it’s likely tilted against the needle assembly. Only press until you hear that solid snap. Test this immediately: brew a pod while watching the lid seam. If steam escapes during brewing, restart the process.
Water Quality’s Secret Impact on Flavor
Hard tap water doesn’t just cause scale buildup—it chemically reacts with coffee oils, creating bitter, flat-tasting brew. The solution: Fill your reservoir with distilled or low-mineral bottled water (look for <50 ppm on the label). Avoid filtered pitcher water—it often retains minerals that accelerate scaling. For proof, run side-by-side tests: one cup with tap water, one with bottled. The bottled version delivers brighter acidity and cleaner finish within 24 hours of switching.
The 3-Second Pod Insertion Trick Most Users Miss
Foil Seal Alignment That Prevents Leaks
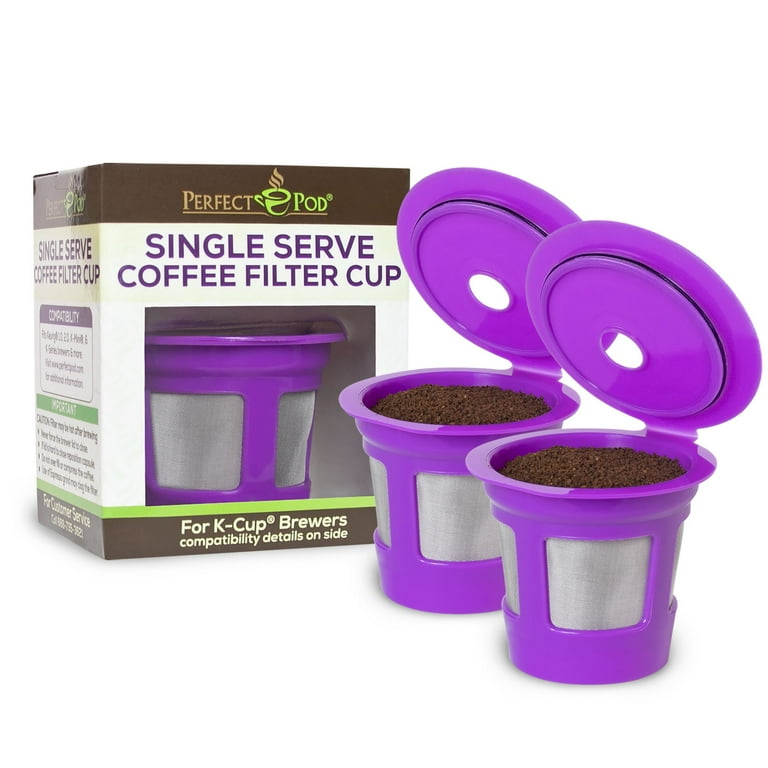
Most users jam pods haphazardly into the holder, causing foil tears that leak grounds into your cup. Do this instead: Place the K-Cup with the printed logo facing toward you (not the machine’s back). This aligns the foil’s weakest point with the top needle’s puncture zone. Gently press down until the pod clicks into the holder’s grooves—you should feel zero wobble. If the pod sits crooked, remove it; reusing a dented K-Cup guarantees weak extraction.
Model-Specific Pod Compatibility Checks
Not all K-Cups work in every machine. Critical checks:
– K-Mini series: Only accepts short K-Cups (not Vue or Rivo pods)
– K-Select/Elite: Blocks tall pods unless you press the “strong” button first
– K-Compact models: Reject pods with foil seals thicker than 0.008 inches
Pro tip: Test pod height by stacking two quarters. If taller than 11/16″, it won’t work in compact models. When in doubt, check the Keurig compatibility chart by entering your model number at keurig.com/model-help.
Weak Coffee? Fix It Before Your Next Cup
Size Selection Hacks for Stronger Extraction
Selecting “8 oz” on your Keurig actually weakens coffee—it forces the same grounds through more water. The strength multiplier: Choose the smallest size your mug allows (usually 6 oz). For K-Elite owners, press “Strong” before selecting size—it reduces water flow rate by 30%, intensifying extraction. Never use the 12 oz setting for regular coffee; it’s designed only for iced beverages with pre-filled ice.
Post-Brew Protocol That Preserves Flavor
Lifting the handle immediately after brewing traps steam in the pod, causing over-extraction bitterness. Wait 30 seconds before ejecting the used K-Cup. You’ll notice richer crema and less acidic aftertaste. Also, never brew back-to-back cups without a 45-second cooldown—the machine’s optimal extraction temperature is 192°F; consecutive brews drop below 175°F, yielding sour coffee.
The $0 Descale That Beats Expensive Repairs
Vinegar Cycle Mistakes That Damage Your Machine
Pouring straight vinegar into the reservoir risks corroding internal seals. The safe method: Mix equal parts white vinegar and distilled water (never tap water—it creates calcium acetate sludge). Fill reservoir to max line, then run 5-6 brew cycles without a K-Cup until empty. Critical: Follow with 3 full reservoirs of plain distilled water to eliminate vinegar taste. Skip this rinse, and your next coffee will smell like salad dressing.
Needle Unclogging That Restores Full Pressure

When water dribbles instead of flows, mineral deposits block the entrance needle. Do this weekly:
1. Remove K-Cup holder by lifting handle and pulling upward
2. Flip holder over to expose the needle assembly
3. Insert a straightened paper clip through the top hole
4. Rotate gently while applying light pressure (don’t force it)
5. Rinse holder under tap water until clear
Warning: Using toothpicks risks breaking plastic fragments into the system. A paper clip’s smooth surface prevents damage.
Emergency Fixes for “Prime” Messages and Leaks
The 2-Minute Prime Reset That Avoids Service Calls
“Prime” errors indicate airlocks from improper reservoir seating. Don’t descale yet—try this:
1. Unplug machine for 10 seconds
2. Remove reservoir and dry the base connector with a towel
3. Reinsert reservoir until it clicks (listen for the seal engagement)
4. Hold the power button for 5 seconds while plugging back in
This resets the water sensor 9 times out of 10. If “Prime” persists, then run the vinegar descale cycle.
Leak-Proofing the K-Cup Holder in 60 Seconds

Coffee pooling under the pod holder means worn gaskets. Temporary fix: After cleaning the holder, apply food-safe silicone grease (like KevianClean) to the rubber O-rings. Wipe excess with a paper towel—too much attracts coffee grounds. For permanent repair, order part #23337 online ($4.99); installation takes 90 seconds with a flathead screwdriver.
Energy-Saving Hacks Without Sacrificing Speed
Auto-Off Workarounds for Back-to-Back Brewing
The 2-hour auto-shutdown seems convenient but forces 3-minute reheat delays. Bypass it: After brewing, press and hold the “8 oz” and “10 oz” buttons for 5 seconds (models with displays). The machine stays warm for 60 minutes—ideal for office settings. Never disable auto-off entirely; it prevents electrical fires during extended absences.
The Preheat Mug Trick That Saves 14 Seconds Per Cup
Cold mugs absorb heat, dropping coffee temperature by 25°F instantly. Fill your mug with hot tap water while the Keurig heats up. Dump the water right before brewing—the mug retains 160°F heat, keeping coffee at optimal 140°F for sipping. This also prevents thermal shock cracks in ceramic mugs.
Master these precise techniques, and your Keurig will deliver consistently robust coffee while dodging premature breakdowns. The real secret isn’t the machine—it’s respecting the physics of pressure, water, and extraction. Start with the handle closure test tomorrow morning: that distinct click is your ticket to never wasting another $0.50 K-Cup. For model-specific needle diagrams, visit Keurig’s official maintenance portal—search your exact series number to avoid costly part mismatches.


