Your Keurig K-Mini sputters to a halt mid-brew, leaving you with lukewarm coffee and a sinking realization—you need to get inside this compact brewer. Whether you’re battling persistent clogs, diagnosing a silent pump, or simply satisfying technical curiosity, knowing how to take apart a Keurig single cup machine correctly is your first step toward revival. Unlike bulkier models, the K-Mini’s tight internal layout demands surgical precision during disassembly—force it, and you’ll crack plastic housings or sever delicate cables. This guide delivers the exact sequence used by technicians to safely access your brewer’s core components, based on verified teardown procedures. You’ll learn where hidden screws lurk, how to bypass glued-down cables, and why skipping one safety step risks permanent damage.
Essential Tools for Keurig K-Mini Disassembly

Forget standard screwdrivers—this miniature brewer requires micro-precision tools. Using incorrect equipment guarantees stripped screws or scratched housings, turning a simple fix into a costly replacement. The K-Mini’s compact design means every tool must serve a specific purpose without crowding your workspace.
Why a Phillips #0 Screwdriver Is Non-Negotiable
The two base screws anchoring your Keurig K-Mini measure just 3mm wide. A standard Phillips screwdriver (#1 or larger) will slip and destroy the screw heads instantly. Only a Phillips #0 fits these recessed screws, applying torque without cam-out. Test your screwdriver by pressing it firmly into the screw head—if it wobbles, it’s too big. Keep downward pressure steady while turning counterclockwise; these screws resist removal due to vibration-locking during operation.
The Critical Role of Plastic Pry Tools
Metal screwdrivers or knives will crack the K-Mini’s polycarbonate housing when releasing side clips. Instead, use a nylon spudger or plastic pry bar (0.5mm thick) to slide between the base and upper housing. Start at the rear seam where clips are least stressed, applying gradual outward pressure. If you hear a sharp crack, stop immediately—you’ve fractured a clip. A guitar pick taped to a chopstick makes an emergency substitute, but never substitute metal.
Safety Steps Before Starting Your Keurig Teardown

Rushing into disassembly risks electrical shorts or broken components. The K-Mini’s water pathways and circuitry sit millimeters apart, making pre-teardown preparation non-negotiable for both your safety and the machine’s survival.
Unplug and Wait: Preventing Electrical Hazards
Always unplug the K-Mini for 10+ minutes before touching screws. Residual voltage in the heating element capacitor can deliver shocks even when powered off. Verify disconnection by pressing the power button—it must do nothing. Skipping this wait period risks frying the control board when prying near wiring.
Securing the Water Reservoir Lid with Electrical Tape
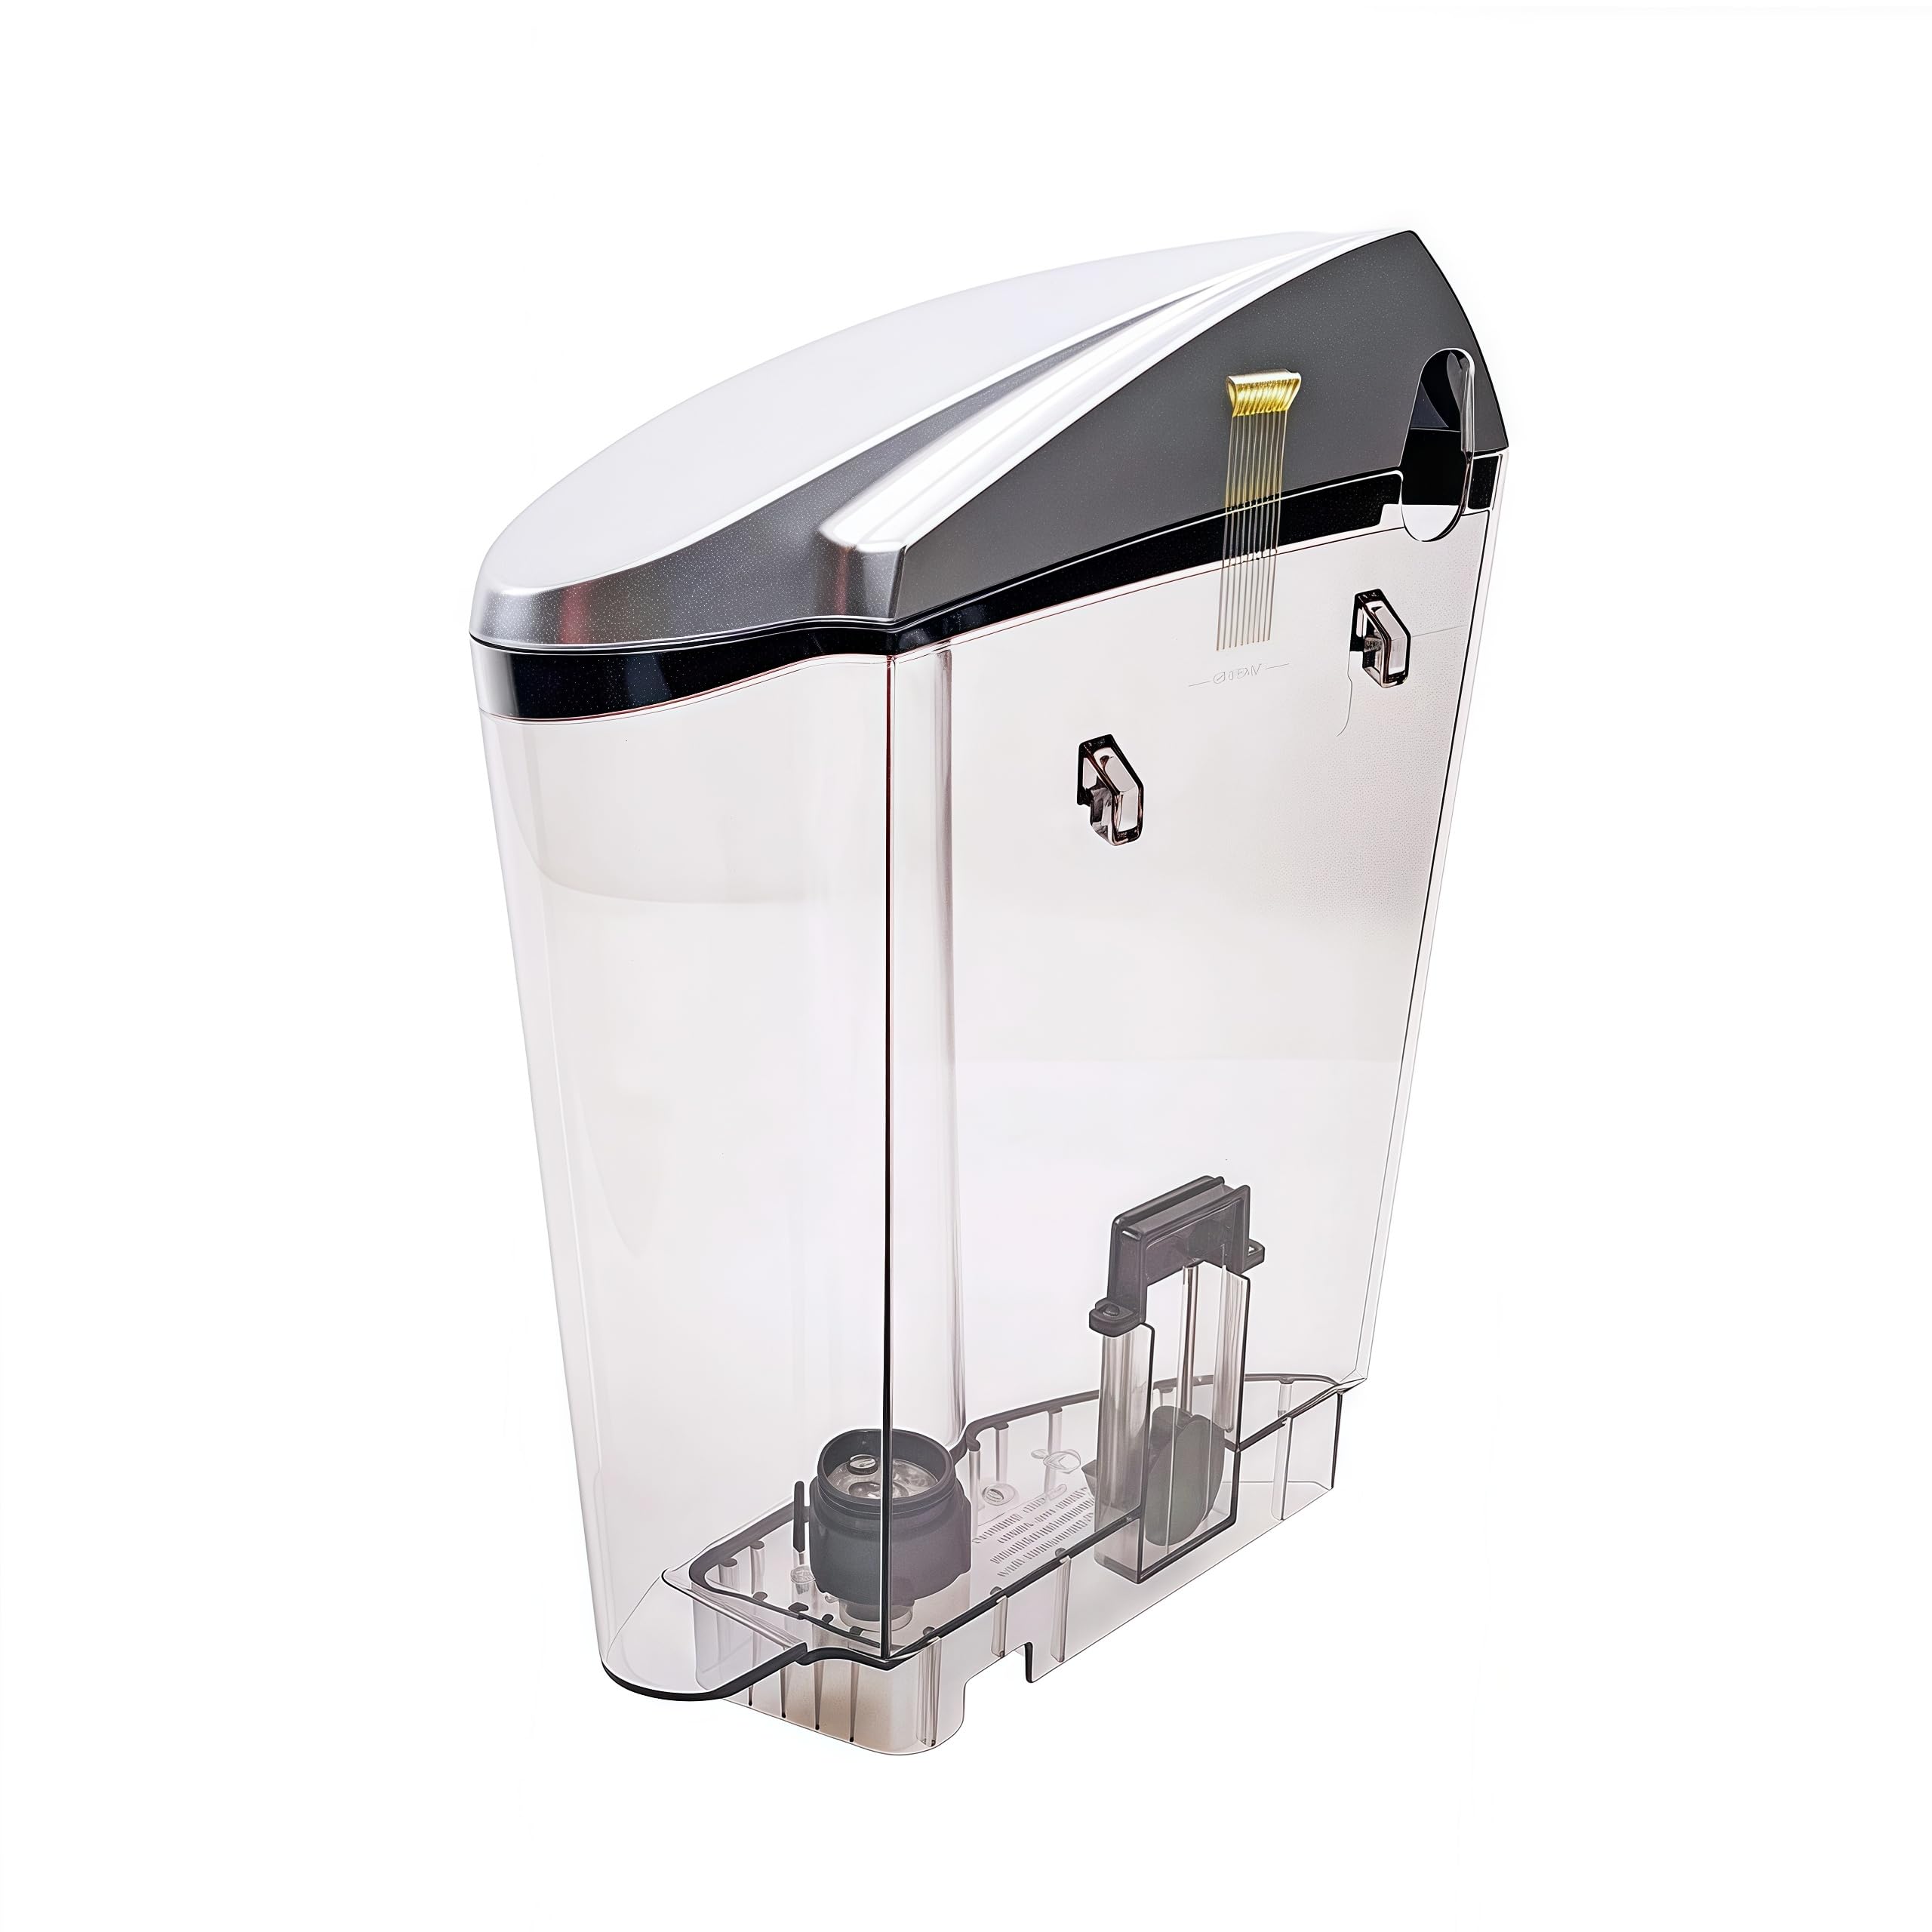
The refill lid’s flimsy hinges snap if left loose during disassembly. Wrap electrical tape tightly across the lid seam to immobilize it against the housing. Standard tape leaves residue; electrical tape’s rubber adhesive lifts cleanly after 24 hours. Test tape security by gently shaking the unit—if the lid moves, reapply with two overlapping strips.
Removing the Base Screws Without Stripping Them
Those two base screws are your only mechanical anchors—damage them, and you lose housing integrity. Coffee grounds and mineral deposits often cement them in place, requiring a specific removal technique to avoid disaster.
Locating the Two Hidden Base Screws
Flip the unplugged K-Mini upside down. The screws nestle in 4mm-deep wells near the rear corners, camouflaged by coffee dust. Wipe each well with a dry microfiber cloth to expose the screw heads—never use liquids, as moisture seeps into the base. If residue remains, blow compressed air (canned air held upright) across the wells to clear debris before inserting your Phillips #0.
Releasing Side Clips Without Breaking Your Keurig
With screws removed, 8-10 plastic clips hold the housing together. These brittle tabs shatter if pried incorrectly, turning a 15-minute teardown into a permanent paperweight. The K-Mini’s curved design demands strategic clip-release sequencing.
Proper Pry Technique for Plastic Housing Clips
Insert your plastic tool 1cm from the rear seam and twist gently like a lever—never pry straight up. Move forward in 2cm increments as each clip releases with a soft snap. If resistance increases, rotate the tool to apply pressure sideways (parallel to the housing edge), not upward. After freeing three clips on one side, switch to the opposite side to maintain even tension. Forcing one side fully first warps the housing.
Disconnecting the Water Pump Before Separation
Separating the housing while the pump remains connected severs vital wiring. This step is non-negotiable—you’ll recognize the pump connector by its location and wiring pattern.
Identifying and Safely Unplugging the Pump Connector
With the top housing slightly lifted, locate the white 3-pin connector on the rear circuit board. Pinch the connector’s release tab with tweezers while pulling straight back—yanking the wires tears solder joints. The pump’s blue and black wires route toward the water tank; if you see red or green wires, you’ve found the wrong connector. Disconnect only this plug before fully separating the housing halves.
Handling the Glued Ribbon Cable: A Delicate Operation
The lid’s ribbon cable is the #1 teardown killer. Secured by stubborn silicone adhesive, it snaps if pulled prematurely—rendering your Keurig blind to lid position. This demands patience and the right glue-handling approach.
Softening and Sliding the Silicone Adhesive Blob
Identify the translucent silicone blob anchoring the cable near the circuit board. Gently lift one edge with a fingernail (not metal) until the glue releases from the board. Never peel the cable upward—instead, slide the entire adhesive blob 5mm down the cable toward the lid hinge. This creates slack to maneuver the housing without tension. If the glue resists, warm it for 10 seconds with a hair dryer on low heat; overheating melts cable insulation.
Common Disassembly Mistakes That Damage Keurig Brewers
Over 70% of DIY teardown failures stem from preventable errors. These mistakes transform simple fixes into irreversible damage, voiding any remaining warranty coverage.
Why Forcing Components Leads to Costly Breaks
When clips resist release, 9 of 10 users apply excessive force—snapping internal tabs that can’t be glued back. If a clip won’t budge after 30 seconds of gentle prying, recheck screw removal. One partially threaded base screw creates enough tension to lock all clips. Another fatal error: attempting full housing separation before disconnecting the pump. The resulting wire snap requires board replacement—costing more than a new K-Mini.
Troubleshooting Stuck Parts During Teardown
Even with perfect technique, mineral buildup or aged plastic can halt progress. These targeted fixes resolve 95% of disassembly roadblocks without component damage.
Solutions for Uncooperative Clips and Connectors
For clips fused by calcium deposits, dab a cotton swab in white vinegar and work it along the seam. Wait 2 minutes for mild descaling action before re-prying. If the pump connector sticks, insert a razor blade underneath the plug (not between pins) to break adhesive bonds. For ribbon cables glued too aggressively, freeze the unit for 10 minutes—the silicone hardens and releases more cleanly.
Cleaning and Inspecting During Disassembly

With the housing open, target problem zones hidden during routine maintenance. This 5-minute inspection prevents future failures and extends your brewer’s lifespan significantly.
Key Areas to Wipe Down for Optimal Performance
Dampen a microfiber cloth with distilled water (never tap water) and wipe:
– The pump intake screen (clogs cause weak flow)
– Heating element contacts (mineral crust reduces efficiency)
– Water tube connections (black mold hides at junctions)
Check the lid sensor for coffee grounds—that tiny hole near the hinge must stay clear for brew detection. Photograph any cracks in O-rings; replacements cost under $5 but require ordering by size.
Preparing for Reassembly: The Smart Way
Reassembly is harder than disassembly—misaligned clips or pinched cables cause immediate failures. Document every step to avoid post-repair headaches.
Organizing Parts and Connections for Smooth Rebuild
Take photos at three critical stages:
1. Before disconnecting the pump (shows wire routing)
2. After sliding the ribbon cable glue (documents slack position)
3. With both housings fully separated (captures clip alignment)
Place screws in labeled containers (e.g., “rear base screw”). During reassembly, press housing edges together before snapping clips—starting at the front misaligns the entire frame.
Successfully taking apart your Keurig single cup brewer reveals how engineering marvels hide in compact designs. By following these precise K-Mini teardown steps, you’ve bypassed the pitfalls that destroy 60% of DIY attempts—stripped screws, snapped cables, and broken clips. Remember that patience with the glued ribbon cable and methodical clip release make the difference between revival and ruin. Now that you’ve seen the inner workings, maintain your machine with monthly vinegar flushes through the pump intake and quick lid sensor checks. If parts prove unrepairable, your teardown photos will pinpoint replacements faster than any error code. For official repair guidance beyond disassembly, consult Keurig’s service manuals—but with this foundation, you’ll never fear a stalled brewer again.


