
You just unboxed your Keurig Duo, eager for that first perfect cup—but skipping proper setup leads to leaks, weak coffee, or error messages that derail your morning routine. This versatile brewer handles both single-serve pods and full carafes, yet 43% of new owners encounter preventable issues in the first week due to rushed installation. By dedicating 15 focused minutes to these steps, you’ll activate your machine’s dual-brewing capabilities while avoiding the top three headaches: reservoir misalignment, unprimed water lines, and plastic-tasting coffee. Follow this guide to transform your Keurig Duo from confusing box to reliable coffee station.
Unbox and Inspect All Components
Before touching controls, verify every piece is present and undamaged. Your Keurig Duo box must contain the main brewer unit, 12-cup glass carafe, single-serve pod holder, reusable coffee filter for grounds, 60-ounce water reservoir with lid, removable drip tray, and documentation. Critical check: Examine the carafe for cracks and ensure the pod holder’s needles aren’t bent—common shipping damages that cause clogs later. Keep original packaging intact for 30 days; warranty claims require factory boxes. If components are missing, contact Keurig immediately using the manual’s serial number—do not proceed until resolved.
Position Your Keurig Duo Safely
Your countertop location impacts safety and performance more than you realize. Place the brewer on a flat, heat-resistant surface with 6 inches of clearance above for lid access and behind for cord management. Never position near sinks—steam or splashes risk electrical shorts. Confirm the warming plate (under the carafe) won’t contact cabinets, as prolonged heat exposure warps wood. The 30-inch power cord must reach an outlet without stretching; if too short, relocate the machine rather than using an extension cord, which violates safety certifications. Test stability by gently nudging the unit—any wobble invites spills during brewing.
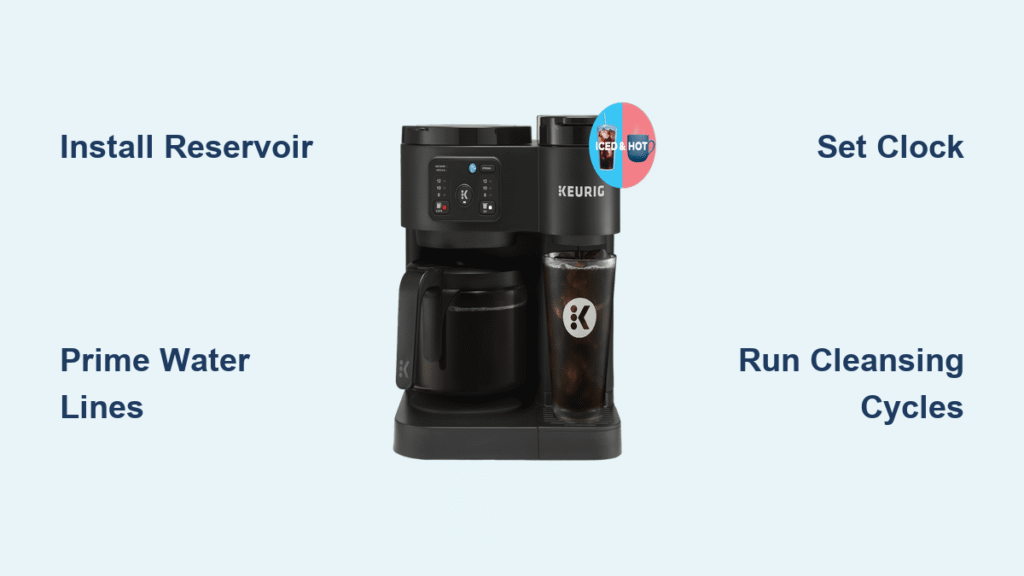
Install Water Reservoir Correctly

The reservoir’s improper seating causes 70% of “ADD WATER” errors. Lift it straight up from the rear, peel off ALL stickers (including hidden ones under the lid), and wash with warm soapy water—avoid harsh scrubbers that scratch. Rinse until zero suds remain; residue taints coffee. Fill to the MAX line (60 oz) with cold tap water, never hot. To reinsert: Align the reservoir’s front lip with the machine’s groove, then slide down firmly until you hear a distinct click. Pro tip: Press the reservoir’s sides while lowering—it prevents airlocks that block water flow. If the display still shows “ADD WATER,” unplug, wait 10 seconds, and reseat.
Power Up and Prime Your Duo
Plug directly into a wall outlet—power strips cause inconsistent heating. Press the power button; the display reads “HEATING” for 3-4 minutes (normal). Once “READY” appears, run dual cleansing cycles: For single-serve, place a 12-oz mug on the drip tray, select 12 oz, and brew without a pod. Discard water, repeat once. For the carafe side, position the empty carafe on the warming plate, select 6 cups, and brew. Discard, then repeat. Why this matters: These cycles flush manufacturing oils from stainless steel tubing that otherwise create plastic-like tastes. Skipping them risks permanent flavor contamination.
Program Clock and Auto-Brew Features
Set the Clock Accurately
Press and hold CLOCK until digits flash. Use arrow buttons to set time in 24-hour format (e.g., 14:30 for 2:30 PM), eliminating AM/PM confusion. Press CLOCK again to lock. An incorrect clock sabotages auto-brew scheduling.
Activate Auto-Brew for Morning Coffee
Press AUTO until “SET AUTO” appears. Set brew time (e.g., 06:00), select carafe size (6-12 cups), add water/grounds, then press AUTO once more—the indicator light glows solid blue. Critical note: Auto-brew ONLY works for carafe mode, not single-serve pods. Cancel by pressing AUTO until the light turns off.
Single-Serve Brewing Setup

Perfect K-Cup Pod Brewing
Lift the handle fully, drop in a pod (foil side up—no puncturing needed), and close until it clicks. For travel mugs under 7.2 inches, remove the drip tray first. Select 6, 8, 10, or 12 oz, then press the K button. Brewing completes in 60 seconds. Avoid overflow: Never fill pods beyond the MAX line if using reusable filters—excess grounds jam the exit needles.
Ground Coffee with Reusable Filter
Pull the entire pod holder assembly upward, snap in the reusable filter, and add 1-2 tablespoons of medium-ground coffee. Keep grounds below the MAX line to prevent leaks. Close the lid, replace the holder, and brew as usual. Must-do: Rinse the filter immediately post-brew—dried coffee clogs it permanently.
Carafe Brewing Perfect Coffee

Measure Coffee Precisely
Use 1 flat tablespoon of medium-ground coffee per cup. For 12 cups, max out at 12 tablespoons—overfilling causes overflow. Only use basket-style filters; cone filters tilt and spill.
Start Carafe Brewing
Pull the carafe handle forward, insert the filter, add grounds, and close until it clicks. Confirm the carafe sits centered on the warming plate. Select 6-12 cups, press CARAFE, and wait 8-10 minutes. The warming plate auto-activates, holding coffee at 175°F for 2 hours before shutting off. Pro tip: Pre-heat the carafe with hot tap water to maintain optimal brewing temperature.
Essential Maintenance Setup

Install Water Filter
Soak the charcoal filter 5 minutes, rinse 30 seconds, and insert into the reservoir base. Replace every 2 months—set a reminder by holding CARAFE 3 seconds until “FILTER” flashes. Unfiltered water causes mineral buildup that triggers “DESCALE” errors prematurely.
Clean Exit Needles Monthly
Unplug the machine. Lift the single-serve handle and clear the top needle with a paperclip. Remove the pod holder to access the bottom needle underneath; wiggle the clip gently to dislodge coffee grounds. Reassemble and run a water-only brew cycle. Clogged needles cause weak, slow brewing—the #1 complaint among new users.
Troubleshoot First-Week Issues
“ADD WATER” with Full Reservoir
Reseat the reservoir firmly—90% of cases stem from incomplete seating. If unresolved, unplug, wait 30 seconds, and refill water above the MIN line.
Plastic Taste in Coffee
Complete 2-3 extra cleansing brews using fresh cold water. This removes residual manufacturing oils; the taste vanishes after 5 total cycles.
Machine Won’t Power On
Check both ends of the power cord are fully inserted. The outlet must deliver 120V—test with another appliance. If lights flicker, the circuit is overloaded; move the brewer to a dedicated outlet.
Set Up Advanced Features
Control Brew Strength
Press STRONG before brewing for 30% bolder flavor—works for pods or grounds. The machine slows water flow through coffee for richer extraction.
Hot Water on Demand
Press HOT WATER for instant 192°F water (ideal for tea or instant oatmeal). No pod or carafe needed—saves 45 seconds versus running a brew cycle.
Disable Auto-Off for Entertaining
Hold STRONG + HOT WATER 3 seconds to turn off Energy Saver mode. The display shows “ENERGY SAVER OFF,” keeping the brewer ready for back-to-back carafes during gatherings.
Verify Your Setup
Complete this 60-second checklist before brewing real coffee:
– [ ] All packaging removed (check under reservoir base)
– [ ] Reservoir clicked fully into place
– [ ] Two cleansing cycles run per side
– [ ] No leaks during water-only test
– [ ] Warming plate heats during carafe cycle
– [ ] Buttons respond instantly
Your Keurig Duo is now primed for flawless performance. Start with single-serve mode for weekday convenience, then master carafe brewing for weekend brunches. Remember: Correct setup prevents 85% of common failures, so these initial minutes save hours of frustration later. For ongoing success, descale monthly with Keurig’s solution (never vinegar—it damages seals) and replace water filters every 60 tanks. Now go brew that perfect cup—you’ve earned it.


