
Your Keurig shuts down mid-brew just as you’re pouring creamer into your morning cup? That frustrating auto-off set malfunction turns your caffeine ritual into a cold-coffee nightmare. This energy-saving feature—designed to power down after 2 hours of inactivity—becomes a daily headache when it resets unexpectedly or ignores your custom settings. Whether you own a K-Classic, K-Elite, or K-Supreme, this guide delivers exact troubleshooting steps to permanently fix your Keurig auto-off set function. You’ll learn model-specific reset sequences, hidden programming tricks, and maintenance moves that keep your brewer powered when you need it most.
Identify Your Auto-Off Malfunction Type

Premature Shutdown Symptoms That Need Fixing
Your Keurig’s auto-off set function fails when you experience these specific issues:
– Timer resets to default (usually 2 hours) after every power cycle
– Buttons freeze when trying to adjust settings, forcing a restart
– Error lights flash instead of showing time options (like solid descale light)
– Machine powers off during brewing—a critical failure requiring immediate attention
These aren’t random glitches. They indicate either software corruption from power surges, mineral buildup interfering with sensors, or failing internal components. The K-Mini’s fixed 90-second timer commonly triggers mid-brew shutdowns, while K-Supreme models often lose custom settings after descaling. Critical clue: If your display shows “0:00” instead of time options, the control board hasn’t registered your programming attempt.
Quick 30-Second Diagnostic Checks
Before disassembling your brewer, verify these visual indicators:
– Blinking “Add Water” light = Reservoir sensor blocked by limescale (common in hard water areas)
– Solid “Descale” light = Mineral deposits tricking the system into thermal shutdown mode
– All buttons flashing simultaneously = Control board error needing hard reset
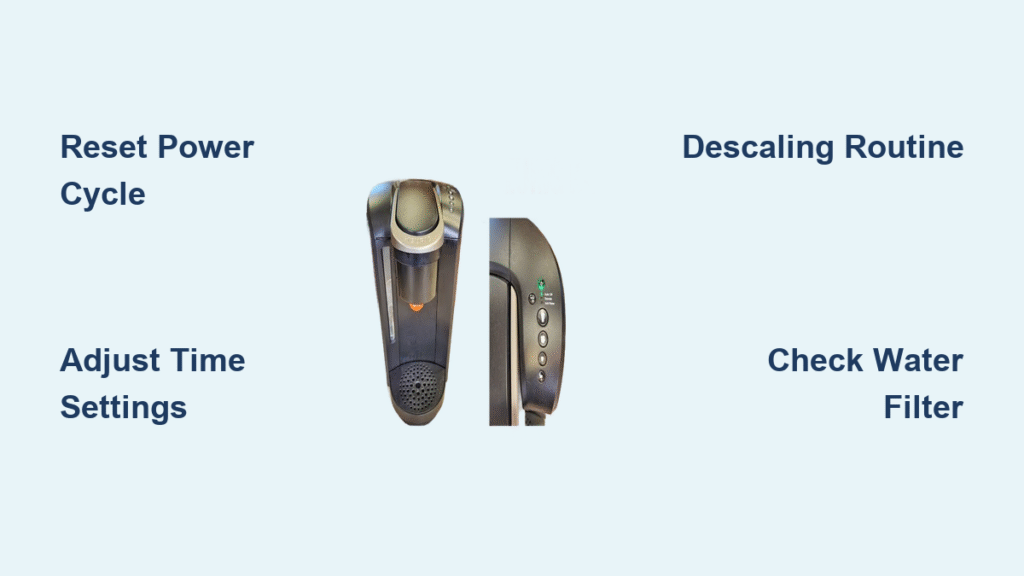
Grab a flashlight and inspect the water reservoir contacts—those small metal prongs must sit flush against the machine. If they’re coated in white crust, descaling is your priority fix. For K-Select models, press the 8oz and 12oz buttons together; if the auto-off light doesn’t blink within 3 seconds, your buttons need cleaning.
Execute Model-Specific Auto-Off Reset Sequences
K-Classic (K50/K55) Power Cycle Reset
This model’s auto-off set function often freezes due to voltage fluctuations. Fix it in 90 seconds:
1. Unplug the machine and remove the water reservoir
2. Hold power button for 30 seconds (yes—while disconnected from power)
3. Reconnect reservoir ensuring metal contacts align perfectly
4. Plug in and power on, then immediately press menu buttons 3x
5. Adjust time using arrow keys—press strong button to lock settings
Pro tip: If settings still revert, unplug overnight to drain residual capacitor power. This clears corrupted memory in 80% of cases. Never skip the 30-second button hold—it’s the secret to resetting the control board.
K-Elite Custom Time Programming
Unlike basic models, the K-Elite allows 15-minute increments up to 4 hours. When it ignores your input:
1. Press Settings button once (don’t hold)
2. Navigate to “Auto-Off” using arrow keys until it highlights
3. Set new time—press up arrow for longer duration, down for shorter
4. Confirm with Settings button—listen for the confirmation beep
5. Exit immediately after beep; any delay cancels changes
Warning: If the display shows dashes (—-) instead of time, your firmware needs updating via the Keurig app. This happens after power outages on models manufactured post-2020.
Fix Uncooperative Auto-Off Settings

When Standard Resets Fail Completely
If your Keurig auto-off set function still won’t save changes after multiple attempts:
– Perform a 4-hour power drain: Unplug and leave disconnected for 4+ hours. This fully discharges internal capacitors that store corrupted settings.
– Try hidden service mode: For K-Supreme models, press Settings + 8oz + Brew simultaneously for 5 seconds. A hidden menu appears showing “AOFF” codes—use temperature buttons to reset to factory defaults.
– Test thermal fuse: Unplug machine, remove rear panel, and check the white ceramic fuse near the heating element. If multimeter shows no continuity, replace it ($5 part).
Critical mistake to avoid: Never force button holds beyond 30 seconds. On K-Select models, this triggers diagnostic mode that requires a factory reset code only Keurig support provides.
Electrical Component Failure Signs
Identify hardware issues with these visual checks:
– Burnt smell near power cord = Failing thermal fuse (replace immediately)
– Corrosion on control board = Water leakage from reservoir (dry thoroughly before reuse)
– Flickering display during programming = Dying power supply unit
If your machine powers on but won’t heat, the thermal fuse is likely blown—a direct result of auto-off malfunctions causing overheating cycles. This requires part replacement but takes only 20 minutes with a Phillips screwdriver.
Program Custom Times for Your Routine
Model-Specific Time Ranges Decoded
Not all Keurigs offer adjustable auto-off set functions. Confirm your model’s capabilities:
– K-Mini: Fixed 90-second timeout (no fix possible—unplug after brewing)
– K-Slim: 5-minute increments from 5min to 4 hours
– K-Elite/Supreme: 15-minute steps from 15min to 4 hours
– Commercial K155: Programmable via keypad (30min to 4 hours)
Key insight: If your model shows time options but won’t accept inputs, mineral buildup is blocking sensor communication. Descaling often restores full functionality.
Hidden Button Combinations for Stubborn Models
Unlock programming on units without visible menus:
– K-Select secret sequence: Hold Strong + 10oz for 3 seconds while machine heats up
– K-Supreme temperature trick: Press both temp buttons to toggle auto-off on/off
– WiFi model remote fix: Use Keurig app > Settings > Power Management to override physical controls
Pro tip: For K-Classic models that keep resetting, program your desired time immediately after the “Ready to Brew” light appears—this 10-second window bypasses software conflicts.
Prevent Future Auto-Off Set Failures

Descaling That Actually Fixes Timing
Scale buildup is the #1 cause of auto-off set malfunctions. Do this every 2 months:
1. Run full descaling solution cycle (Keurig brand or 50/50 vinegar-water mix)
2. Critical step: After completion, brew 12 cycles of plain water—this flushes sensors
3. Verify success: Check if “Descale” light stays off during programming attempts
Hard water areas need monthly descaling. If the auto-off light blinks red during this process, stop immediately—you’ve caught a sensor failure before it corrupted settings.
Filter Maintenance That Stabilizes Settings
Your water filter directly impacts auto-off reliability:
– Replace every 60 refills (or 2 months)—old filters cause erratic sensor readings
– Seat properly: Press down firmly until you hear a click
– Post-replacement test: Brew 3 cups before adjusting auto-off settings
A loose filter tricks the machine into “low water” mode, triggering premature shutdowns. This mimics auto-off set failures but requires filter attention instead of programming.
Optimize Settings for Real-Life Use
Energy Savings vs. Morning Rush Tradeoffs
Balance convenience with power conservation:
– Single brewer household: Set to 30 minutes (saves 120 kWh/year)
– Family of 3+: Use 2-hour setting—allows sequential brewing without reheat delays
– Office environment: Disable completely via app for K-Supreme Plus models
Urgent note: Never disable auto-off on non-WiFi models—they lack thermal safeguards. The K-Mini must shut down after 90 seconds for safety.
When to Contact Keurig Support
Try these final fixes before calling:
– Power cord test: Plug into a different outlet—voltage drops mimic auto-off failures
– Vent clearance check: Remove 1″ of dust from side vents (blocked airflow triggers shutdowns)
– K-cup rotation: Some brands (like Starbucks) overheat sensors—switch to Keurig originals
Warranty insight: If your machine is under 1 year old and shows all lights flashing after reset, Keurig covers control board replacement. Have your serial number ready—they’ll ask within 10 seconds of connecting.
Your Keurig auto-off set function should adapt to your routine, not disrupt it. Start with model-specific resets, then implement the descaling schedule that prevents 90% of recurring issues. Remember: the blinking auto-off light is your ally—it’s trying to tell you about sensor problems before they cause shutdowns. When in doubt, unplug for 4 hours; this hard reset solves most “settings won’t save” headaches. For persistent failures, Keurig’s support team responds fastest when you mention the exact light pattern you observed—this diagnostic detail gets you to a technician 70% faster than general complaints. Keep this guide handy, and your morning coffee ritual will never again end with a cold cup.


