
That first cup of coffee should be a moment of pure satisfaction, not a test of patience. When your Keurig starts taking three minutes instead of thirty seconds to brew a single cup, you’re facing one of the most common frustrations among coffee lovers. This slow drip problem transforms your quick morning ritual into an exercise in waiting, with that painful trickle of coffee barely filling the cup while you’re already late for work.
The good news is that most Keurig slow drip issues can be resolved with simple troubleshooting steps you can complete in under an hour. You don’t need special tools or technical expertise—just a few household items and some basic knowledge of your machine’s inner workings. In this guide, you’ll discover exactly how to fix Keurig slow drip problems by addressing the root causes, implementing effective cleaning techniques, and establishing maintenance habits that keep your brewer running at peak performance.
Why Your Keurig Suddenly Started Dripping Instead of Brewing
Mineral deposits from your water supply are almost certainly the primary reason your Keurig has slowed to a crawl. Every time you brew, microscopic calcium and magnesium particles accumulate inside the narrow water pathways. Over weeks and months, this buildup creates significant blockages that restrict water flow. If you live in an area with hard water, this process accelerates dramatically—some Keurig owners see noticeable slowdowns in as little as two months without proper maintenance.
Clogged entrance and exit needles present another major bottleneck in your brewing system. These tiny metal spikes pierce your K-cup to allow water entry and coffee exit, but coffee grounds and tea particles frequently get lodged in their narrow openings. When either needle becomes partially blocked, water pressure builds up until it forces through the restriction, resulting in that frustratingly slow drip you’re experiencing now.
Air pockets trapped in the water lines can also contribute to inconsistent flow rates. These develop when you refill the water reservoir while the machine is partially empty or after descaling without proper priming procedures. The air creates pockets of resistance that disrupt the smooth water flow needed for proper brewing pressure.
Perform These Essential Visual Checks Before Cleaning
Start your slow drip diagnosis by removing and thoroughly inspecting the water reservoir. Hold it up to the light and examine the bottom valve mechanism where it connects to the machine. Look for cloudy film, white mineral deposits, or any visible debris that might be restricting water flow into the system. Clean this component with warm, soapy water and a soft brush—never use abrasive materials that could damage the valve seals.
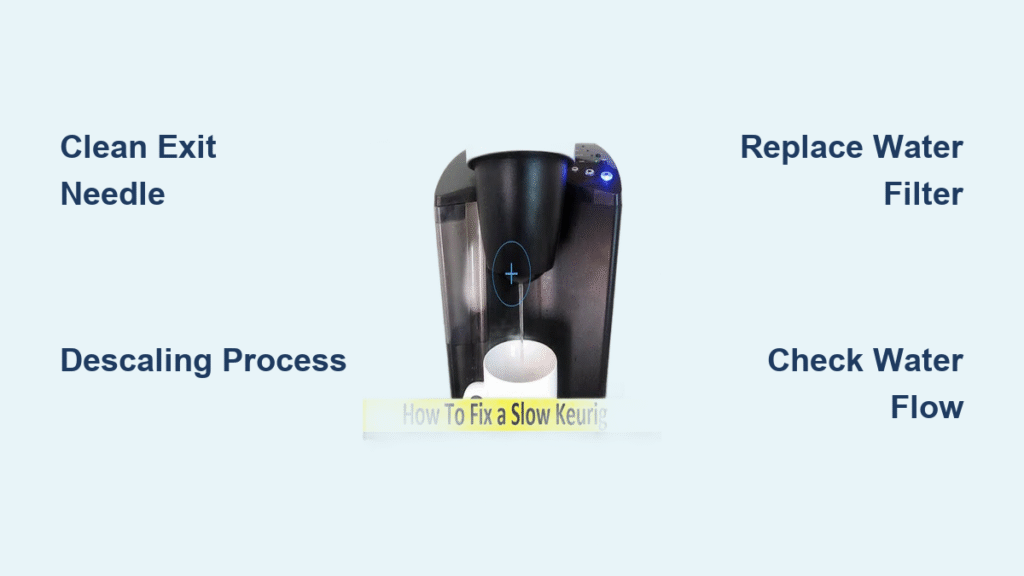
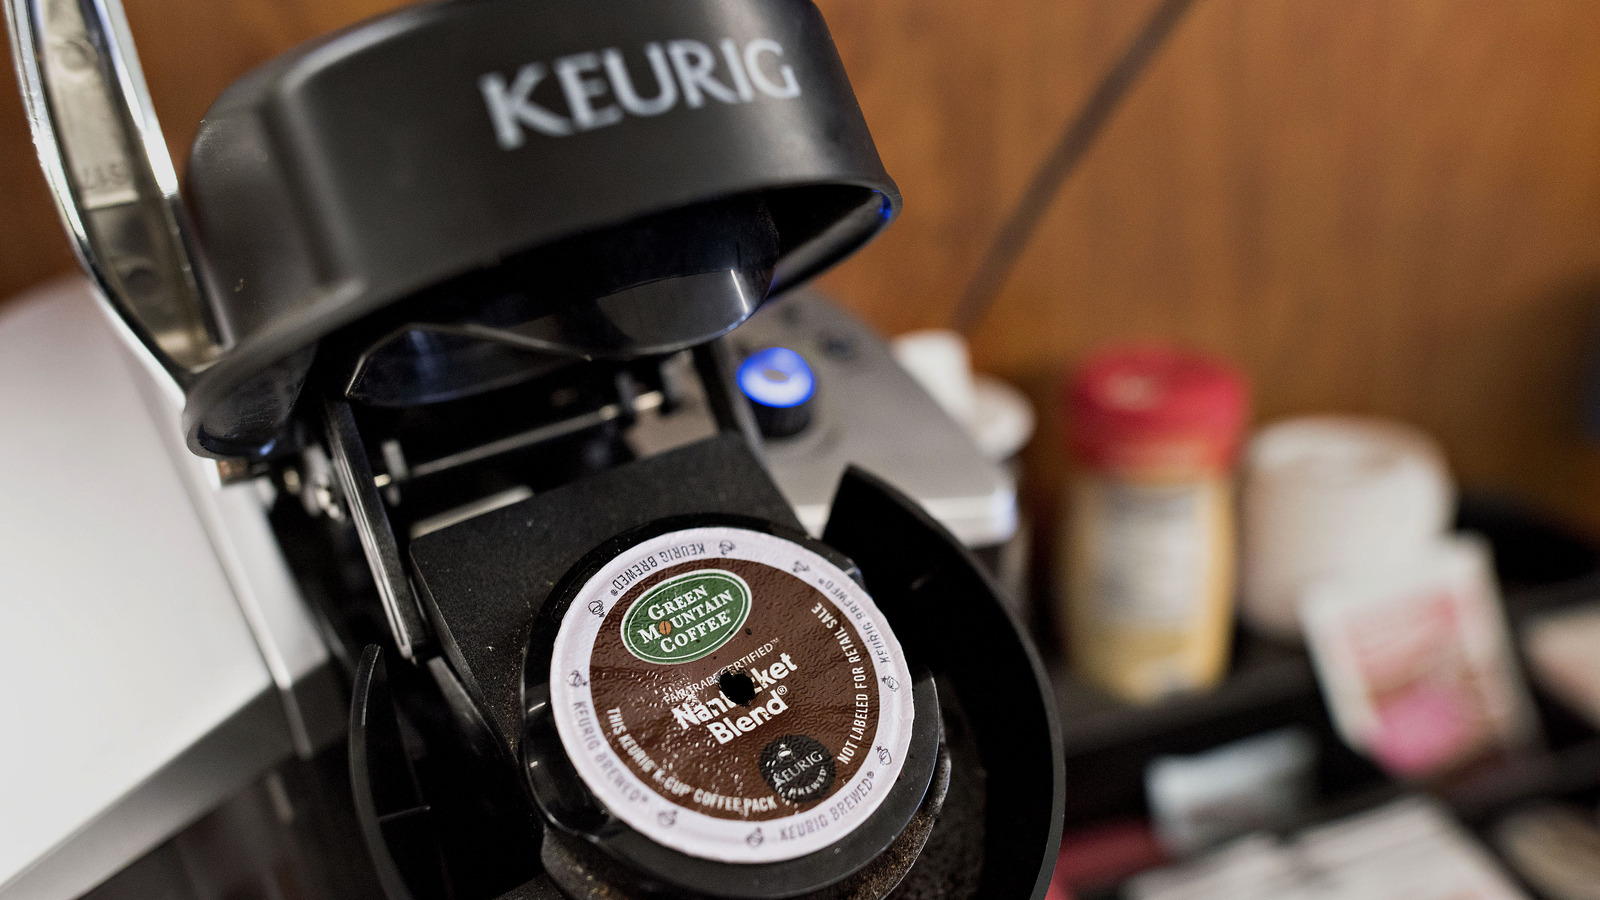
Next, remove your K-cup holder assembly and turn it upside down to inspect the exit needle. This is the small metal spike at the bottom that pierces the bottom of your coffee pod. Shine a flashlight directly at it to check for dark coffee grounds or tea particles obstructing the opening. While you’re at it, examine the entrance needle inside the lid mechanism for similar blockages—this is where water first enters your K-cup.
Check your drip tray area for any overflow patterns that might indicate where backups are occurring. Coffee residue accumulating around the edges of the tray often points to flow restrictions earlier in the brewing process. This visual evidence helps confirm whether your problem stems from partial clogs rather than complete blockages.
Properly Clean Clogged Exit Needles Without Damage
The exit needle clog causes more slow drip problems than any other single component, yet most owners overlook this critical maintenance step. Begin by powering off and unplugging your Keurig—safety first when working with electrical appliances near water. Remove the K-cup holder by lifting the handle and pulling the assembly straight out toward you.
Separate the funnel component from the main holder by pressing the release buttons on both sides. Now you’ll have clear access to the bottom needle assembly. Straighten a paperclip completely, then carefully insert it into the needle tube, wiggling gently to dislodge any trapped coffee grounds. Never force the paperclip—that could bend the delicate needle and create worse problems.
After clearing visible debris, run warm water through the holder assembly to flush out loosened particles. Hold it over your sink and pour water through both the top (entrance) and bottom (exit) openings. You should see a steady stream flowing through—not the slow drip you’ve been experiencing. If water still drains slowly, repeat the cleaning process or try using a small, soft-bristled brush designed for cleaning small openings.
Execute a Complete Descaling Process for Maximum Flow
While vinegar gets recommended everywhere, dedicated Keurig descaling solution actually works better for stubborn mineral deposits without leaving unpleasant odors in your coffee. Fill your water reservoir completely with a 50/50 mixture of white vinegar and water, or follow the instructions on your commercial descaling solution package.
Run multiple brew cycles without a K-cup, selecting the largest cup size each time until the reservoir empties completely. Don’t skip this step—partial descaling leaves mineral deposits intact in portions of the system. After emptying the reservoir, let the machine sit powered on for 30 minutes with the descaling solution circulating through the internal lines. This dwell time allows the solution to dissolve tough buildup that regular brewing cycles can’t reach.
Complete the process by running three to four full reservoirs of fresh, clean water through the system. This thorough rinsing removes all traces of descaling solution that could otherwise taint your coffee flavor. If you skip adequate rinsing, you’ll end up with vinegar-flavored coffee—which creates an entirely new problem!
Verify Your Keurig’s Water Flow Rate After Cleaning
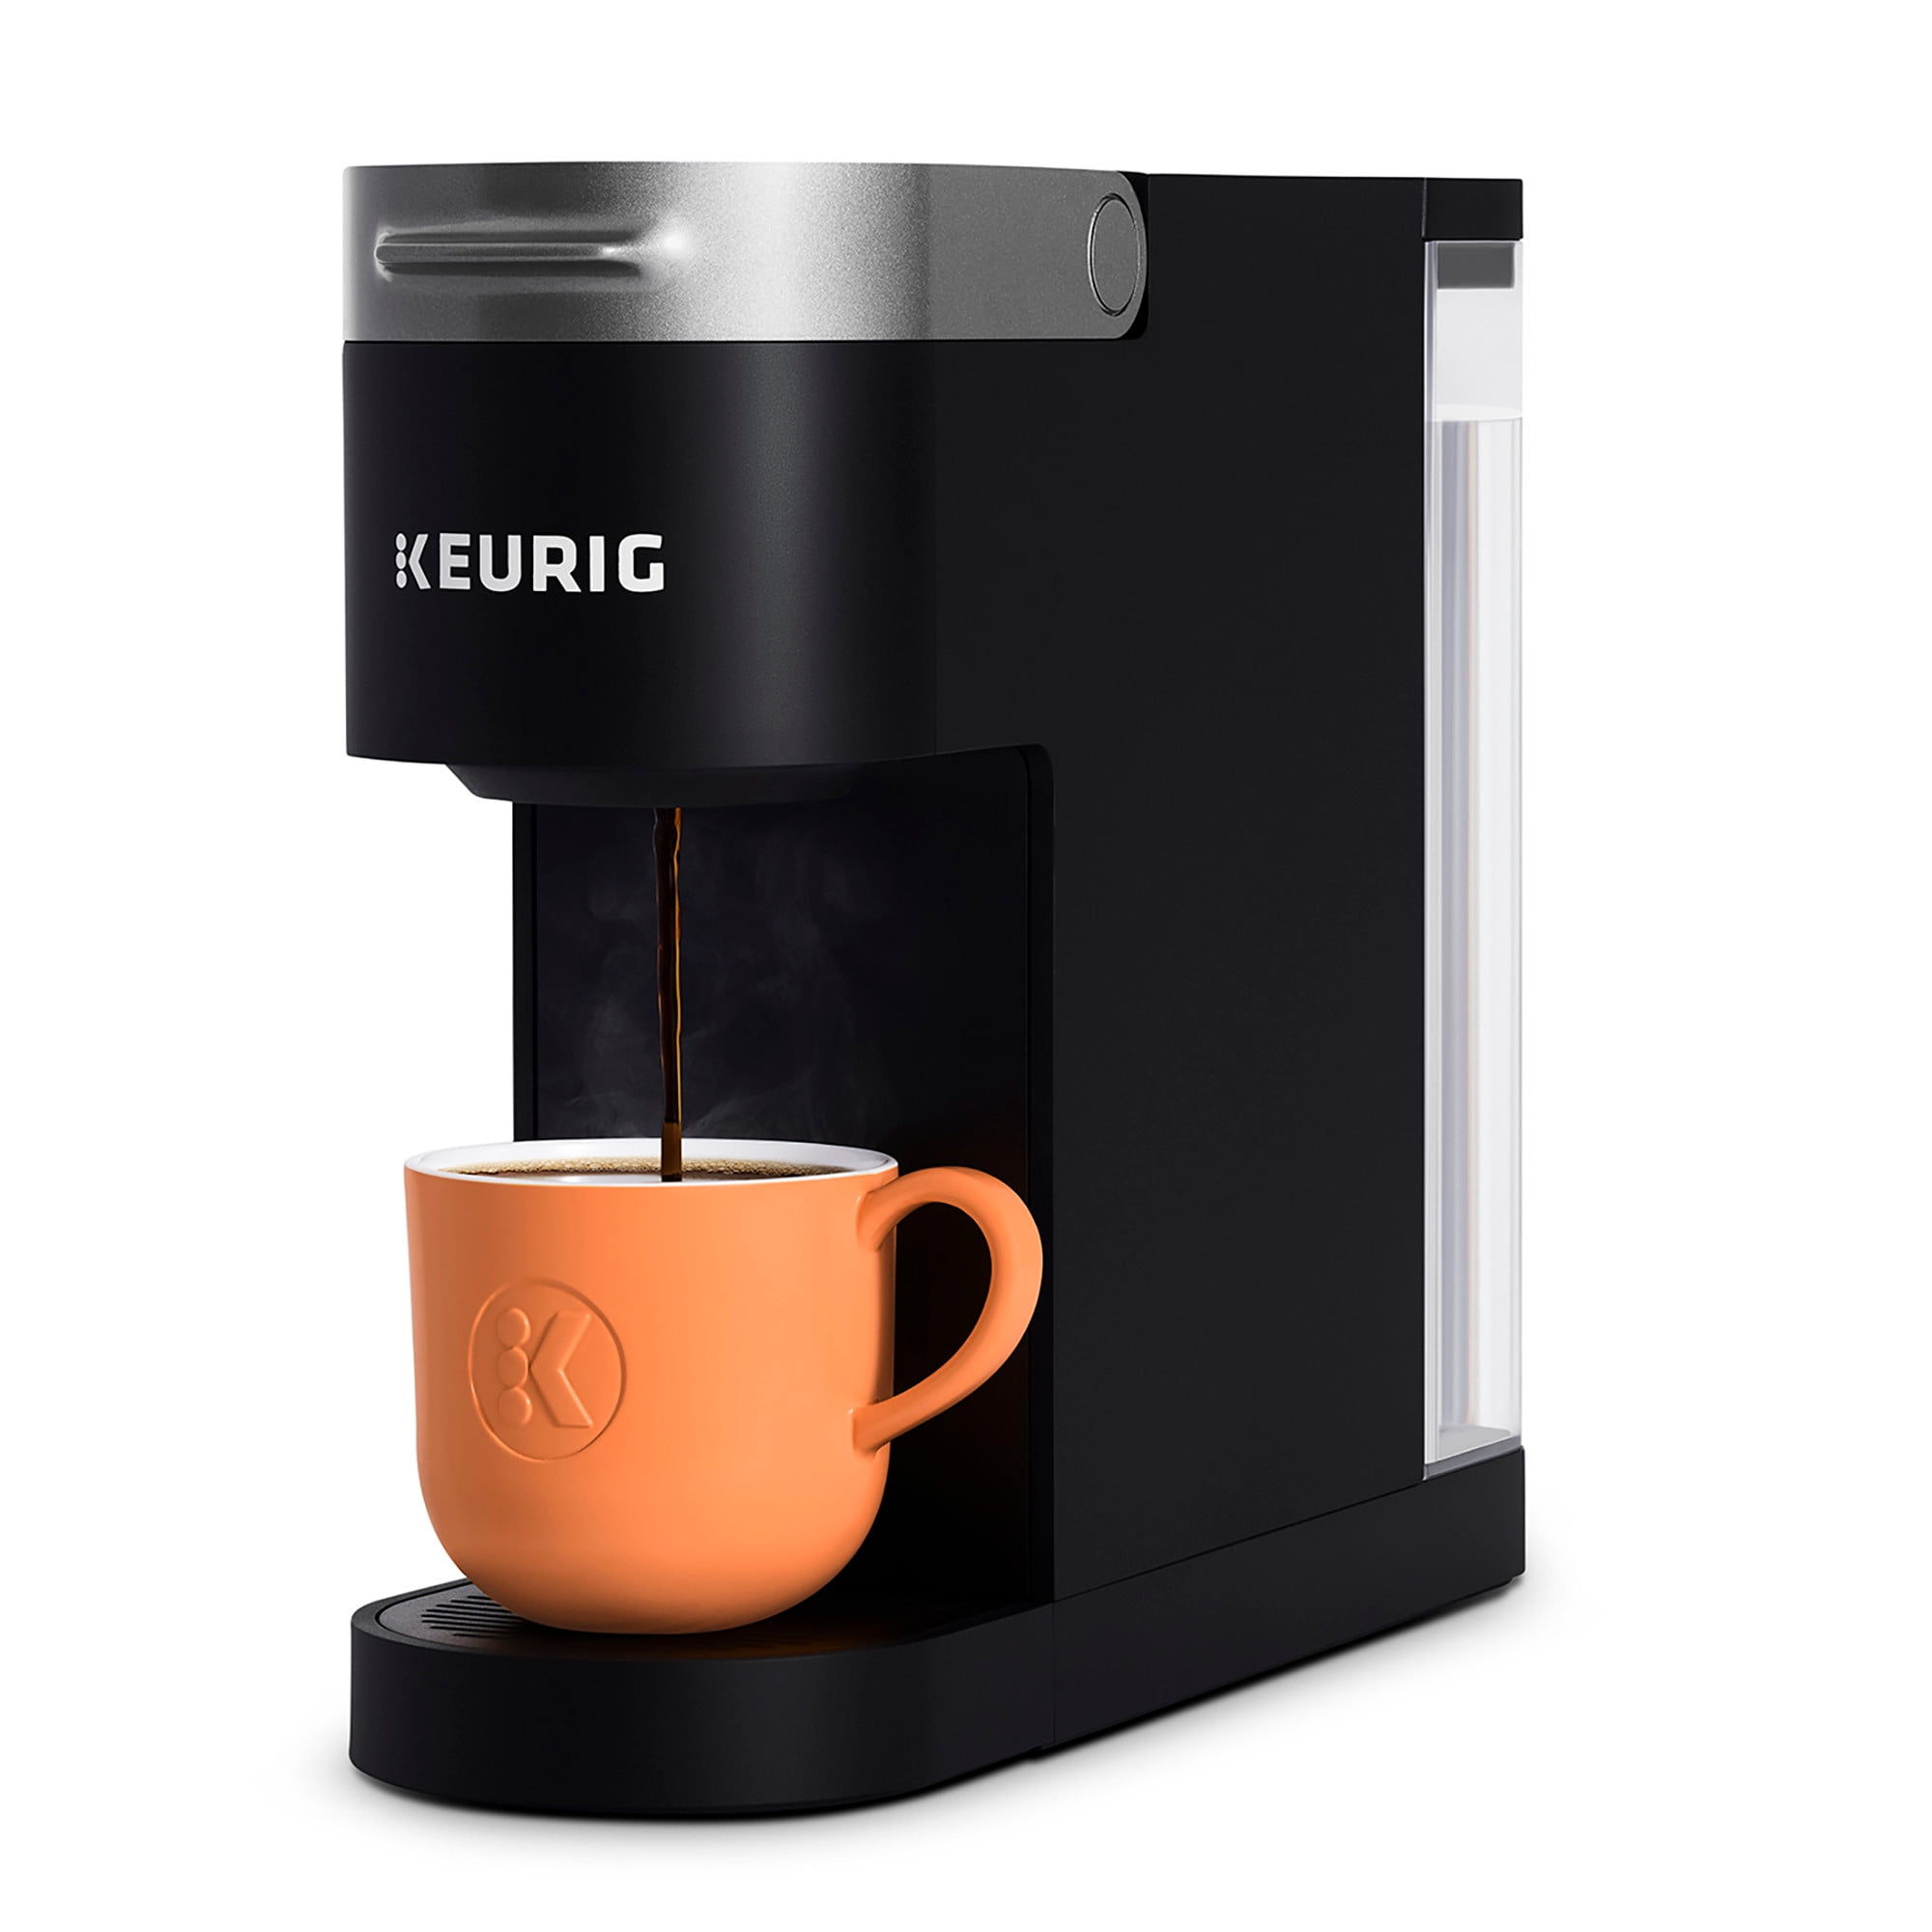
Don’t assume your cleaning worked—test it properly. Time how long it takes to brew an 8-ounce cup after your maintenance procedures. A properly functioning Keurig should complete this in 45-60 seconds. If it still takes over 90 seconds, you’ve got residual blockages that need further attention.
Run three water-only test cycles (no K-cup inserted) and observe the water stream carefully. Healthy flow appears as a steady, consistent stream—not a sputtering dribble or intermittent spurts. Pay attention to whether the flow starts strong then slows, or begins weak and never improves, as these patterns indicate different problem locations within your machine.
If water still drips slowly after thorough cleaning and descaling, your issue likely involves the internal pump mechanism rather than simple clogs. Pump failures typically require professional service or machine replacement, but they’re far less common than the mineral buildup and needle clogs we’ve already addressed.
Replace Your Water Filter Cartridge for Optimal Flow

A saturated water filter restricts water flow almost as much as mineral buildup. Most Keurig filters last approximately 60 tank refills or two months of regular use—whichever comes first. If you’ve been using the same filter for longer, it’s definitely contributing to your slow drip problem.
Install your new filter by first soaking it in water for five minutes, then rinsing thoroughly under cold running water for a full minute. This activates the carbon filtration media and removes loose particles. Insert the filter into the designated slot at the bottom of your water reservoir, making sure it clicks securely into place.
After installation, run three complete water-only brew cycles to flush out any carbon particles and properly seat the new filter. You’ll notice improved flow immediately if the old filter was the primary culprit, plus noticeably better-tasting coffee without that stale or flat flavor that comes from old, exhausted filters.
Prevent Future Slow Drip Problems with Smart Habits
Daily maintenance makes the biggest difference in preventing slow drip issues from returning. Always use filtered water in your Keurig—this simple switch dramatically reduces mineral buildup that causes most slow brewing problems. If you’re using tap water, especially in hard water areas, you’re practically guaranteeing future clogs.
Empty your water reservoir completely every two to three days to prevent stagnation and bacterial growth. Never just top off the reservoir—this concentrates minerals and contaminants with each refill. Wipe down the K-cup holder area daily with a damp cloth to remove coffee oils that harden into stubborn residue over time.
Establish a monthly maintenance routine that includes full descaling, needle cleaning, and filter replacement as needed. Set a calendar reminder so you don’t forget—consistency matters more than perfection when it comes to Keurig maintenance. Consider keeping a small container of white vinegar and paperclips near your machine for quick needle cleanings after brewing particularly sticky drinks like hot chocolate or chai tea.
When to Accept That Professional Help Is Needed
If your Keurig still drips slowly after multiple thorough cleanings and descaling attempts, you might be facing internal component failure. Listen for unusual noises during brewing—whining or grinding sounds often indicate pump problems that won’t resolve with standard maintenance. Water pooling underneath your machine signals internal leaks that require professional disassembly to address properly.
Electrical issues like flickering displays or intermittent power problems can also manifest as slow brewing, as the machine struggles to maintain proper heating and pressure. If your coffee comes out lukewarm along with the slow drip, heating element failure is likely the culprit rather than simple clogs.
Contact Keurig customer support if your machine remains under warranty—they may offer repair or replacement options. For older models, weigh the cost of professional repair against purchasing a new machine, as Keurig parts and labor can sometimes approach the price of a replacement unit. Remember that regular maintenance prevents most problems, but all appliances eventually reach the end of their service life.


