Finding cockroaches in your Keurig isn’t just gross—it threatens your daily coffee ritual and health. These pests exploit the warmth, darkness, and moisture inside your machine to build colonies. But don’t trash your coffee maker yet. By following professional-grade steps, you can eliminate every roach and restore your Keurig to safe operation in under 48 hours. This guide reveals exactly how to clean roaches out of Keurig machines, including proven prevention tactics to keep them gone for good.
Why Roaches Choose Keurig Machines
Three Fatal Attractions
Your Keurig offers a roach paradise: constant warmth from heating elements, absolute darkness inside internal components, and persistent moisture from water reservoirs. German cockroaches—small enough to slip through hairline cracks—thrive in these conditions. Professional repair services confirm 25% of commercial machines they service harbor infestations because coffee makers provide perfect breeding grounds.
Health Risks Lurking Inside
Every brew cycles roach droppings through your coffee, introducing dangerous bacteria directly into your cup. These droppings contain allergens that trigger severe asthma attacks in sensitive individuals. Worse, roach saliva and feces accumulate throughout the entire system—from water reservoir to final cup—creating ongoing food safety hazards you can’t see.
Spot Infestation Early
Catch problems before coffee starts tasting “funky” by watching for:
– Live roaches scrambling into K-Cup slots or drip trays
– Pepper-like dark specks (roach droppings) near reservoir openings
– Musty odors when brewing
– Slimy residue on removable parts
Stop Using Keurig Immediately
Emergency Shutdown Steps
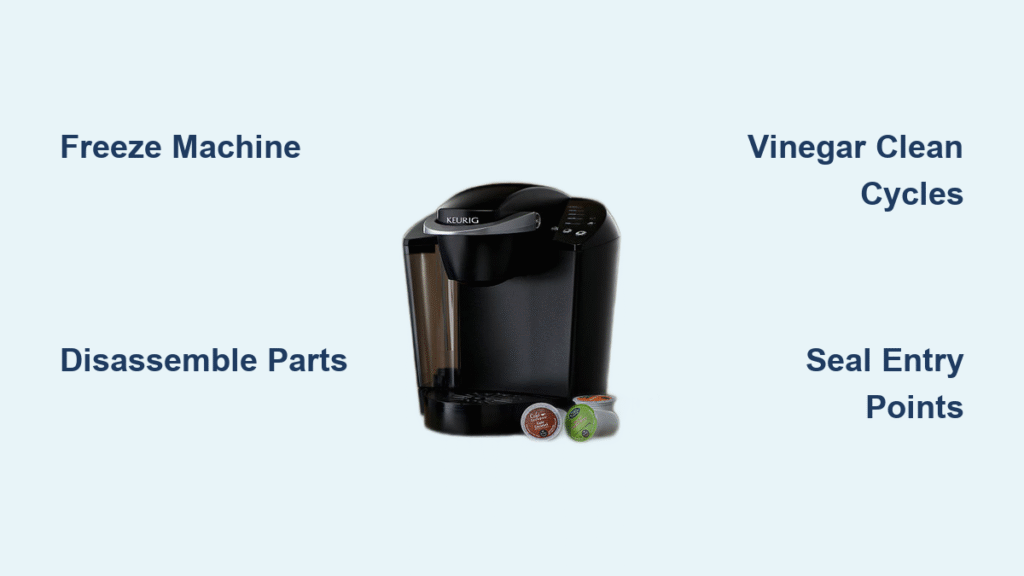
Unplug your machine the second you spot roach evidence. Drain all water from the reservoir. Remove K-Cups and seal the entire Keurig in a heavy-duty plastic bag. This containment prevents roaches from escaping into your kitchen cabinets or countertops during cleanup.
Freeze Roaches Dead
Place the sealed Keurig in your freezer for 24-48 hours minimum. This kills all hidden roaches without chemicals. Critical tip: Wipe the machine completely dry first to avoid ice damage to electronics. No freezer space? Leave the bagged machine outside in temperatures below 32°F for the same duration.
Disassemble Everything Safely

Remove All Parts
Take apart every removable component:
– Water reservoir
– Drip tray
– K-Cup holder
– Any model-specific pieces (like exit needles)
Handle Contamination Carefully
Wear gloves while removing dead roaches and coffee grounds. Discard organic debris immediately in an outdoor trash can. Scrub all parts in hot, soapy water using a soft brush, focusing on crevices where droppings hide. Rinse thoroughly to eliminate soap residue before reassembly.
Deep Clean with Vinegar Power
Prepare Cleaning Solution
Mix equal parts white vinegar and water to fill your reservoir. This solution dissolves roach droppings, neutralizes odors, and sanitizes internal tubing without toxic fumes.
Run Complete Cleaning Cycles
- Power off Keurig completely
- Fill reservoir with vinegar solution
- Place large mug on drip tray
- Brew continuously using largest cup setting until reservoir empties
- Let solution sit 30 minutes with power on
- Remove reservoir, wash with hot soapy water, and rinse
- Refill with clean water and run 12 rinse cycles (more if vinegar smell lingers)
Alternative Cleaning Options
Commercial descalers (like Keurig’s $13 solution) work but cost more per use. Bleach is risky—use only 1 teaspoon per reservoir max, then run 15+ rinse cycles to avoid chlorinated coffee. Urnex or Dip-It cleaners offer effective chemical-free alternatives for stubborn buildup.
Verify Complete Elimination

Final Inspection Checklist
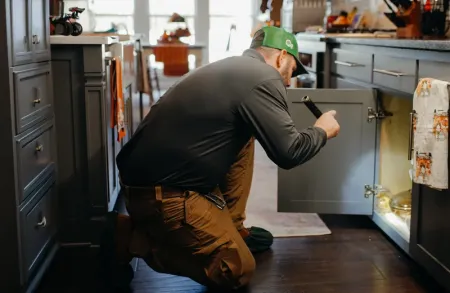
Inspect every component with a flashlight for missed droppings. Smell all surfaces—any lingering mustiness means re-cleaning is needed. Brew plain water first to check for debris. Taste-test your first coffee cautiously; discard if flavor seems “off.”
Post-Cleaning Safety Steps
Run 3-4 extra water cycles before regular use. Replace water filters immediately—these often trap contamination. Check drip tray seals for hidden gaps where roaches re-enter.
Prevent Future Infestations
Seal Entry Points
Apply electrical tape around the machine’s base perimeter and visible cracks. Store coffee pods in airtight containers—roaches love cardboard packaging. Remove all cardboard boxes from your coffee station immediately; they’re roach magnets.
Maintain Clean Environment
Wipe the exterior weekly with vinegar spray. Empty the drip tray daily—stale coffee attracts pests. Take out kitchen trash every night. If neighbors report roaches, demand building-wide pest control through management.
When to Call Professionals

Building Infestation Signs
Contact property management if roaches return after thorough cleaning. Persistent issues indicate a building-wide problem requiring non-toxic powder treatments in wall voids and behind appliances. Professionals move refrigerators and stoves to access hidden nests.
Health Priority Factors
Seek immediate help if household members have asthma or severe allergies. Technician-applied food-safe sprays target crevices around appliances without harsh chemicals. This is crucial for homes with children or pets.
Replace vs. Salvage Decision
When Replacement Makes Sense
Replace your Keurig if:
– Internal damage occurred (e.g., chewed wires)
– Psychological discomfort prevents comfortable use
– Cost analysis favors it (e.g., $78 for a new De’Longhi vs. repeated cleaning)
Salvage Success Indicators
Keep your machine if:
– Infestation was caught early with minimal contamination
– You completed all cleaning steps rigorously
– You commit to weekly maintenance checks
Complete Supply Checklist
Essential Cleaning Kit
- White vinegar (1 gallon)
- Hot water
- Dish soap
- Heavy-duty plastic bags
- Large ceramic mug
- Soft-bristle brush
- Nitrile gloves
Long-term Prevention Tools
- Electrical tape (for sealing gaps)
- Airtight coffee pod containers
- Flashlight (for weekly inspections)
- Commercial cleaner (Urnex or Brew Rite)
Bottom Line: Cleaning roaches out of Keurig machines is achievable with immediate action. The freezer method kills hidden pests, vinegar sanitizes thoroughly, and sealing entry points prevents reinvasion. Act within 24 hours of spotting signs, follow these steps precisely, and you’ll enjoy safe coffee again in under two days. Remember: Consistent weekly wipe-downs and airtight pod storage keep roaches permanently at bay. Your morning brew is worth the effort—don’t let pests steal it.


