You accidentally poured milk into your Keurig’s water reservoir instead of water. Now your machine emits a sour smell, produces weak coffee, or won’t brew at all. This frustrating mistake happens more often than you’d think—especially during those groggy morning moments when coffee is desperately needed. The good news is that with immediate action, you can rescue your Keurig from permanent damage.
Milk residue creates a perfect breeding ground for bacteria inside your coffee maker’s narrow tubing. As it dries, it forms stubborn protein deposits that clog critical components. If left untreated beyond 48 hours, these deposits can cause irreversible damage to your Keurig’s internal system. This comprehensive guide provides the exact steps to restore your coffee maker to full functionality before permanent damage occurs.
Unplug and Drain Your Keurig Immediately
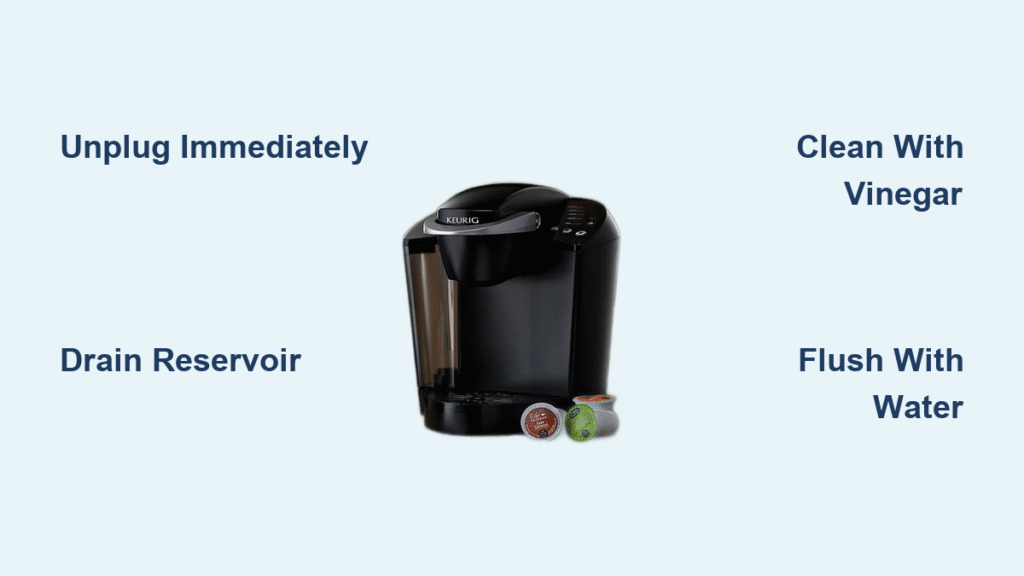
Power down your Keurig the moment you realize milk has entered the system—this is your most critical first step. Leaving the machine plugged in risks activating internal components while milk is present, forcing it deeper into hard-to-reach areas. Unplugging stops all electrical activity while preventing further internal contamination.
Remove the water reservoir and completely empty any remaining milk mixture. Never attempt to brew a cycle to “flush it out”—this common mistake pushes milk through the entire system where it solidifies in narrow tubes. Place the reservoir upside down on a clean towel to drain thoroughly while you work on other components.
Take your Keurig to a well-ventilated area like a garage or near an open window. The warm, dark interior of your coffee maker creates ideal conditions for bacterial growth, and you’ll want to contain any potential odors during cleaning. Milk begins spoiling within hours at room temperature, so working quickly in a ventilated space prevents lingering smells from permeating your kitchen.
Remove and Separate All Accessible Components
Begin disassembly by releasing the water reservoir—press both side tabs simultaneously and lift straight up. Remove the lid by pressing the center tab and setting both pieces aside on your clean work surface. This reservoir contains the highest concentration of milk and requires immediate attention.
Slide out the drip tray until it stops, then lift upward to remove it completely. Empty any liquid collected underneath and rinse with warm water. The K-cup holder assembly requires a firm grip and gentle counterclockwise twist to release it from the brew head—don’t force it if resistance is felt.
Don’t overlook smaller components: the funnel inside the K-cup holder pops out with light upward pressure. If your model has a water filter, unscrew it from the reservoir bottom. Arrange all parts in the order you removed them to simplify reassembly later—this prevents confusion when putting your Keurig back together.
Deep Clean Removable Parts with Proper Technique
Prepare a cleaning solution of hot water and exactly two drops of dish soap in your sink—using more soap creates difficult-to-rinse residue that affects coffee taste. Submerge all plastic components except the water filter for a 15-minute soak. This dwell time softens dried milk proteins without damaging plastic parts.
Use a bottle brush or dedicated toothbrush to scrub inside the reservoir, focusing on corners and the water intake valve at the bottom. Milk proteins cling stubbornly to these areas and cause recurring contamination. Pay special attention to the reservoir’s bottom seam where milk easily becomes trapped.
For the K-cup holder, direct your brush to the needle mechanism—these tiny holes are prime clogging spots. Run hot water through both needles while gently scrubbing with a soft brush. If you notice bent needles, don’t attempt straightening them yourself; replacement parts are affordable and prevent further damage.
Flush Internal System with Vinegar Solution

Create a 50/50 mixture of white vinegar and water in a measuring cup—this acidic solution breaks down milk proteins where regular water cannot reach. Vinegar’s acetic acid dissolves protein deposits while eliminating bacteria without harsh chemicals. Pour this solution into your empty reservoir, filling to the maximum line.
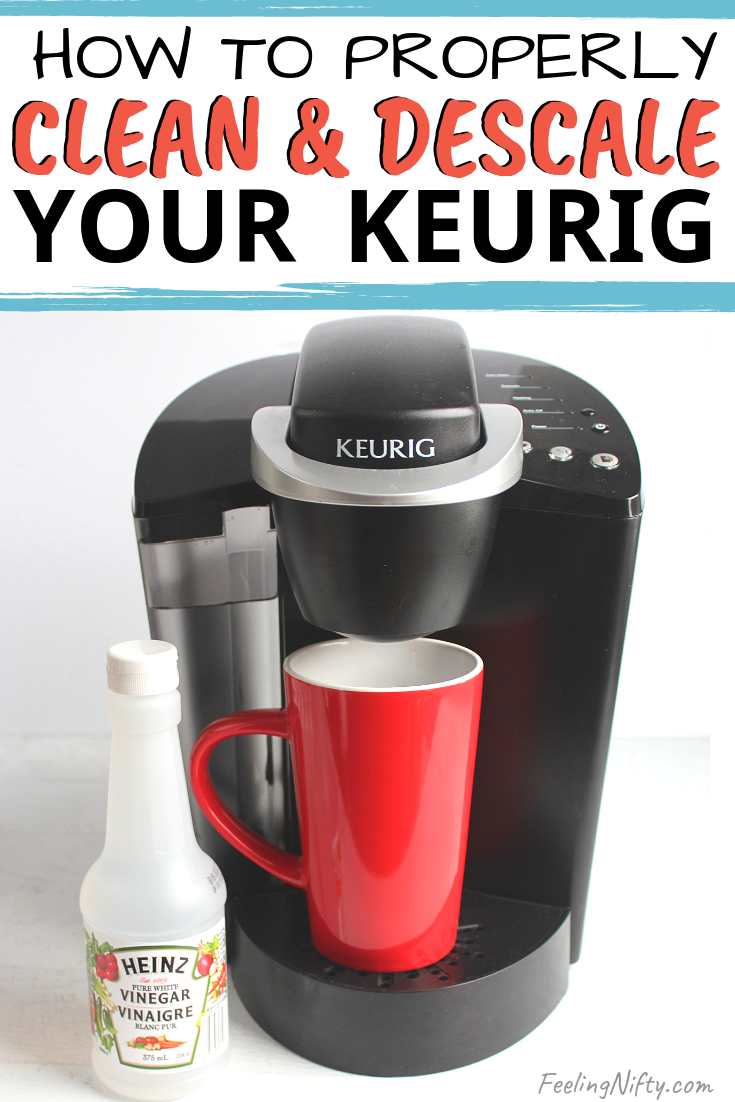
Place a large mug on the drip tray and start a brew cycle without inserting a K-cup. Stop the cycle when the mug is half full, then let the vinegar solution sit in the system for 30 minutes. This dwell time allows the vinegar to penetrate and dissolve stubborn milk deposits throughout the internal tubing.
Complete the brew cycle, then run three to four additional cycles using fresh water only. Test the final rinse water by tasting a small amount—it should have no vinegar aftertaste or sour milk flavor. If off-tastes persist, continue flushing with water until completely neutral.
Eliminate Odors with Baking Soda Treatment
Milk leaves behind odor-causing proteins even after visible cleaning. Prepare a sanitizing solution with one tablespoon of baking soda dissolved in one cup of hot water. Baking soda’s alkaline properties neutralize acidic milk residues and eliminate stubborn smells through gentle chemical action.
Pour this solution into your reservoir and run two complete brew cycles, pausing for 20 minutes between cycles. The extended dwell time allows the baking soda to neutralize odors deep within the tubing. You’ll notice slight fizzing during the process as the solution reacts with remaining milk deposits.
For particularly stubborn odors, repeat the process using fresh lemon juice instead of baking soda. The citric acid provides an additional sanitizing boost while leaving a pleasant citrus scent. Always conclude with at least three water-only cycles to ensure no cleaning residue affects your coffee flavor.
Reassemble Components with Precision
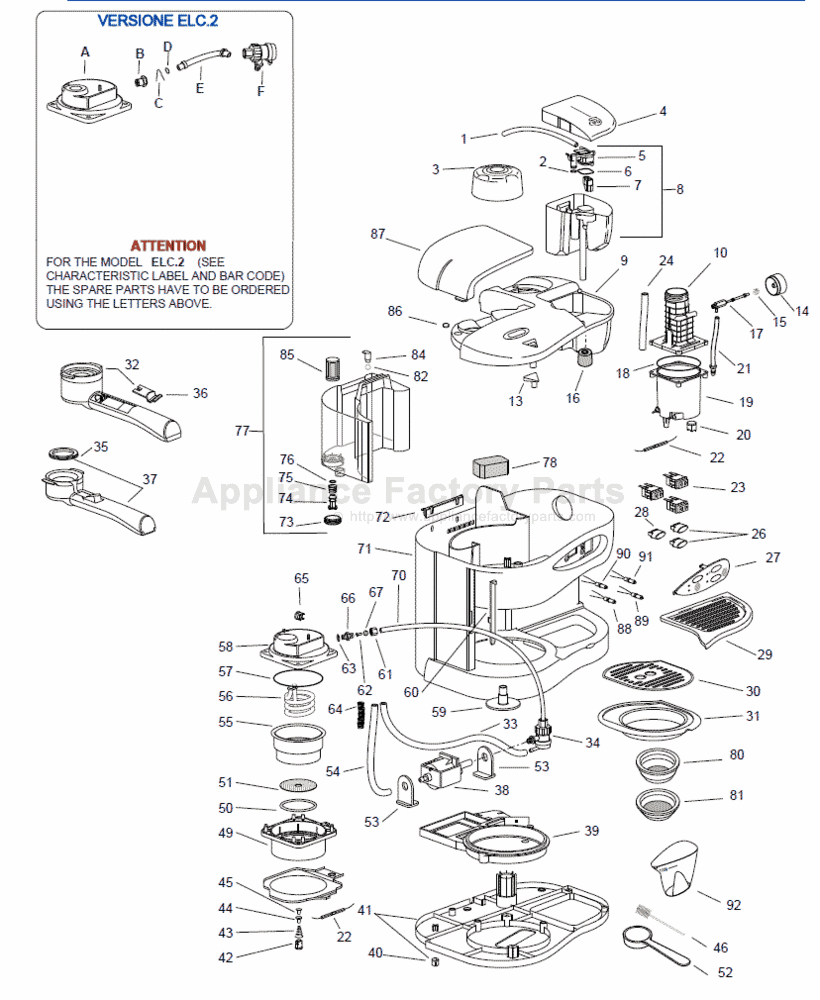
![Keurig model [specific model number] exploded view](https://cdn.appliancefactoryparts.com/images/breakdowns/1000/134680-1.gif)
Begin reassembly by replacing the water filter if your model uses one—screw it firmly into the reservoir bottom until snug. A loose filter causes leaks and inconsistent water flow, compromising your coffee quality. Reinstall the reservoir by aligning it with the side brackets and pressing down until both sides click securely.
Insert the K-cup holder by aligning the tabs with the brew head slots, then twist clockwise until you feel resistance. Slide the drip tray back into position until it seats completely at the front. Fill the reservoir with fresh water and run three test brew cycles to verify complete cleaning and proper functionality.
Check for consistent water flow, absence of unusual noises, and clear coffee in your test cups. Any remaining milk residue will appear as cloudy liquid or leave a faint odor. If problems persist, repeat the internal flush process before considering professional servicing.
Prevent Future Milk Contamination Accidents
Mark your water reservoir clearly with “WATER ONLY” using a permanent marker or waterproof label. This simple visual cue prevents morning mistakes when you’re not fully awake. Store milk containers in a different cabinet than your coffee supplies to reduce confusion during rushed mornings.
Create a morning routine checklist posted near your coffee station that includes “verify reservoir contents” as the first step. This habit prevents 90% of accidental milk contamination incidents according to Keurig user surveys. Consider upgrading to a Keurig model with a blue-tinted reservoir that makes water more visually distinct from milk.
Recognize Signs of Irreversible Damage

Watch for persistent error messages after thorough cleaning, which indicate milk reached the internal control board. Loud grinding noises during brewing suggest milk has damaged the pump mechanism, while water pooling under the machine signals compromised internal seals.
If vinegar solution emerges with brown discoloration or visible chunks after flushing, significant internal buildup has occurred. Continue flushing cycles, but prepare for potential replacement if performance doesn’t improve within 48 hours. Electrical issues like tripped breakers or visible sparking mean milk reached critical components—stop using the machine immediately and contact Keurig support.
Establish Post-Recovery Maintenance Routine
For the first week after cleaning, run a vinegar flush cycle every other day using the same 50/50 solution but reducing dwell time to 15 minutes. This prevents any lingering milk proteins from creating new buildup in vulnerable areas. Use distilled water for regular operation to minimize mineral deposits that compound cleaning challenges.
After the first week, return to monthly descaling with vinegar to maintain optimal performance. Mark these maintenance dates on your calendar or set phone reminders—consistent care prevents future issues from developing unnoticed. Replace your water filter immediately after milk contamination, even if recently changed, as milk particles quickly clog filter pores.
When to Consider Replacement
If your Keurig continues showing problems after three complete cleaning cycles, permanent damage has likely occurred. Machines under warranty should be evaluated by Keurig support before attempting extensive repairs. For older models, compare repair costs against replacement value—sometimes investing in a new machine proves more economical.
Keurig customer service often provides troubleshooting guidance specific to your model number. Have this information ready when contacting support, as internal components vary significantly between models. Some newer Keurig models feature improved reservoir designs that reduce accidental milk contamination risks.
Act within 24 hours of milk exposure for the highest recovery success rate. Your immediate response and thorough cleaning process will likely restore full functionality to your coffee maker. Remember that prevention beats repair—always double-check your reservoir contents before brewing. With proper care and maintenance awareness, your Keurig will deliver perfect coffee cups for years to come without milk-related complications.


